
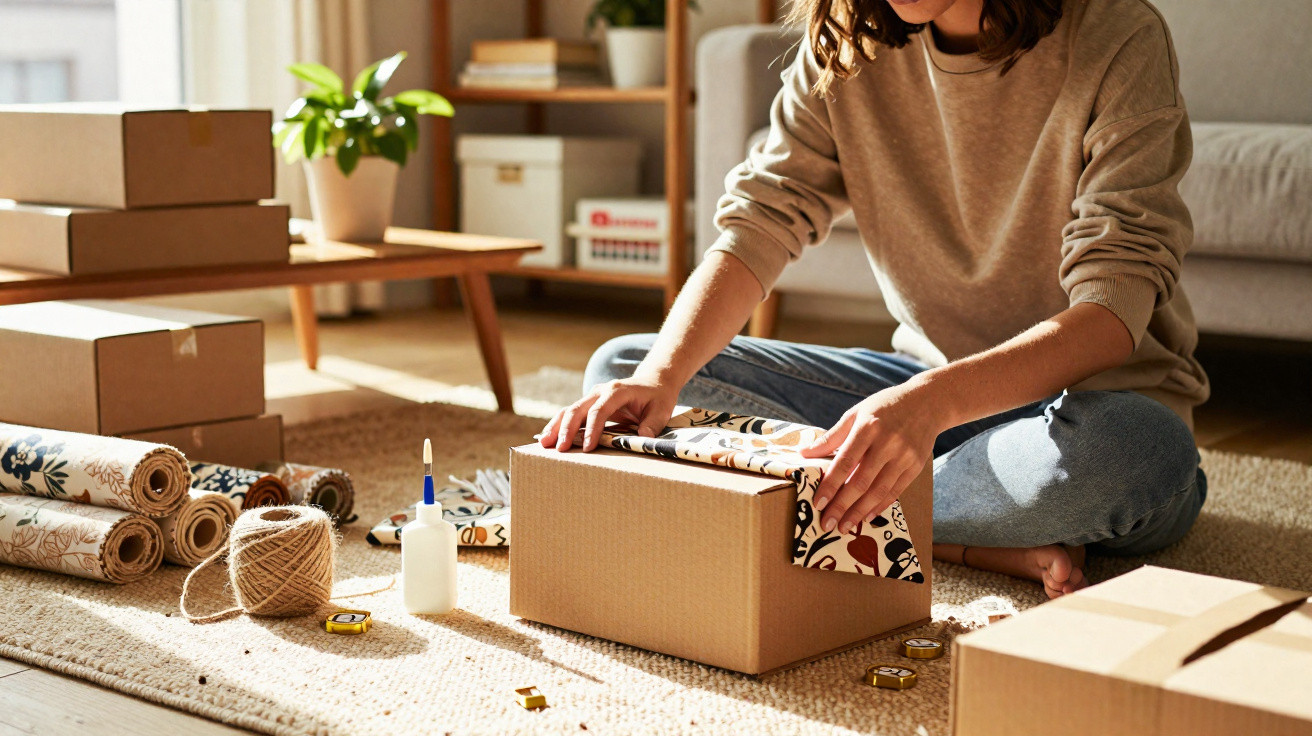
Anyone who receives parcels regularly will know the issue: cardboard boxes pile up, while drawers overflow with old tea towels, bed sheets or shirts. Throwing them away feels wasteful, yet they are no longer really needed. This is where a straightforward but ingenious craft idea comes in, turning leftover materials into practical decorative favourites while also making a statement against plastic waste.
Why cardboard and fabric work so well
Cardboard is light, sturdy and abundant in almost every home, usually left over from online deliveries. Pair it with fabric offcuts and you get a combination of materials that can look remarkably refined. The effect is especially convincing when simple natural fibres such as cotton, linen or jute are used instead of synthetic fabrics.
“With a craft knife and a fabric offcut, a delivery box becomes a design piece – with no extra purchase and no guilty conscience.”
The environmental case is clear. Plastic storage boxes, baskets and organisers sold in shops are often made from newly manufactured plastic. International environmental organisations report that the global volume of plastic is growing rapidly, while the proportion that is recycled remains very small. In the best-case scenario, every homemade cardboard storage box replaces one such plastic item.
Upcycling cardboard and fabric in the living room
Upcycling means improving used materials so they become something new with greater practical value or a more appealing appearance. It is therefore about more than reuse: it is about enhancement. That is exactly what happens when a stained tablecloth becomes the cover for a stylish storage box.
Part of the appeal is that every item is unique. No two baskets look identical, and each cardboard box carries the story of its fabric, whether it is a shirt from a first job or a sheet from a first shared flat.
Step by step: turn cardboard into a decorative box
Materials that most people already have at home
- Sturdy cardboard, such as delivery boxes
- Fabric offcuts (cotton, linen, jute or blended fabric)
- Scissors or a craft knife
- A ruler or tape measure
- All-purpose glue or hot glue
- Optional: cord, ribbon or wide gift ribbon
How to make the box
The basic method is straightforward and will feel almost routine after one or two attempts:
- Cut the cardboard: Mark out and cut a rectangle in the desired size. This will form the base and side walls.
- Cut out the corners: Remove small squares from all four corners. The width of these squares determines the finished height of the box.
- Prepare the folds: Carefully score the side walls along the edges, for example with the back of a pair of scissors. This makes them easier to fold upwards later.
- Cover the outside with fabric: Cut the fabric slightly larger than the cardboard, apply glue and smooth it into place. Carefully press out any creases.
- Finish the inside: Use the same fabric or deliberately choose a contrasting pattern. If preferred, leave the cardboard exposed inside for a more rustic look.
- Secure the edges: Fold the side walls upwards. You can punch small holes at the corners and thread cord through them. Tying firm knots at the corners helps the box keep its shape.
“A few knots at the corners – and the flat piece of cardboard turns into a soft box that holds its shape.”
This basic form can be adapted in countless ways: make it taller or shallower, add handles or a lid, or use it as an open organiser for shelves.
Where a homemade box can prove useful
The finished piece is not merely attractive; it is surprisingly useful too. Depending on its size, it can find a place in many different rooms.
| Room | Possible use |
|---|---|
| Kitchen | Bread basket, holder for tea bags, napkins or spice sachets |
| Hallway | Tray for keys, sunglasses and post |
| Bathroom | Storage for cosmetics, cotton pads and hair ties |
| Bedroom | Organiser in a wardrobe or on a chest of drawers |
| Children’s room | Box for colouring pencils, small toy figures and trading cards |
| Home office | Organiser for cables, charging plugs, pens and notes |
These boxes quickly create a calmer look, especially on open shelving or open clothes rails. As the project costs very little, it is also easier to make several versions with a coordinated appearance.
Design tips for a polished look
A few simple choices will ensure that the result looks intentional rather than like a makeshift solution:
- Choose a colour scheme: Coordinate shades, such as natural tones in beige, sand and white, or bold contrasts in navy blue and mustard yellow.
- Use patterns sparingly: One patterned fabric per room is enough. Plain colours create a calmer effect for the rest.
- Keep edges neat: Once the glue has dried, trim away excess fabric cleanly to give the boxes a more premium finish.
- Add details: Cord handles, small cardboard labels or wooden tags turn the box into a deliberate decorative feature.
“The clearer the colour scheme, the more the cardboard looks like it came from an interiors shop rather than being improvised.”
Why this craft is more than a weekend project
What initially looks like a pleasant DIY activity also has social and environmental aspects. Using old fabric avoids buying new textiles, which are often produced under questionable conditions. Every newly made decorative item involves energy use, transport distances and packaging.
Working with leftovers also encourages a more resource-conscious mindset. Children learn along the way that things are rarely “just rubbish”. In many families, crafting soon becomes a small ritual: everyone looks for suitable boxes, searches through the linen cupboard and decides together which fabric suits which purpose.
From living rooms to start-ups: upcycling is on trend
While people work with scissors and glue at home, start-ups pursue similar ideas on a larger scale. They turn old textiles into new collections or develop processes that keep plastics in circulation more often. The aim is the same in both cases: conserve resources, reduce waste and rethink products more intelligently.
The difference is that each private project creates a very personal story. A box made from an old baby cot sheet or a basket covered in an inherited tablecloth replaces anonymous mass-produced goods and gives a room character.
Practical guidance on durability and safety
A quick look at a few details will help these new decorative pieces last:
- Do not overload them: Cardboard can hold a good deal, but it has its limits. Other options are better for books or glass bottles.
- Keep away from moisture: In the bathroom, use them only in dry areas, otherwise the cardboard may warp.
- Choose suitable glue: For children’s projects, select solvent-free glue; hot glue should only be used by adults.
- Protect the base: Small felt pads or an extra piece of fabric underneath prevent abrasion on delicate furniture.
For an extra step, seal the cardboard with a thin layer of clear matt varnish before applying the fabric. This makes the surface more hard-wearing, particularly in the kitchen.
More ideas using cardboard and fabric
Once you have made your first box, it is easy to spot further uses for the same technique. It also works well for:
- Stacked drawer inserts for wardrobes
- Shallow trays for coffee, tea or breakfast
- Small gift baskets instead of wrapping paper
- Organising systems for chest-of-drawer drawers, for example for socks or underwear
Step by step, this creates an entire organising system that looks coordinated and costs next to nothing. Keeping your creations saves money and trips to the furniture shop whenever another sorting project comes along.
The result is more than a pretty box on the table. By repurposing old cardboard and fabric, you take an active role in shaping your home, reduce what goes into the bin and lessen the need for new plastic storage boxes. One short afternoon of crafting is enough to permanently change the way you view supposed leftovers.


Comments
No comments yet. Be the first to comment!
Leave a Comment