
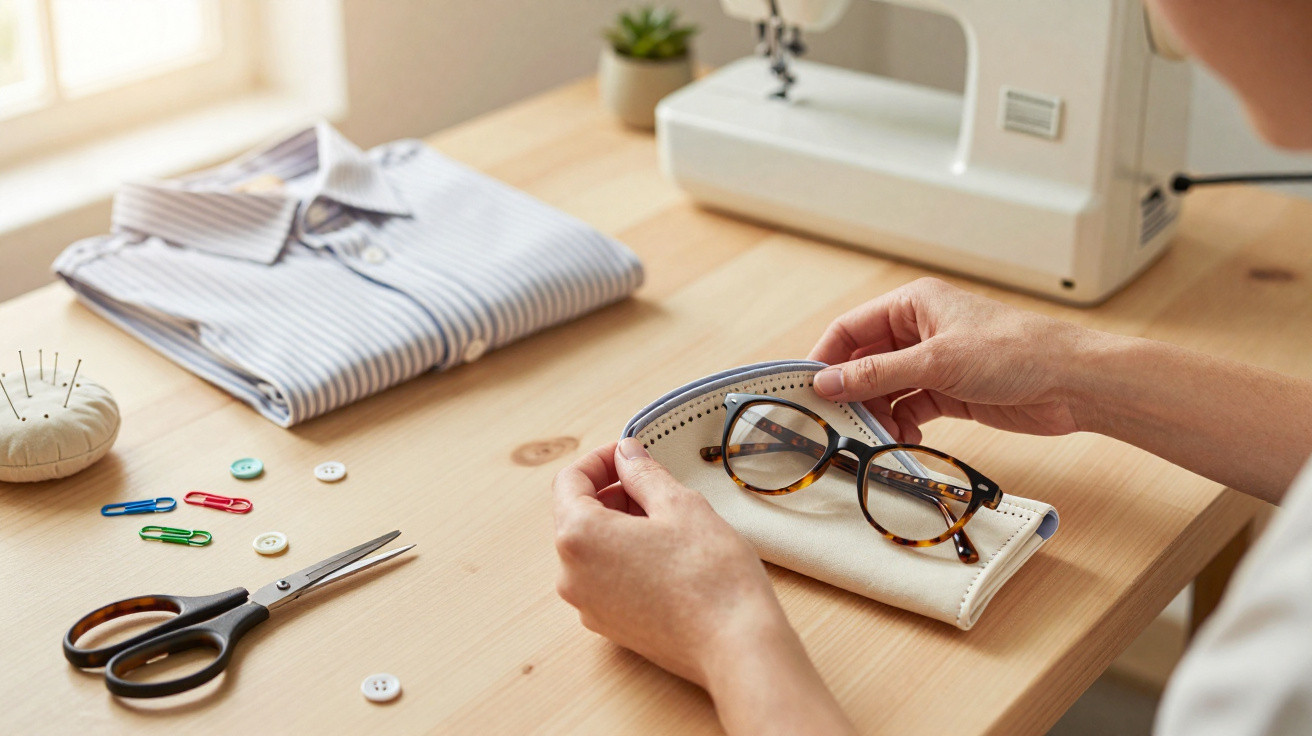
An item of clothing gathering dust in the wardrobe can become a stylish glasses case with just a few stitches. No pattern, no extra materials and no extensive sewing experience are required – only an eye for what might otherwise end up in the textile recycling bag. Small projects like this reveal just how much potential remains in shirts that seem to have been worn out.
How a shirt cuff becomes a practical glasses case
The concept is almost disarmingly simple: take the cuff from an old shirt, cut off part of the sleeve and turn it into a case for sunglasses or reading glasses. The clever part is the construction of a traditional shirt cuff. It is reinforced and sturdy, and already has a button, buttonhole and neatly finished edge. This mini sewing project makes use of every one of these features, saving time, money and frustration.
“A single shirt cuff provides an opening, fastening and protection all in one – without spending a penny.”
Shirts with thinning or worn-through elbows are especially well suited to this. Rather than throwing them away, they can be given a second life. It fits with the circular economy trend and with many households’ aim of reducing textile waste.
Step by step: sewing a glasses case from a shirt cuff
Only basic sewing skills are needed for this project. Anyone able to sew on a button can make this case as well. It takes around 15 minutes, or even less with a little practice.
Materials and tools
- 1 old shirt cuff with sleeve attached (cotton or poplin is ideal)
- Sewing machine, or needle and thread
- Scissors
- Pins or fabric clips
- Optional: a small piece of microfibre cloth
- Optional: a thin lining fabric for delicate spectacle lenses
The sewing process at a glance
- Slide the glasses into the sleeve as a test to check the required length.
- Cut straight across roughly 20 centimetres above the cuff.
- Turn the resulting fabric tube inside out.
- Align the cut edge neatly and secure it with pins.
- Sew a straight seam across the lower end, either by machine or by hand.
- Finish the seam allowance with a zigzag stitch or hand stitching to prevent fraying.
- Turn the tube right side out again – the cuff now forms the opening.
The button closes the glasses case, while the buttonhole keeps it secure. No additional fastening is needed. Before sewing it shut, you can place a piece of microfibre cloth into the bottom seam. This creates an integrated cleaning tab inside, allowing the lenses to be cleaned at any time.
“The cuff creates an elegant frame, while the sleeve tube protects the glasses – no further construction is necessary.”
Why the reinforced shirt cuff protects glasses so well
A shirt cuff is more than a simple strip of fabric. It will usually contain an extra fused interfacing layer that gives it structure. This layer offers several benefits:
- It gives the glasses case a firm opening that holds its shape.
- It cushions minor knocks in a rucksack or handbag.
- It stops the fabric collapsing softly and trapping the glasses.
When glasses are left loose in bags during everyday use, tiny scratches can quickly appear. The cuff’s firm but not overly rigid material acts like a small protective shell without damaging the lenses. Cotton also remains breathable and pleasant to hold.
Another advantage is that the cuff opening stays stable even after frequent use. It hardly stretches out and retains its form, while the button works as a natural fastening. If the bottom seam is finished carefully, crafters estimate that the case will last a good five years under normal use.
Ways to personalise the glasses case
Visually, the finished piece does not have to look like an offcut from an old office shirt. A few small alterations can make the case look surprisingly stylish – and far more premium than its origins might suggest.
Creative ideas for the appearance
- Replace the button: A metal, mother-of-pearl or colourful plastic button immediately adds more visual appeal.
- Sew on a label: A small woven label or fabric offcut with initials adds a personal touch.
- Make use of stripes and checks: Position patterns carefully so that lines around the cuff look as harmonious as possible.
- Add embroidery: A small symbol, an initial or a miniature border brightens up plain fabric.
If you wear particularly narrow glasses, the width of the case can also be adjusted. Simply sew an extra lengthwise seam a few millimetres beside the existing sleeve seam. This creates a narrower “channel” that fits more closely and holds the glasses in place better.
Improving the lining and comfort
Delicate spectacle lenses benefit from a softer inside surface. A thin lining of soft fabric is sufficient:
- Sew a narrow strip of jersey or soft cotton into the inside.
- Alternatively, secure a piece of microfibre cloth at one side so it lightly polishes the lenses as they are slipped in.
This added layer is particularly worthwhile for people who often carry their glasses in packed handbags.
Making more from a shirt: further upcycling ideas
Once you have enjoyed making the first glasses case, you may view the remaining fabric differently. A single shirt can be turned into several sewing projects, each useful and requiring very little extra material.
| Shirt section | Possible use |
|---|---|
| Second cuff | Second glasses case or cover for reading glasses |
| Body with button placket | Flat zip pouch for pens or cosmetics |
| Back panel | Patchwork-style cushion cover |
| Collar | Cover for a dog collar or decorative trim for a small bag |
Two cuffs can make a matching pair: one case for sunglasses and one for reading glasses. They look the same, but can be distinguished by using different buttons. The rest of the shirt can be transformed into small pouches, drawstring bags or even a lightweight everyday tote. An unwanted garment thus becomes a complete set of everyday helpers.
Why these mini projects are so popular
A project such as this lowers the barrier for sewing beginners. It needs no pattern, no complicated methods and no costly materials. At the same time, it creates something that can be used every day or given as a thoughtful gift. Many people report that friends become curious when they take the finished case from their bag.
“Anyone paying with an original, self-sewn glasses case often provides a talking point at the same time – and inspires others to try the idea.”
The environmental benefit may not be huge, but it is noticeable: every reused shirt replaces a newly bought case. Anyone recreating the project also becomes more aware of the quality built into existing textiles, such as reinforced areas including cuffs, collars and button plackets.
Practical tips for everyday use
Keep a few points in mind to ensure the case remains enjoyable to use for a long time:
- Wash it regularly, ideally on a delicate cycle.
- Remove the glasses and fasten the button before washing.
- Check the fabric beforehand: if threads are loose or the material is already very thin, choose another shirt instead.
- If you often put your bag on the floor, it is better to use a shirt made from slightly sturdier fabric.
For highly mirrored or very expensive lenses, an especially soft interior is recommended, such as a sewn-in layer of microfibre cloth. This makes scratches less likely, even with frequent use.
In sewing circles, this shirt-cuff glasses case is now regarded as a typical “in-between project”: quick, practical and with a satisfying aha moment. Once you understand how much design is contained in such a small part of a shirt, you are unlikely to give away your next unwanted blouse or old office shirt without a second thought.




Comments
No comments yet. Be the first to comment!
Leave a Comment