
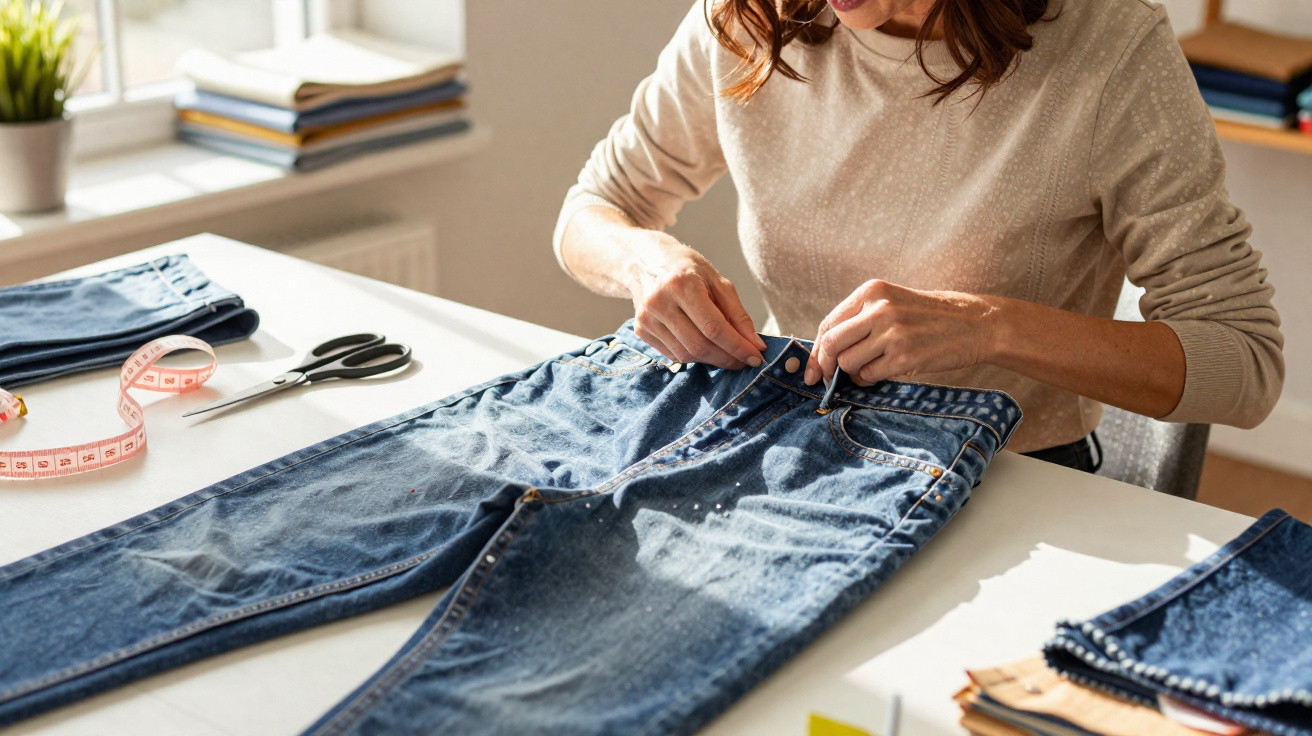
A familiar scenario: a few extra kilos, a bloated stomach after a meal or a wash cycle that was slightly too hot – and suddenly your trousers will no longer fasten. Even so, they often end up back in the wardrobe “for later”. Yet a straightforward sewing idea can widen the waistband surprisingly easily, without dieting, a shopping trip or an entirely new wardrobe.
Why tight trousers do not need to go in the bin
Throwing clothes away simply because they pinch a little is hard on both your budget and the environment. The textile industry is among the largest producers of waste, and extending the life of every garment saves resources and energy.
“By widening a trouser waistband by a few centimetres, you prevent waste, save money and often rescue an absolute favourite.”
Jeans, chinos and tailored trousers in particular may already have the ideal length, a great colour and a good fit through the legs – they are simply tight around the stomach. Rather than trying larger sizes in frustration in the changing room, it is worth reaching for the sewing kit: in many cases, a small alteration to the waistband seam can create up to 5 centimetres of extra room.
The waistband: the tight spot and the solution
On traditional styles, the trouser waistband is made from a firm strip of fabric with very little stretch. This is precisely where pressure builds when your stomach becomes a little fuller as the day goes on. The button, zip and front centre are then placed under strain – which is uncomfortable and usually clearly visible.
The quick-fix principle is not to alter the whole pair of trousers, but to add a small elasticated section only at the waistband. Everything else remains unchanged, with hardly any difference to the line across the hips.
What an “elasticated insert” actually is
Essentially, this involves adding a piece of stretchy material to the waistband in a discreet area – usually at the side seam or centre back. It creates a small buffer that absorbs the pull when your stomach expands.
- The tension is shifted away from the button.
- The waistband gives instead of pressing into your stomach.
- The fit over the hips and bottom remains almost unchanged.
- It is usually barely visible from the outside, particularly beneath a T-shirt or jumper.
Step by step: widen the waistband by up to 5 centimetres
Anyone who has sewn on a button before can manage this with a little patience. The alteration is best suited to trousers with a standard waistband, rather than leggings or highly stretchy styles.
Materials you will need
- Flat elastic at least 3 centimetres wide, or a sturdy piece of stretchy fabric
- A seam ripper or small, pointed scissors
- A sewing machine with a zigzag stitch, or a strong hand-sewing needle
- Thread in a matching colour
- Pins or sewing clips
Open the seam in the right place
Turn the trousers inside out. Next, choose either the side seam or the centre-back seam, as these are the least noticeable areas.
- Use the seam ripper to open around 4 to 5 centimetres of the seam downwards.
- Unpick the waistband at the same point, following the original seam line.
- This produces a V-shaped opening, which will later hold the insert.
Insert elasticated triangles into the waistband
Cut two small triangles from the elastic or sturdy stretch fabric. The wide edge will form the top edge at the waistband, while the point faces down towards the hip.
- Pin the triangles into the V-shaped opening, with their wide edge against the waistband.
- Secure them with pins, then briefly try the trousers on while they are still inside out.
- Adjust the width as needed until the waistband feels comfortable.
Ideally, sew with a zigzag stitch so that the material retains its stretch. If you do not have a machine, use small, closely spaced hand stitches. The wider the triangles, the more extra circumference the waistband gains – up to roughly 5 centimetres is realistic.
A no-elastic trick: stretch using fabric alone
Some people prefer not to wear synthetic elastic, or simply do not have any at home. The same technique can still work by using fabric cut on the bias.
How bias-cut fabric creates natural stretch
Cutting fabric diagonally across the grain produces a slight amount of give, even when it contains no elastane. This is exactly the quality that can be used to adapt a trouser waistband.
Suitable options include:
- A piece taken from the hem of an old pair of trousers made from similar fabric
- A sturdy but not overly thick cotton or denim offcut
Cut triangles from this material on the bias as well, then sew them in as you would the elasticated inserts. The result is gentler than elastic, but it still noticeably improves comfort, especially when sitting down.
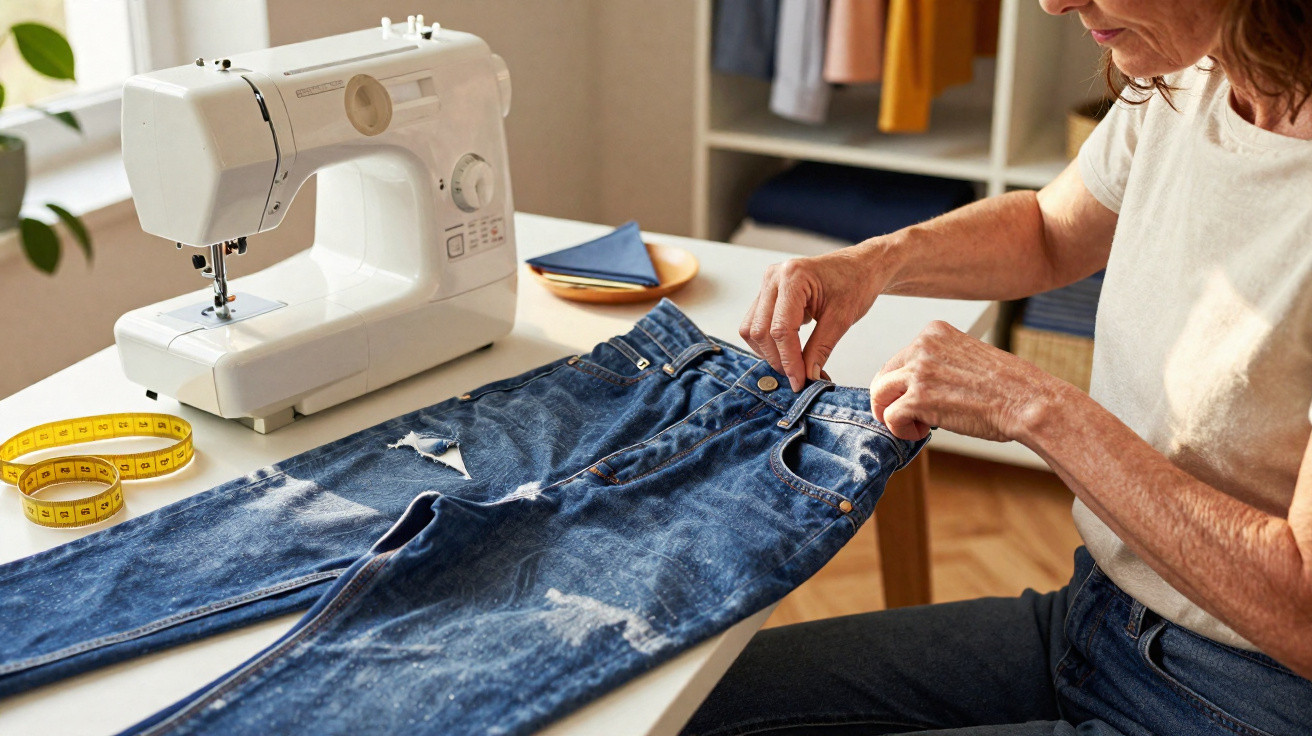
When your favourite jeans suddenly feel tight during the menopause
Many women find that their reliable jeans cut no longer fits after the menopause, even without significant weight gain. The body distributes weight differently, the stomach area becomes softer, while the legs and bottom often remain much the same.
“Two small inserts at the sides of the waistband are often enough to make an ‘impossible’ pair of jeans suitable for everyday wear again.”
Side inserts sit discreetly beneath a T-shirt or jumper. If you own several favourite pairs of jeans, once you have tried the method for the first time, you can almost work through them in batches – the process is always the same.
| Situation | Recommended solution |
|---|---|
| Jeans feel only slightly tight after eating | Narrow elasticated inserts at the back of the waistband |
| Trousers will barely fasten | Wider inserts on both sides, adding up to approx. 5 cm to the overall circumference |
| Sensitive skin; fewer synthetic fibres preferred | Bias-cut fabric triangles instead of elastic |
| Body shape varies greatly during everyday life | Elasticated inserts using the widest possible elastic |
More comfort without an obvious homemade look
Many people hesitate over DIY alterations because they worry about ruining their trousers. The key is to work in inconspicuous places and select thread in a similar shade. The alteration will then remain almost invisible from the outside.
If you are unsure, test the technique on a pair you care less about first. Once it works there, your favourite jeans can go on the table. Alternatively, you can explain the method to any alterations tailor – for professionals, it is a job that takes only a few minutes.
Why this small sewing trick pays off in several ways
The benefit is not limited to wearing comfort. Using trousers for longer reduces your textile consumption, which saves water, energy and raw materials. It also avoids frustrating changing-room fittings, because the existing cut often fits wonderfully in every other respect.
The trick is equally practical for people whose stomach circumference changes throughout the day: for example, due to bloating, after larger meals, during hormonal changes or as weight varies over the year. The waistband gives way instead of requiring a new size every time.
There is another benefit, too: rescuing old trousers also develops your sewing skills. Many people start with a single pair of jeans, realise how simple the alteration really is, and gradually turn their attention to the whole pile of “almost fitting” trousers in the wardrobe.

Comments
No comments yet. Be the first to comment!
Leave a Comment