
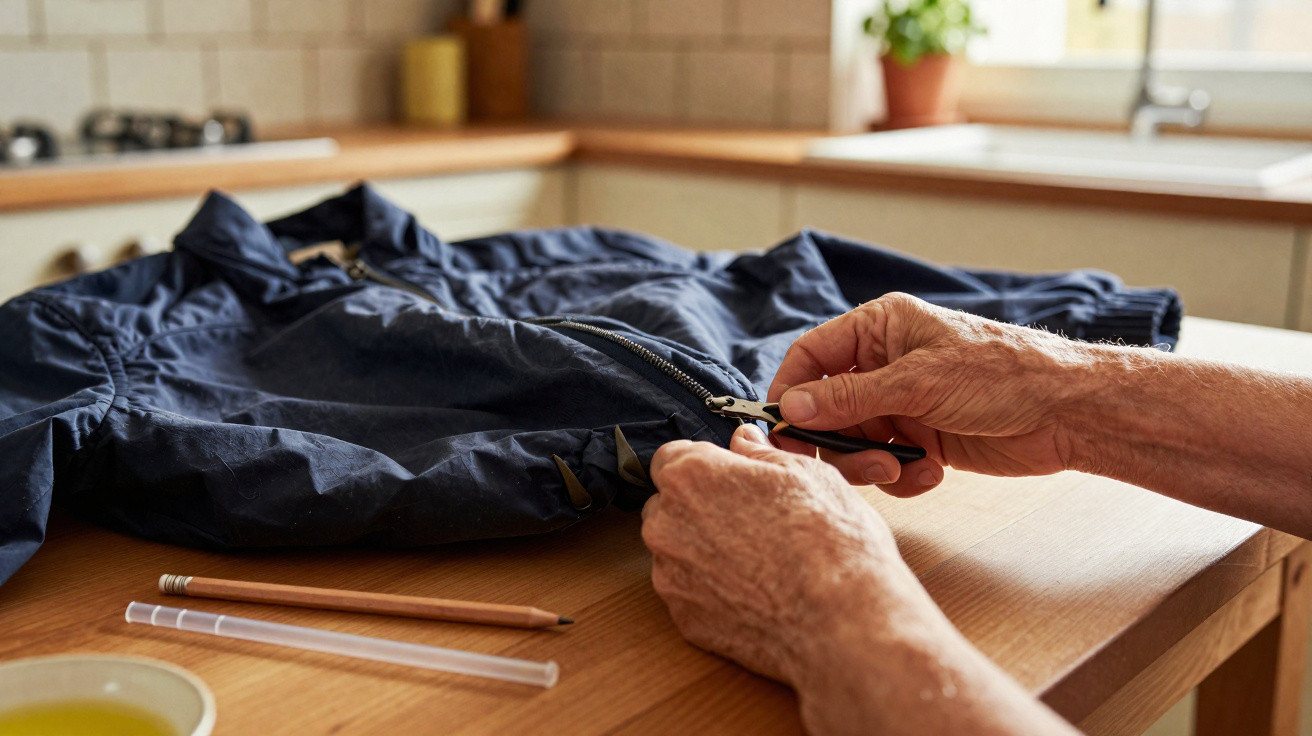
A broken zip can quickly seem like the end of a jacket, favourite rucksack or handbag. Many people assume it means the bin or a fiddly sewing job. Yet our grandmothers knew a straightforward trick that can save most zips in minutes, using a tool almost everyone already has at home.
Why zips seem to fail ‘out of nowhere’
It is a familiar scenario: you are rushing to leave the house, pull the zip up, and moments later it splits open again from the bottom. Or it closes only partway, runs crookedly or feels loose. It is easy to assume the zip teeth themselves are worn out.
In many cases, however, the culprit is a small, easily overlooked part: the slider, the piece you pull up and down. This tiny metal component works like miniature pliers, pressing the two rows of teeth together so they mesh properly.
Over time, the following happens:
- The slider widens through pulling and wear.
- Its internal gap becomes fractionally too large, often by only a fraction of a millimetre.
- The teeth no longer engage correctly.
- The zip appears to close, but immediately opens again.
Alterations professionals report that around 60 percent of supposedly ‘broken’ zips do not have damaged teeth at all; they simply have a stretched slider. This is exactly where this traditional household fix can help.
“In many cases, it is enough to narrow the slider by less than one millimetre – and the zip will work properly again.”
The granny method: repair a zip with simple pliers
This trick from our grandmothers requires no sewing, specialist parts or workshop. The only condition is that the rows of teeth remain intact and that the tape fabric is not torn.
Step 1: Prepare the zip
Start by laying the garment flat. Pull the slider all the way down to its bottom stop. Check that no lining fabric or thread is caught in it. The clearer the area around the slider, the more accurately you can carry out the repair.
Step 2: Gently squeeze the slider
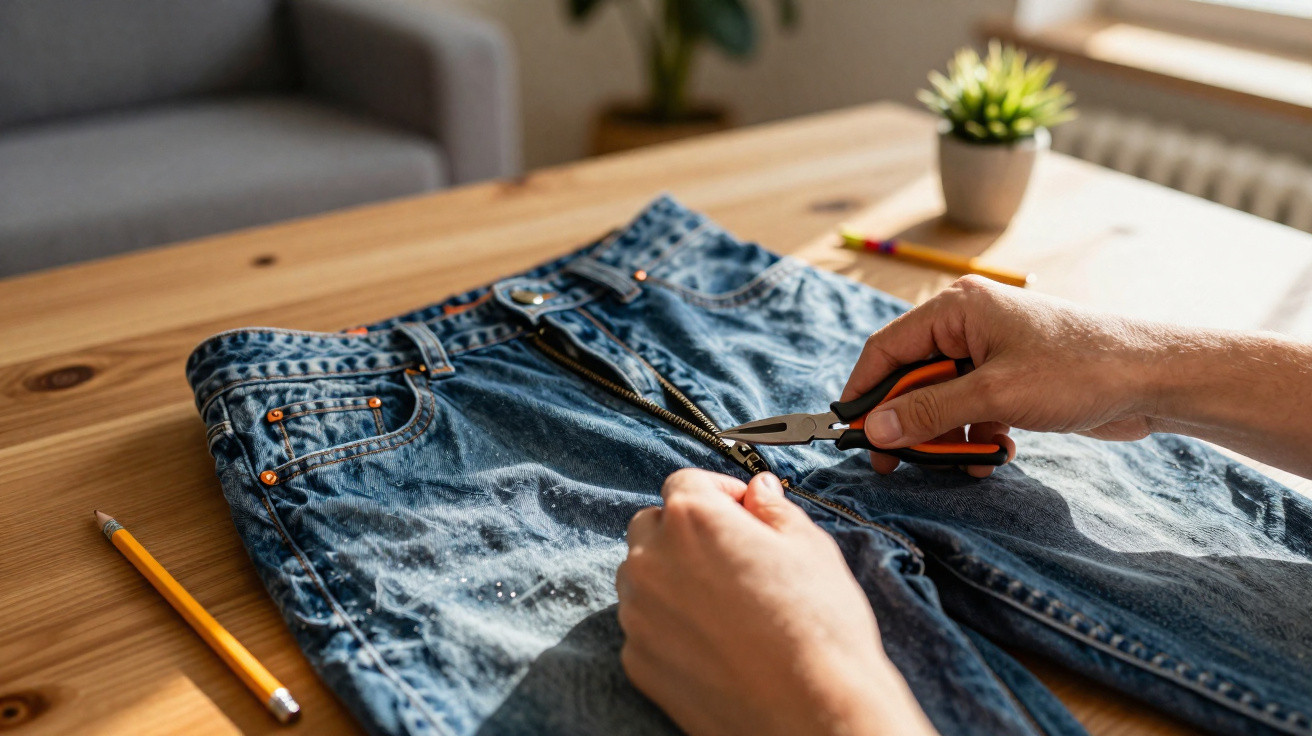
Now you need the tool: small flat-nose pliers or combination pliers, like those found in many toolboxes. Choose pliers with smooth jaws, rather than toothed jaws that could scratch the metal.
Proceed as follows:
- Position the pliers at the side of the wider part of the slider, where it encloses the teeth.
- Use very small, gentle movements to bring the two sides slightly closer together.
- Do not use excessive force. The aim is a precise adjustment, not to crush the slider flat.
The change will usually be almost invisible, but it is technically crucial: the slider grips the two rows of teeth more firmly again, making them interlock correctly.
Step 3: Test, adjust and finish
After the first light squeeze, pull the slider upwards by around 5–10 cm. Does the zip now close securely? Does it stay closed rather than splitting straight away?
- If yes: the repair has worked. No further pressure is needed.
- If no: pull the slider back down and use the pliers to squeeze the sides very slightly for a second time.
Usually, two to three attempts are enough to find the right adjustment. Squeezing too hard too soon risks making the slider jam, so it will no longer move up or down. The rule here is simple: three small adjustments are better than one forceful squeeze.
“The actual job often takes less than three minutes – and can save an expensive coat or rucksack.”
If the zip still sticks: household lubricants
Sometimes the slider is correctly adjusted but the zip still feels rough, catches or sticks at certain points. A dry lubricating layer can help in these situations. This is precisely what many grandmothers used long before specialist care sprays existed.
Graphite from a pencil
One proven option can be found in almost every drawer: a pencil. Its lead contains graphite, which leaves behind a smooth, dry coating.
Apply it as follows:
- Use a soft pencil, ideally one marked 2B.
- Rub the lead several times over the zip teeth, both inside and outside.
- Slowly move the slider up and down several times.
- Wipe away any excess graphite with a cloth afterwards.
The zip should become noticeably easier to move, without oil or grease staining the fabric.
Alternative household remedies from the kitchen and bathroom
If you do not have a pencil to hand, other dry or semi-solid substances can create a thin lubricating layer:
- Soap – preferably a bar of solid hand soap, rubbed sparingly over the teeth
- Candle – run a little wax from a white candle over metal or plastic teeth
- Glycerine – apply only a tiny amount with a cotton bud
- Vaseline – use an extremely thin layer so that dirt does not build up
Avoid thick oils and greasy household products. They attract dust and lint, clog the teeth and are more likely to worsen the issue in the long term.
Straw stopper trick: when the bottom stop is missing
There is one special case: the zip’s lower stop has snapped off, allowing the slider to slide completely out of the track at the bottom. In the past, this often meant the end of the garment. Today, a clever no-sew trick is widely used by DIY enthusiasts.
To make a new lower stop:
- Cut a piece around 3 mm long from a plastic drinking straw.
- Slice this piece lengthways once, so that it can be slipped over the tape.
- Place it at the bottom over both sides of the zip, exactly where the metal stop would normally sit.
- Secure it with a drop of superglue or strong all-purpose adhesive.
This small plastic piece acts as a new stopper bar. It is barely noticeable from the outside, particularly on dark fabrics. For children’s jackets, school bags or everyday rucksacks, it is a surprisingly durable solution.
When a home zip repair reaches its limits
Useful as the granny method may be, not every zip can be saved with pliers, a pencil and a drinking straw. Typical limits include:
- Rows of teeth are broken or missing over several centimetres.
- The zip tape is torn or badly worn through.
- The slider is severely bent, cracked or corroded.
In these cases, it is worth looking at modern replacement sliders that can be clipped on without unpicking the entire zip. Many haberdashery shops stock these in several sizes for jackets, bags and tents. If you are unsure, take the item to an alterations shop; this will usually cost far less than replacing it.
How to keep zips working for longer
To stop the repair becoming an ongoing project, a little everyday care goes a long way. A few simple habits can significantly extend a zip’s lifespan:
- When fastening jackets, do not pull on the fabric; use only the pull tab.
- Close zips before washing so they do not snag.
- Do not force a slider when it catches; find the cause first.
- Do not overfill bags and suitcases, so the zip is not under constant pressure.
Sliders on children’s clothing and outdoor jackets in particular suffer from pulling and dirt. An occasional stroke of graphite or a little soap on the teeth works like a small service check.
Why repairing a zip is genuinely worthwhile
Saving a zip instead of throwing away the entire item does more than save money. Many garments are discarded unnecessarily simply because this single component stops working. For high-quality winter coats, suitcases or rucksacks, the granny method can quickly save the three-figure cost of buying a replacement.
There is also the sustainability benefit: less textile waste and fewer resources used to make new clothes or bags. A few minutes with pliers and a pencil may seem insignificant, but the effect on both your wallet and the environment can be remarkably substantial.
“Once you have mastered this technique, you will not only save your own coat, but will soon become the go-to zip rescuer among your friends.”




Comments
No comments yet. Be the first to comment!
Leave a Comment