
The first time you properly notice your grout is often completely accidental. You might be wiping up a spill when the light catches the floor at exactly the wrong angle, revealing pale tile lines that have become… grey. Or yellow. Or a peculiar, weary beige that says, “I’ve seen things.” You try washing-up liquid, followed by whichever all-purpose spray happens to be nearby, but nothing shifts. Soon, you are asking yourself precisely when your bathroom became a before picture. Then, over coffee, a friend casually drops the bombshell: “Oh, I just mix three things from my pantry and wipe it all on. Fifteen minutes later it looks new.” You look at their shining kitchen tiles, then your own patchy grout, and feel faintly let down.
Some advice feels like clickbait-until you watch it work.
Why grout gets disgusting no matter how often you clean
Grout is rather like a sponge that never volunteered for the role. Tiles themselves remain smooth and straightforward to wipe down, but the narrow, sand-filled joints between them quietly absorb everything: soap scum, cooking grease, muddy shoes, coffee spills and hard-water marks. When new, they are a crisp, clean white. Half a year on, they can resemble a blotchy watercolour record of everyday life. Because the colour change happens gradually, you barely register it. Then you move a mat or bin one day and find the original grout colour, almost luminous, beside the grimier surrounding area. That contrast lands like a miniature domestic horror film.
I saw exactly this in a friend’s rented kitchen last year. She maintained that her floor was “just old”, until we moved the recycling bin and uncovered a flawless rectangle of bright grout beneath it. It had been protected from foot traffic, splashes and crumbs. Compared with that patch, the remainder of the floor looked nearly brown. She mopped twice weekly, and sometimes more often when her children brought dirt indoors, while proudly relying on a discounted “deep-clean” product. Yet none of it addressed the actual issue: grime accumulated over years and trapped in the pores. All that mopping suddenly seemed like a rather cruel joke.
There is a straightforward reason this happens so often. Everyday cleaners are generally made for non-porous, smooth surfaces rather than porous ones. They skim over grout, perfume the room and create that just-cleaned sensation, before drying without tackling what is embedded inside. Steam can help slightly, as can determined scrubbing, but dirt has chemistry working in its favour. Oils adhere, minerals set hard and soap scum clings on. What is needed is something that can dissolve, lift and scrub gently at the same time. That is why people become so excited when a basic three-ingredient pantry mix performs better than the expensive bottles beneath the sink.
The 3-ingredient pantry mix that’s driving cleaners crazy
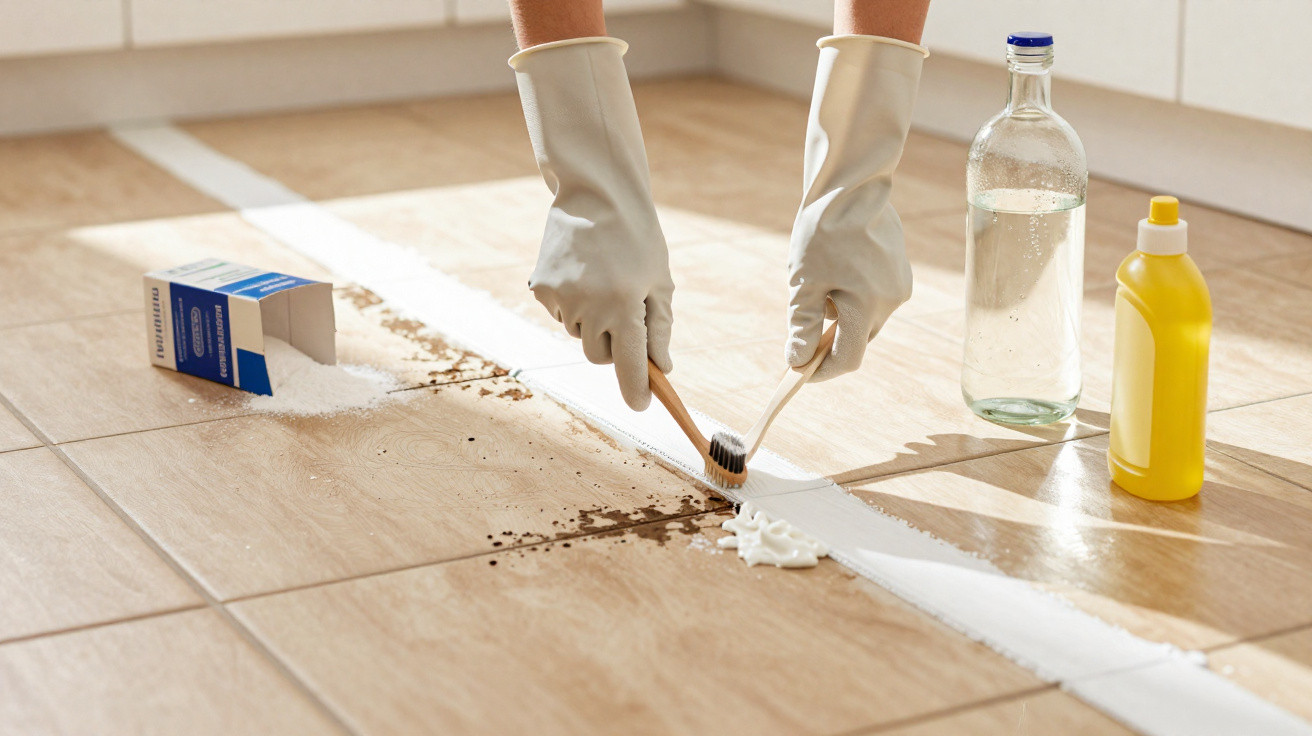
The formula that repeatedly goes viral is surprisingly uncomplicated: baking soda, white vinegar and washing-up liquid. Nothing else is required-no obscure powders, industrial-strength fumes or ten-stage process that consumes your Saturday. Scatter baking soda straight along the grout lines, add a little washing-up liquid, and then pour or spray diluted white vinegar over it. It bubbles like a school science-fair volcano, which is where the magic appears to begin. Leave it for roughly 10–15 minutes, then scrub using a stiff brush or an old toothbrush. Wipe it away with a damp cloth, rinse and take a look. The contrast can be remarkable, particularly with light-coloured grout.
The most common error with this mixture is either hurrying it or using far too much. People pile on excessive quantities, scrub as though buffing a car bonnet, wear themselves out and then dismiss it as “overrated”. The real trick is allowing the chemistry to do most of the work. Apply a light, even coating of baking soda over the grout joints. Dot a small amount of washing-up liquid along those same lines. Use white vinegar diluted with water in a spray bottle-only enough to saturate the area and make a gentle foam. Then leave it alone. Have a coffee, look at your phone or reply to an email. The pause can feel almost too easy, which is exactly the point.
One professional cleaner I spoke with laughed and said, “Honestly, this mix is unfair competition. People try it once and suddenly think they don’t need me anymore.” She was joking, mostly, but there was a hint of truth there. When a two-euro bottle of vinegar, a box of baking soda, and your regular dish soap outshine brand-name grout sprays, you start questioning a lot of things under your sink.
- Ingredient 1: Baking soda – A mild abrasive that removes surface grime without scratching most tiles.
- Ingredient 2: White vinegar – Breaks down mineral deposits and soap scum, while activating the baking soda.
- Ingredient 3: Washing-up liquid – Cuts through oily residue and helps distribute the mixture evenly.
What’s really happening in those 15 minutes
From above, it simply appears to be foam and fizz. Beneath the surface, though, the three ingredients address the build-up from three separate directions. Baking soda settles into porous grout and presses against the dirt in much the same way as gentle sandpaper. Vinegar reacts with it, loosening mineral deposits and breaking up soap scum. Washing-up liquid surrounds greasy particles so that they can be lifted and rinsed away, rather than adhering again once the floor dries. This is not about brute strength; it is quiet, gradual teamwork. That is why waiting those 10–15 minutes can seem almost implausibly effective.
That also explains why some people say it “does nothing”, while others claim it changed their lives. Where grout has been deeply stained for years, a single 15-minute application will not reverse everything. You may need to repeat the treatment across several days, or work on a small area at a time instead of attempting an entire kitchen at once. Honestly, nobody performs this task every day. However, treating one square metre near the sink and comparing the before-and-after result under the same lighting is when the benefit becomes clear-and you begin deciding which section to “treat” next.
The emotional effect can be unexpectedly powerful. People describe revived grout as if they have refurbished the entire room. Floors look lighter, and bathrooms suddenly appear newer, even where the tiles are twenty years old. Some feel mildly frustrated by all the money spent on sprays and gels that never reached the deep-set dirt. We have all had that moment when a low-tech method your grandmother might have used outperforms a fluorescent bottle with six logos and a celebrity endorsement. There is no need to become fixated on grout. Yet once you have seen what those three cupboard staples can do in fifteen minutes, it is difficult to forget.
What this simple trick changes in your everyday cleaning
Trying the mix once is gratifying. Making it a small routine can alter how you view rooms you considered “old”. You might tackle the shower this Sunday and the hallway the following week. You could keep a small container of ready-mixed baking soda and a labelled spray bottle of vinegar solution under the sink, making preparation a matter of seconds. Some people even choose a long-handled grout brush so they do not have to kneel. The aim is not flawless perfection, but the quiet, almost smug satisfaction of knowing you can refresh those lines once they begin looking tired again.
Cleaners with years in the profession understand that the biggest transformations often come from the least glamorous products. They are not threatened by this cupboard trick; they simply find the surprise it provokes amusing. One cleaner told me she now demonstrates a “test line” of grout before giving a substantial quote. When a home responds well to the baking soda–vinegar–soap combination, clients sometimes choose to do the remaining grout themselves and employ her for jobs that genuinely need professional equipment. It is a subtle shift in balance. You discover where assistance is genuinely necessary and where five minutes of preparation using cupboard ingredients will do.
There is something surprisingly grounding about it, too. There is no harsh, suffocating odour, no plastic-heavy shopping trip and no implication that you need the “right” branded miracle product to keep a respectable home. Just a little powder, a splash of inexpensive vinegar and a squirt of the soap you already enjoy using on your hands. It is a reminder that much cleaning comes down to contact time, basic chemistry and noticing the small corners that are commonly overlooked. It will not repair cracked grout or broken tiles, and it will not remove every mark on the first attempt. But it gives you back a bit of control in a space that’s supposed to feel like yours.
| Key point | Detail | Value for the reader |
|---|---|---|
| Simple 3-ingredient mix | Baking soda, white vinegar, washing-up liquid | Relies on affordable cupboard staples rather than specialist products |
| 15-minute contact time | Leave the mixture in place before scrubbing | Increases the effect with little effort and conserves physical energy |
| Targeted, not constant, use | Treat individual sections or high-traffic areas | A practical routine for busy lives that still produces visible results |
FAQ:
- Question 1 Can I use this mix on coloured grout? Usually, yes, but always try it first in a small concealed spot. Some heavily tinted or badly sealed grouts may lighten slightly, particularly if they are already faded or damaged.
- Question 2 Will this damage my tiles? Not on most ceramic or porcelain tiles. Do not use vinegar on natural stone, such as marble, travertine or limestone, because acids may etch its surface over time.
- Question 3 How often can I clean grout this way? For typical household cleaning, once every few months is sufficient in most places. High-traffic areas and showers may benefit from monthly touch-ups or quick spot treatments.
- Question 4 Do I need to seal my grout after cleaning? If the grout is unsealed and you have just deep-cleaned it, applying sealant can help it stay attractive for longer. It forms a barrier that slows staining and makes later cleaning easier.
- Question 5 What if the stains still don’t come out? Extremely old, deeply embedded stains or damaged grout lines may not respond completely to home treatments. In such cases, professional deep cleaning or regrouting may be the only route to a fully “like new” finish.






Comments
No comments yet. Be the first to comment!
Leave a Comment