
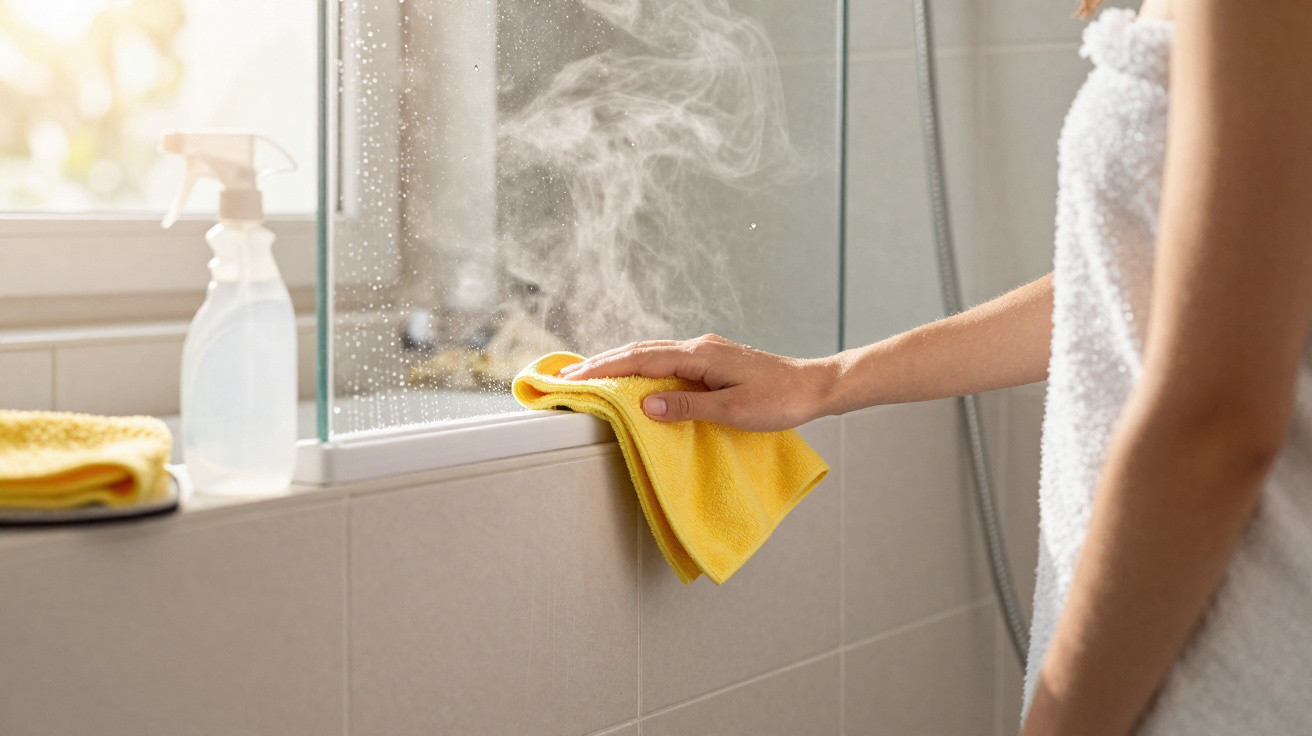
Many people clean their shower regularly – yet still overlook one small step that can determine whether their bathroom stays hygienic or develops mould.
The shower head shines, as do the tiles, and everything appears clean. Even so, many households struggle with musty smells, dark edges and recurring bathroom mould. Specialists often point to one underestimated issue: wet silicone seals that are simply left to dry on their own after showering.
The bathroom blind spot: wet silicone seals
Silicone seals are widely seen as easy to maintain, but they are in fact a moisture hotspot. They are positioned exactly where water splashes every day: inside the shower, around the bath and by the basin. When moisture remains there, it creates ideal conditions for fungi and bacteria.
Moisture works its way into even the tiniest gaps, where it can remain for hours or sometimes permanently. In bathrooms without effective ventilation, seals may barely dry out completely. This can lead to:
- dark or black discolouration along the seals
- a musty, slightly damp smell, particularly after showering
- higher levels of mould spores in the air
- a greater risk of respiratory problems for sensitive people
People with allergies, asthma or chronic lung conditions are especially sensitive to spores and mould. Children and older people are also among the groups that may be more heavily affected.
“Anyone who leaves silicone seals permanently damp risks not only yellow edges, but a genuine health issue in their own bathroom.”
Why daily squeegeeing is the crucial step
Bathroom refurbishment and building hygiene specialists agree that the most effective measure takes place immediately after showering – and requires only a few seconds. It means consistently removing water from tiles and silicone seals.
The process is straightforward:
- After showering, use a shower squeegee to clear the walls and, above all, the areas around the seals.
- Wipe the silicone seals specifically with a dry, absorbent cloth.
- Ventilate the bathroom well, ideally by opening the window wide or ensuring strong air exchange.
This brief routine dramatically cuts residual moisture. The less water left on the silicone, the poorer the conditions are for mould and limescale deposits.
How moisture attracts mould and limescale
Where water is present, two problems come together: limescale and mould. Depending on the region, tap water can contain high levels of limescale. If it dries slowly on the seals, pale, rough edges are left behind. At the same time, micro-organisms thrive in places that are damp and slightly rough.
This creates a kind of vicious circle:
- Moisture remains on the seals.
- Limescale builds up and makes the surface porous.
- Fungi and bacteria can establish themselves more easily in these areas.
- Mould spreads increasingly quickly and penetrates deep into the material.
Over time, ordinary cleaning products offer little help. The seals can look permanently dirty, even after thorough cleaning.
Bathroom health risk: more than a cosmetic flaw
Mould in the bathroom is not merely an aesthetic nuisance. Certain types of mould release substances that can irritate mucous membranes and put strain on the airways. Anyone spending time every day in a bathroom with a high spore level may notice:
- a frequently runny or blocked nose
- an urge to cough without an obvious cold
- stinging or itchy eyes
- headaches or tiredness after spending longer in the bathroom
Medical professionals point out that existing allergies can worsen. With asthma too, a persistently mould-affected environment can intensify symptoms.
“A few drops too much on the seals can ultimately cost more than any new tile.”
A daily mini-routine instead of costly repairs
Drying seals briefly every day can save considerable effort and money in the long term. A consistent routine stops silicone from becoming so badly damaged that it has to be fully replaced.
Typical cost traps when seals are neglected include:
| Problem | Possible consequence |
|---|---|
| Mould deeply embedded in the silicone | Replacement of the seals by a tradesperson |
| Cracks and leaks | Water damage to walls or flooring |
| A chronically musty smell | Extensive mould removal and drying work |
All of this can be greatly reduced with one simple action after showering. Those who squeegee and dry consistently need aggressive cleaners less often, which is kinder to their skin and airways too.
How to make checking silicone seals part of daily life
The key is to turn the process into a habit. A few practical tips can help:
- Hang the shower squeegee inside the shower where it is clearly visible.
- Keep a separate microfibre cloth, intended only for the seals, within easy reach.
- Involve flatmates or family members – everyone who showers should squeegee afterwards.
- Use a simple reminder: remove the water first, then step out of the shower.
After keeping this up for a few weeks, it becomes automatic, much like turning off the tap.
Cleaning: what silicone seals can actually withstand
At the first sign of dark marks, many people reach for harsh products. These can damage silicone and make it brittle. Gentler options are usually sufficient, especially if the seals have not been left wet continuously.
Reliable options include:
- a mild vinegar or citric acid solution for limescale
- gentle bathroom cleaners without strongly corrosive ingredients
- a soft brush or old toothbrush for the edges
If these no longer work, the mould has often already penetrated deep into the material. In that case, replacing the silicone with fresh sealant is frequently the only solution – a clear sign that moisture has been allowed to act undisturbed for too long.
Why silicone seals are particularly vulnerable
Silicone appears smooth and sealed, but it is slightly elastic and adheres to the neighbouring materials. Over time, tiny cracks can form, for example because of temperature changes or slight movement between the bath and wall. Moisture collects precisely in these areas.
There is another factor: silicone contains plasticisers. Some mould fungi effectively use these components as food. Combined with standing moisture, this can greatly accelerate mould growth.
“Anyone who dismisses silicone as ‘easy to maintain’ overlooks the fact that it is among the most sensitive areas in the bathroom.”
More air, less moisture: additional ways to help your bathroom
Alongside squeegeeing the seals, the room climate plays a major role. A few simple measures support the drying process:
- Open the window wide for at least 10–15 minutes after showering.
- Keep the door to the hallway closed at first so moisture does not spread through the home.
- Do not turn the bathroom radiator off completely, so surfaces dry more quickly.
- Leave the shower curtain or shower screen open after use rather than allowing it to dry bunched together.
In bathrooms without windows, the extractor fan should continue running for longer, ideally with an overrun relay or timer. The same rule applies here: dry surfaces are the best protection against mould growth.
How quickly changes become visible
Anyone who starts removing water from the seals today will often notice a difference after only a few days. The seals stay lighter, limescale edges develop more slowly and the familiar wet-room smell diminishes.
In heavily affected bathrooms, it can be worthwhile taking a before-and-after photograph to track the difference over several weeks. This helps maintain the routine and clearly shows the effect that an apparently tiny step can have on the entire bathroom.



Comments
No comments yet. Be the first to comment!
Leave a Comment