
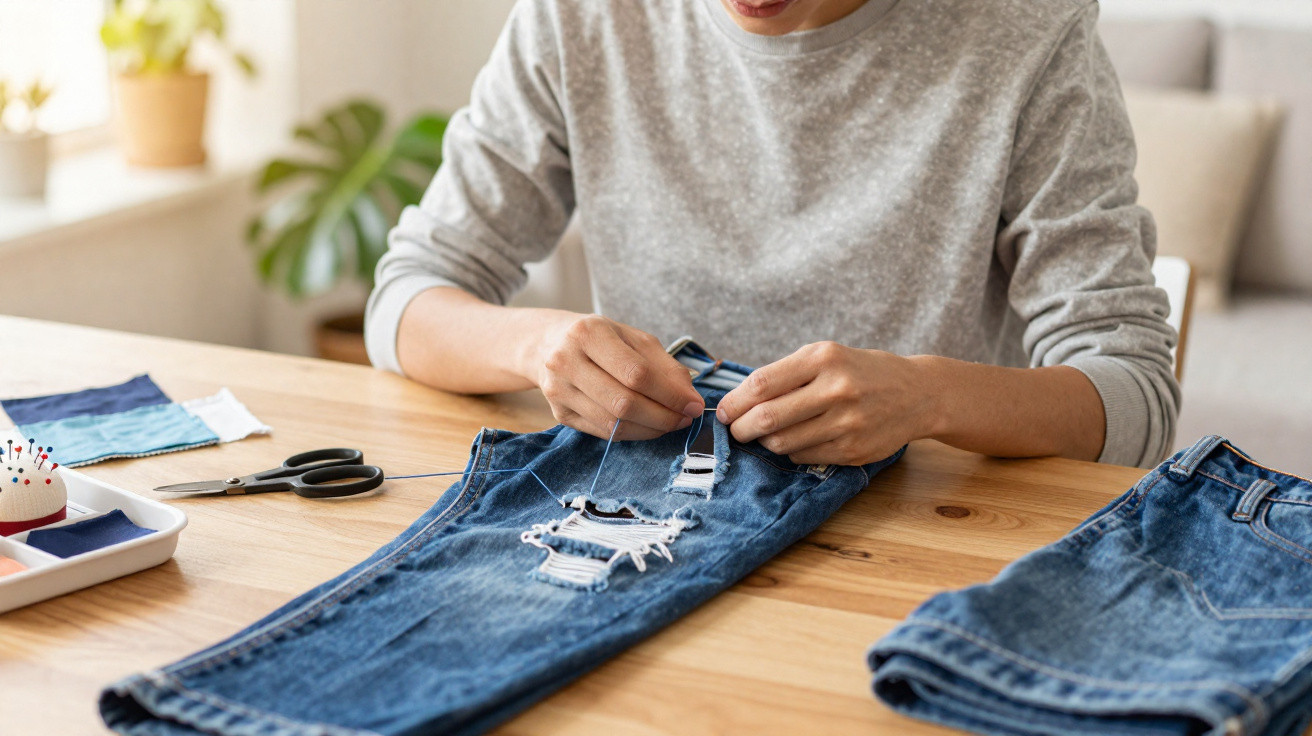
Mending ripped jeans at home is no longer a mystery reserved for people who know how to use a sewing machine. These days, many people use straightforward tricks to restore favourite garments without needing extensive supplies. With a few basic materials and some patience, you can strengthen the fabric and give the clothing a new lease of life, while retaining a subtle, durable and comfortable everyday finish.
What is DIY sewing for ripped jeans?
The key to this DIY sewing method is to use fabric glue or hand-sewing thread alongside a small internal reinforcement, creating a kind of “plaster” for the jeans. This repair can be used on tears at the knee, thigh or seat, provided the affected area has not become completely frayed.
This keeps the jeans comfortable and allows them to be worn for much longer without a sewing machine. Even very large tears can be repaired, although you may need to use more than one patch and strengthen the area with extra stitches or another layer of fabric.
Watch a video from the YouTube channel Costura Sem Segredos, which covers practical hand-repair methods for tears in jeans using invisible or iron-on patches:
https://www.youtube.com/watch?v=uK4mC8n2XyE
Which basic materials should you use to mend ripped jeans at home?
Before starting the repair, gather a few simple supplies, which are usually easy to find in haberdashery shops or even around the house. The aim is to put together a small kit that works for this repair as well as other quick wardrobe alterations.
Here are some items that make the task easier and help achieve a neater finish:
- Ripped jeans, clean and dry;
- A denim patch or sturdy cotton fabric in a colour close to that of the jeans;
- Fabric glue or strong polyester thread and a fine needle;
- Sharp sewing scissors;
- Pins or clips to hold the inner reinforcement in place;
- A tailor’s pencil or washable pen to mark the area (optional);
- A piece of cardboard or a magazine to place inside the leg of the jeans.
How to mend ripped jeans step by step?
Repairing ripped jeans follows a straightforward sequence that can be adapted depending on whether you use fabric glue or hand sewing. In either case, the aim is to secure a reinforcement patch on the inside, bringing the torn edges together without pulling the fabric too tightly.
Prepare the garment
Wash and dry the jeans as usual. Place the cardboard or magazine inside the trouser leg, lining it up with the tear, so that glue or stitches do not reach the other side. Trim only loose threads, taking care not to make the hole larger.Cut the reinforcement patch
The patch should be slightly larger than the tear, leaving an extra 1 to 2 centimetres on every side. If the denim is very thick, using lighter cotton fabric on the inside may make the jeans more comfortable to wear.Secure the reinforcement on the inside
Turn the jeans inside out and position the patch over the tear. Hold it in place with pins or clips. The edges of the tear should meet without overlapping, so the leg keeps its original shape.Apply fabric glue or sew by hand
When using fabric glue, spread a thin layer around the tear and along the edge of the patch, pressing firmly. For hand sewing, make small zigzag stitches or backstitches to join the original fabric to the reinforcement.Finish and allow to dry
Leave the garment flat for the drying time stated on the glue, or for a few hours before wearing it. If the product is heat-safe, lightly press the patch with an iron, using a cloth over it, to set the repair.
What care should you take after mending ripped jeans?
Once you have repaired ripped jeans, a few habits can help the mend last longer. Even with an internal reinforcement, the torn section remains more vulnerable, especially in high-movement areas such as the knees or inner thighs.
It is worth checking the area every time the garment is washed, as small signs of wear often first appear around the patch. You can then add further stitches or another small patch before the hole opens again and affects the fabric’s structure.





Comments
No comments yet. Be the first to comment!
Leave a Comment