
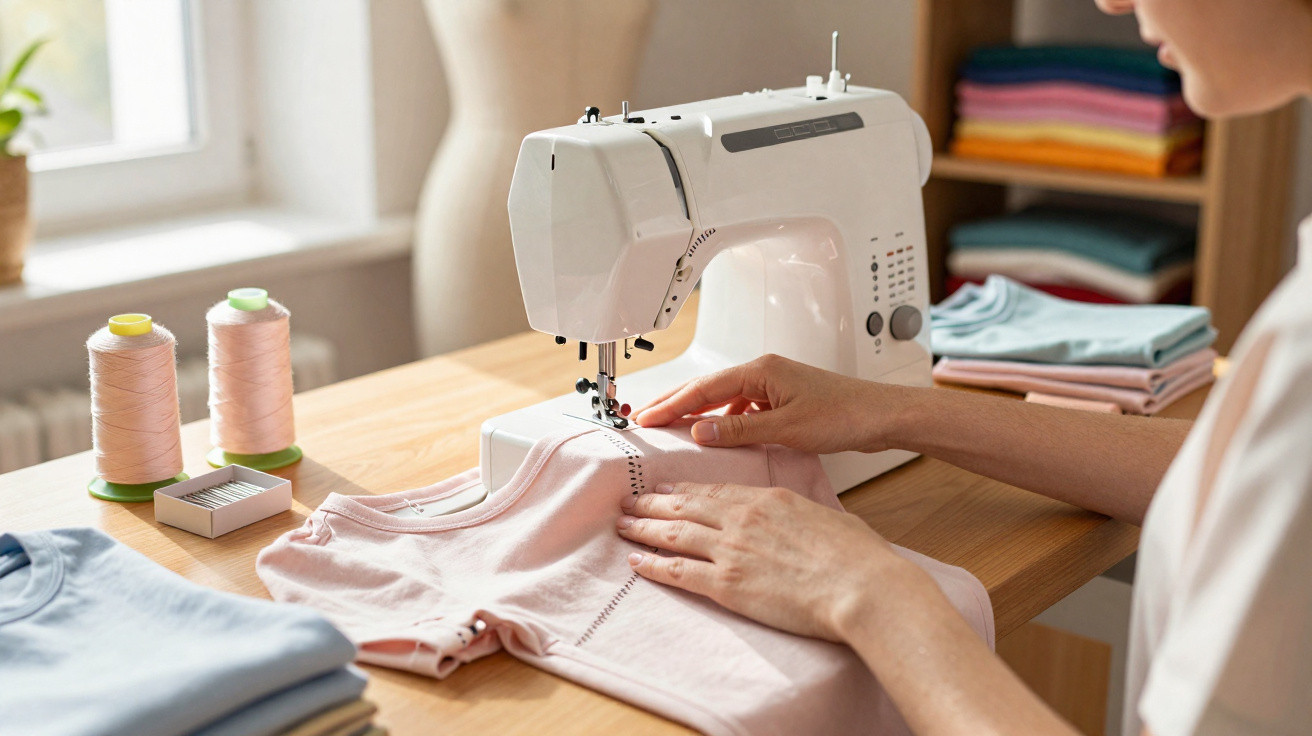
When you shorten T-shirts at home, you may know the problem: everything looks neat after pressing, but once you try the shirt on, the hem ripples or the seam splits. Comparing it with a shop-bought T-shirt makes the disappointment even worse. The difference is often not down to skill, but to a feature built into household sewing machines that hardly anyone uses.
Why T-shirt hems so often fail at home
Stretch fabrics such as jersey behave very differently from firm cotton. They stretch and slip, and are sensitive to pulling and incorrect thread tension. An ordinary straight stitch simply is not designed for this job.
- The hem area stretches considerably when the garment is pulled on and off
- A conventional straight stitch has no stretch and can break quickly
- Pulling the fabric while sewing causes ripples and a “lettuce edge”
- The seam often looks more like a home sewing project than shop-bought clothing
Professional T-shirt manufacturers generally use a dedicated coverstitch machine. It produces two or more straight lines on the top side and an elastic pattern underneath. The good news is that your standard household sewing machine can create a very similar effect – with one small accessory that many people never take out of the box.
“The route to a neat, stretchy T-shirt hem is through a twin needle, not expensive professional equipment.”
The overlooked accessory: the twin needle
Nearly all current machines from brands such as Singer, Brother and Pfaff are set up to use a twin needle. It is often stored in the accessory compartment or lid, or was simply overlooked when the machine was bought. Combined with a second spool pin, it turns a household machine into a compact “hemming professional”.
The principle is straightforward:
- Two reels of thread run from the top
- The machine uses its usual bobbin thread underneath
- Two parallel rows of straight stitching appear on the upper side, generally 2–4 mm apart
- On the underside, the bobbin thread forms a zigzag between the two needles
This zigzag provides the stretch that is needed. The hem can stretch without the thread snapping. Visually, the seam closely resembles the finish found on retail T-shirts.
How to set up a twin needle on your sewing machine
The changeover takes only a few minutes. Once you have done it, you may wonder why you did not try it sooner.
Step 1: Choose a twin needle
For most T-shirt fabrics, a size 80 or 90 needle is suitable. Twin needles with 2.5 mm or 4 mm spacing are common, depending on how prominent you want the double row of stitching to be.
- Jersey and lightweight sweatshirt fabric: size 80 twin needle
- Heavier sweatshirt fabric and sports fabrics: size 90 twin needle
- A refined, understated finish: 2.5 mm spacing
- A more defined, sporty hem: 4 mm spacing
Step 2: Use the second spool pin
Many machines have a removable second spool pin. It is often located:
- in the accessory compartment
- beneath the top cover
- or in a small holder at the side
Simply insert the pin and place the second reel of thread on it. If your machine does not have a second holder, you can use a separate thread stand behind the machine if necessary – the key is for both threads to feed evenly.
Step 3: Thread both threads and adjust the tension
At first, both top threads follow the same route through the tension discs. They separate only at the very end, just before the needle eyes. Each thread is then passed through its own needle eye.
Reducing the thread tension helps to prevent the fabric from puckering between the two stitched lines. Many home sewers get good results at around “3” rather than “4” on the tension dial. It is worth experimenting here.
“Always test on a scrap of fabric before sewing the actual hem – this lets you match tension, stitch length and stretch perfectly to the fabric.”
Practical example: a cotton jersey T-shirt
Take a classic basic T-shirt made from cotton jersey with a little elastane. When using a normal straight stitch, this often happens: the seam cracks when the shirt is pulled over the head, the thread breaks, or unattractive tension wrinkles appear.
A twin needle produces a much smoother result:
- Turn the hem allowance inwards, press it and pin it in place if required
- Sew from the right side of the fabric using the twin needle
- Select a stitch length of around 3.0 and reduce the thread tension slightly
- Do not pull the fabric; guide it gently only
Two clean lines are visible on the front, while the zigzag bobbin thread sits softly on the reverse. The hem can stretch while retaining its shape. Many people report 30 to 50 per cent more stretch allowance than with a simple straight stitch.
A sportswear tip: woolly nylon bobbin thread
If you regularly sew performance fabrics, sports T-shirts or very fine jerseys, you can take the finish a step further. Soft woolly nylon in the bobbin fills out the zigzag underside, makes the hem softer and reduces the risk of slight rippling after several washes. This solution has long been standard in the sportswear industry.
When to use a twin needle and when to use a blind hem stitch
Alongside a twin needle, sewing machines offer a dedicated hemming stitch, usually labelled “blind hem” or marked with symbols such as “B” or “V”. It consists of a sequence of straight stitches, with the machine placing a small zigzag into the fold of the fabric between them.
| Application | Twin needle | Blind hem stitch |
|---|---|---|
| Jersey and stretch fabrics | Very suitable, stretchy, sporty finish | Suitable only to a limited extent, usually too inflexible |
| Trousers, skirts, blazers | More of a visible decorative seam | Ideal, as it is almost invisible from the outside |
| Heavy curtains | Visually conspicuous | A neat, barely visible hem |
| Sportswear | Excellent, especially with woolly nylon underneath | Too rigid, with limited stretch |
A special presser foot with a centre guide is available for blind hem stitching. The fabric fold rests against this guide. The machine places the straight stitches into the hem allowance and sends only the small zigzag briefly into the main fabric. This leaves only tiny dots visible on the outside.
Common mistakes and how to avoid them
Things can still go wrong with a twin needle. However, the most frequent issues are easy to resolve:
- Ripples at the hem: Lower the thread tension slightly, do not stretch the fabric while sewing and, if possible, engage the walking foot
- Thread breaks: Select the correct needle size, check the thread quality and reduce the sewing speed
- Tunnelling between the stitch lines: Lower the tension, increase the stitch length slightly and sew test samples
- Skipped stitches: Fit a new twin needle and make sure it is suitable for jersey fabric
How much equipment is worthwhile for home sewers?
A proper coverstitch machine is a dream for anyone who constantly makes T-shirts, leggings or sportswear. However, it costs considerably more and takes up space. For most home sewers, a dependable household machine, twin needle and good-quality thread are entirely sufficient to achieve a result that is very close to a shop-bought T-shirt in both appearance and function.
Anyone who sews regularly will benefit greatly from a few trial runs on fabric scraps. Testing different stitch lengths, thread tensions and needle spacings quickly builds an understanding of what works with your favourite jersey. Confidence grows with every seam – and suddenly T-shirt hems no longer end up in the frustration pile, but in the favourite section of the wardrobe.



Comments
No comments yet. Be the first to comment!
Leave a Comment