
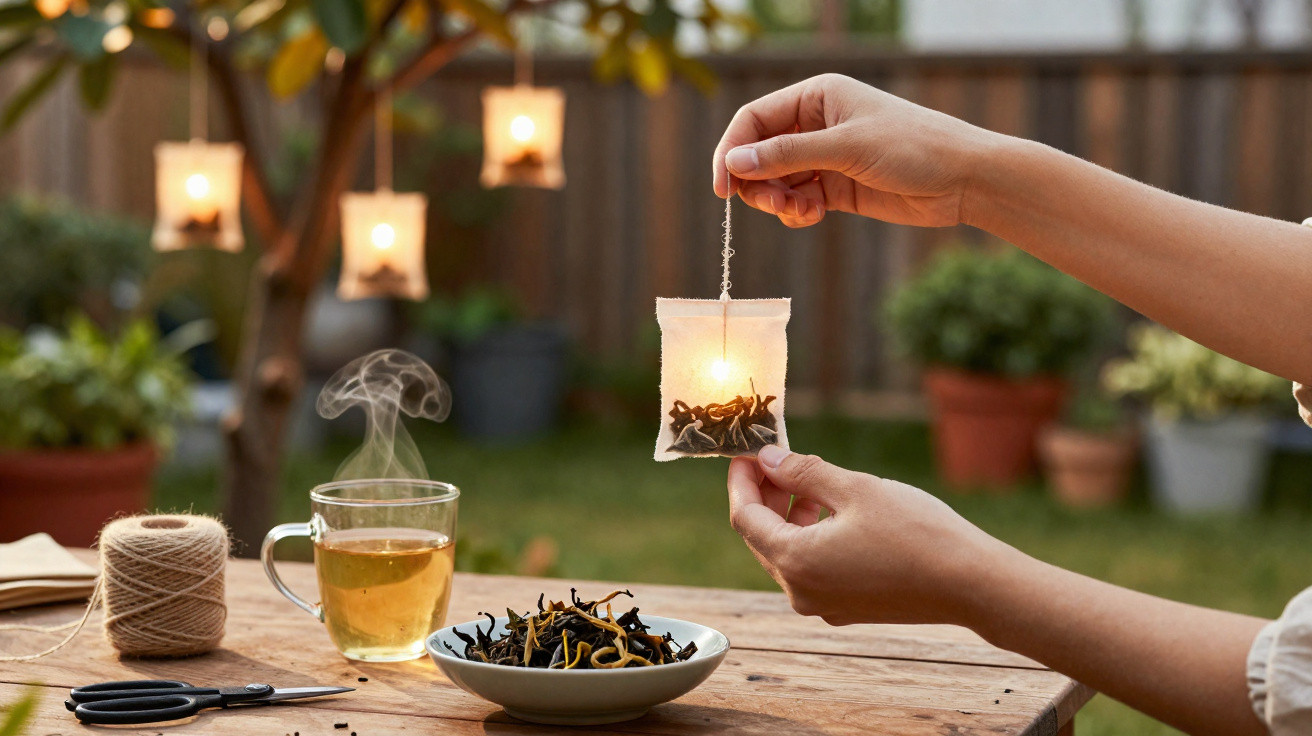
Anyone who has looked at the prices of solar string lights, designer lanterns and premium candle holders will know that creating atmospheric garden lighting can become expensive very quickly. At the same time, a simple item from the kitchen is thrown away every day, despite being ideal for producing warm, golden illumination – and this very trick is currently causing a major stir on social media.
From the bin to the spotlight: why tea bags have suddenly become a craze
An estimated 100 million cups of tea are consumed in the United Kingdom every day. Afterwards, many of the tea bags go straight into the bin. The DIY community is now showing why that is wasteful: these little bags can be turned into delicate garden lanterns with an almost magical appearance.
Creative maker Sibia Torres Padilla, known online as @Sibster and followed by more than one million people on Instagram, has sparked a crafting trend by transforming used tea bags into glowing miniature artworks. Her video has been viewed almost twelve million times, showing just how popular the idea is with both budget-conscious households and décor enthusiasts.
Rather than expensive solar string lights, all you need is a stack of dried tea bags, some glue, a few pressed flowers – and an LED light source.
Paper tea bags are especially suited to this because they already have many of the right qualities. They are small, lightweight and semi-transparent, while drying leaves them with a warm amber shade. The natural tint softens the light, creating a cosy glow that shop-bought lanterns do not always achieve so easily.
What makes the trend so appealing
Why are so many people embracing this particular craft project? The advantages are obvious:
- No purchase costs: The main material is already generated during everyday life.
- Individual appearance: Every lantern is different, so none looks mass-produced.
- Sustainability: A disposable item is given a second life.
- A family project: Children can join in and create their own designs.
- Flexibility: The lanterns work on a balcony, patio, in the garden and even on a windowsill.
In comments below the viral video, users say they now keep a jar beside the kettle and collect every rinsed tea bag for their next craft afternoon. Each cup of tea can therefore become a potential new lighting feature.
Step by step: turning tea bags into garden lanterns
Although the process may initially look delicate, it is perfectly manageable for beginners too. The key is to work carefully and without rushing, so the fragile tea bag does not tear.
Materials: what you actually need
Around eight used tea bags are enough for a small four-sided model. You will also need a few basic craft supplies:
- used paper tea bags, rather than plastic or non-woven versions;
- white craft glue, diluted with a little water;
- pressed flowers, leaves, or flat paper cuttings or confetti;
- thin wooden sticks, lolly sticks or straight twigs;
- LED tealights or small battery-powered fairy lights.
That is all that is required to make a decorative light feature from everyday leftovers.
Preparing the tea bags: cleaning and drying
The first important stage is preparing the empty tea bag cases:
- Carefully cut open one side of each tea bag.
- Remove all of the damp tea leaves.
- Briefly rinse the empty cases under running water.
- Open out the bags and lay them flat on kitchen roll.
- Leave them to dry completely, with no moisture remaining.
Only fully dry paper will prevent mould from forming. Ideally, leave the cases spread out flat overnight so that they retain their shape and dry smoothly.
Decorating the light panels
The dried tea bags are now made into small picture panels, which will later form the lantern walls:
- Use a brush to apply a thin coating of diluted craft glue to a tea bag.
- Position pressed blossoms, leaves or paper confetti on top and press them down gently.
- If desired, brush on another thin layer of glue to seal the designs.
- Allow the panels to dry again until they have become slightly firmer.
Depending on your taste, you can create romantic floral designs, graphic patterns or playful children’s motifs. Stencils can also be used to cut small paper silhouettes, such as stars, animals or lettering, and incorporate them into the panels.
Building a tea bag garden lantern from four walls
Once the panels are dry and a little more robust, they can be assembled into a frame using wooden sticks or twigs:
- Cut the wooden sticks to match the length of the tea bag edges.
- Glue four sticks around each panel to make a frame.
- Join the four completed frames together into a column, again using glue.
- Allow everything to dry thoroughly before adding the light source.
If you have a hot glue gun, it can make the joins more secure. It is important to leave the base open so that the LED tealight or fairy lights can be slipped inside easily later on.
One key safety point: when using paper, only LEDs should be used, never real flames.
The creator behind the trend stresses this clearly: conventional tealights do not belong inside these delicate lanterns. Battery-powered LED tealights or short micro fairy-light strings are the safer and, in the long term, more practical option.
Where these delicate light features work best
As soon as the light source is switched on, the lanterns reveal their full effect. The lightly browned paper and the incorporated designs cast a warm, gently diffused light that is ideal for mild evenings outdoors.
Popular places to use them outside include:
- arranged in a group on a patio table;
- on the windowsill of a garden shed;
- along the steps of an outdoor staircase;
- suspended from hooks beneath a pergola or awning;
- displayed on a tray beside snacks and drinks.
When used outdoors, the lanterns should always be placed somewhere sheltered, such as beneath an overhang or shade sail. They are, after all, made of paper: direct rain, strong winds and very damp nights will greatly reduce their lifespan. Many users only put the lanterns outside for the evening before bringing them back indoors later.
Creative variations and extra ideas
Anyone who enjoys the technique can easily try further versions. Using different motifs rather than flowers alone creates entirely different moods:
- Minimalist: Use just one leaf or simple shape on each panel.
- Autumnal: Combine small fern fronds or colourful fallen leaves with warm-white LEDs.
- Children’s designs: Add flat stickers, glitter confetti or cut-out animal shapes.
- Graphic: Use narrow paper strips or triangles to form a geometric pattern.
The shape can be adapted as well. More panels can create hexagonal or octagonal lanterns, while longer wooden sticks allow for tall, slender columns. If you have suitable screw-top jars, a small tea bag lantern can be placed over one to provide a more weather-resistant base.
Sustainable crafting: what to bear in mind
As this is an upcycling project, choosing the right materials matters. Paper tea bags are most suitable; versions containing plastic are usually too rigid and more difficult to decorate. People who drink tea regularly will soon discover which brand provides the strongest cases.
For families, the project can become a regular ritual: after Sunday breakfast, the collected bags can be cleaned and laid out to dry, then turned into fresh panels in the afternoon. Children learn along the way that seemingly worthless waste can be made into useful objects.
One limitation remains: paper yellows over time and becomes soft in excessive humidity. To use the lanterns for as long as possible, store them somewhere dry rather than in a damp cellar. A transparent water-based varnish can optionally be used to make the surface slightly more durable, but it is worth testing this on a single panel first to ensure that the paper does not curl too much.
Used properly, an ordinary tea bag becomes far more than a disposable item: it turns into a small light sculpture that adds atmosphere to summer evenings while also protecting the budget. For many households, it could replace at least some expensive decorative purchases.




Comments
No comments yet. Be the first to comment!
Leave a Comment