
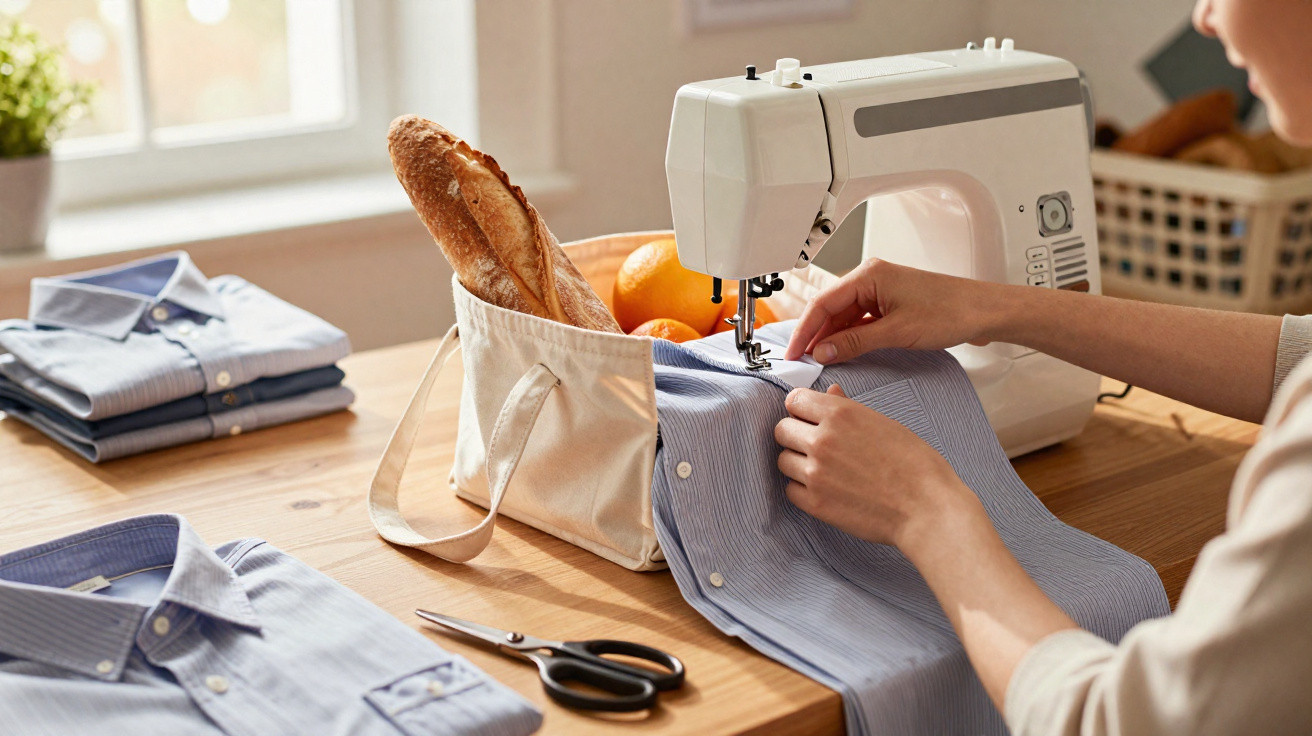
Discarded men's shirts may be piling up in the wardrobe, while pricey fabric bags tempt you at the supermarket.
A simple sewing trick brings the two together in an elegant way.
Anyone who shops regularly knows the problem: flimsy paper bags, plastic bags that tear and yet more reusable fabric bags that cost money. Meanwhile, shirts with worn collars, holed cuffs or missing buttons sit in the wardrobe. Rather than throwing them away, you can turn one into a surprisingly sturdy shopping companion in very little time – practical, inexpensive and considerably more sustainable than another impulse purchase at the checkout.
Why old shirts are far too good for the bin
Men's shirts are often treated as disposable fashion, but in technical terms they are little workhorses. They are usually made from closely woven cotton, often poplin or fine fil-à-fil fabric. These materials can withstand plenty, having originally been designed to cope with everyday life at a desk and while travelling.
A worn shirt can become a durable shopping bag in around an hour – with no extra materials and no new expense.
There is an environmental benefit, too: many kilograms of textiles are thrown away per person each year. Continuing to use shirts reduces your own waste and lessens demand for new products. Every bag sewn at home also protects your budget, as the usual prices for high-quality shopping bags have risen noticeably.
From wardrobe leftover to shopping essential: what shirt fabric can handle
One factor particularly supports upcycling shirts: their strength. Firm cotton fabric can carry more than it appears capable of at first glance. Jars of jam, bags of flour and bottles of wine – a well-sewn shirt bag handles all of them easily, provided the seams are stitched neatly.
Larger sizes are especially suitable. An XL shirt provides enough material for a roomy bag. Even if the collar and cuffs are beyond saving, the front and back panels are generally still intact. These sections will later form the body of the bag.
- Poplin: tightly woven cotton, highly tear-resistant and ideal for heavy shopping
- Fine cotton fabric: lighter, but still strong enough for fruit, vegetables and bread
- Lightweight blended fabrics: well suited to “light” bags, for example for the swimming pool or everyday use
Step by step: turn a shirt into a sturdy tote bag
A standard home sewing machine is all you need to get started. Experienced sewers can comfortably finish the project in an hour, while beginners should allow a little longer. The basic method remains straightforward.
Preparation: choose the right shirt
A loose-fitting shirt in firm fabric is ideal. Small stains or slightly yellowed collars do not matter, as these areas are often removed. The key point is that the main fabric has no major tears or thin patches.
- Button up the shirt and lay it flat on a table.
- Check the sleeves along their length: are they still strong? They will later become the carrying handles.
- Keep the breast pocket in mind: it can remain on the outside as an additional pocket.
Cutting: changing a shirt into a bag shape
The first step is to give the shirt its new outline:
- Cut off the sleeves directly along the shoulder seams.
- Remove the collar and collar stand, cutting a straight line just below them.
- Neat edges make the bag easier to sew later.
The opening created at the top will become the bag opening. Leave the front button placket visible as a decorative feature, giving the tote a relaxed look.
Sewing: making the shirt body into a shopping bag
Now it is time to use the sewing machine. A straight stitch is important for strength, while a zigzag stitch prevents fraying.
- Turn the shirt inside out so that the inner side faces outwards.
- Align the bottom hem and secure it with pins.
- Close the entire lower edge using a straight stitch.
- Sew a zigzag stitch directly beside it to reinforce the edge.
For particularly strong corners, sew the lower corners into small triangles. This creates a slight base that helps bottles and jars stand more securely.
Carrying handles made from the removed sleeves
There is no need to buy new fabric for the handles. The sleeves provide enough material:
- Cut a strip around 10 centimetres wide from each sleeve.
- Fold the strips lengthways, with the right sides facing inwards.
- Stitch along the length, then turn them right side out.
- If you wish, topstitch close to the edge once more – this provides extra support.
Attach the finished straps as handles along the upper edge. It is best to use two attachment points at the front and two at the back so that the weight is distributed evenly.
The handles should be attached generously – this allows the bag to be carried by hand or over the shoulder.
Finally, inspect every seam, especially those at the base and handles. Where the fabric ripples slightly or feels thin, sewing a second line for reinforcement is worthwhile.
Breast pocket as a hidden compartment: clever use of small extras
The retained breast pocket is a charming feature of the finished shirt bag. It provides space for small items that might otherwise disappear inside the bag.
- Shopping list or notepad
- Trolley token or coin
- Keys or travel ticket
Those who enjoy being creative can add further details: an old name label, an embroidered initial or a small patch turns the bag into a genuine one-off. Children in particular tend to enjoy such details – and will happily carry the finished result themselves.
What you save in practice – in euros and waste
A good reusable fabric shopping bag can easily cost between 15 and 30 euros in shops. If you need several, for instance for the weekly market or a large grocery shop, the total soon becomes significant. Each bag made from an old shirt saves this expense.
| Number of shirts | Number of bags | Estimated saving |
|---|---|---|
| 1 shirt | 1 bag | 15–30 euros |
| 3 shirts | 3 bags | 45–90 euros |
| 5 shirts | 5 bags | 75–150 euros |
At the same time, the need for new paper and plastic bags falls. Over the years, this adds up, particularly for families completing several shops every week. By rescuing a few shirts from the wardrobe, you also build up a supply of reusable carrier bags almost without noticing.
Practical tips: get the most from your shirt project
A few useful tricks make starting easier and help the bag last longer:
- Choose the size: XL shirts offer particularly generous capacity and are suitable for the weekly shop.
- Use dark fabrics: they hide stains better, making them ideal for vegetables and bread.
- Secure the button placket: for extra reassurance, topstitch the placket once close to the edge.
- Test washability: wash the bag once in the machine before carrying heavy loads.
It is also practical to make several bags for different uses: one for glass jars and tins, one only for fruit and vegetables, and one for baked goods. This keeps shopping organised and prevents anything from being squashed.
Upcycling as a route into more sustainable habits
Once you have seen an apparently useless garment become an everyday item, you will often view your wardrobe differently. Old jeans, T-shirts and bed linen can be reused with similar techniques – as bags for loose fruit, bread bags or shoe bags for travelling, for example.
Each project also improves your confidence with the sewing machine. Small mistakes are part of the process and add to its appeal: a slightly crooked seam or a handle that ends up a little shorter does not reduce the bag's usefulness. On the contrary, the tote shows that it was genuinely made on your own kitchen or living-room table.
If you have children, they can take part in simple tasks, such as pinning the fabric or cutting off the sleeves. A shirt that nobody wanted to wear becomes a shared project – and a bag that is guaranteed to stand out on the next shopping trip.



Comments
No comments yet. Be the first to comment!
Leave a Comment