
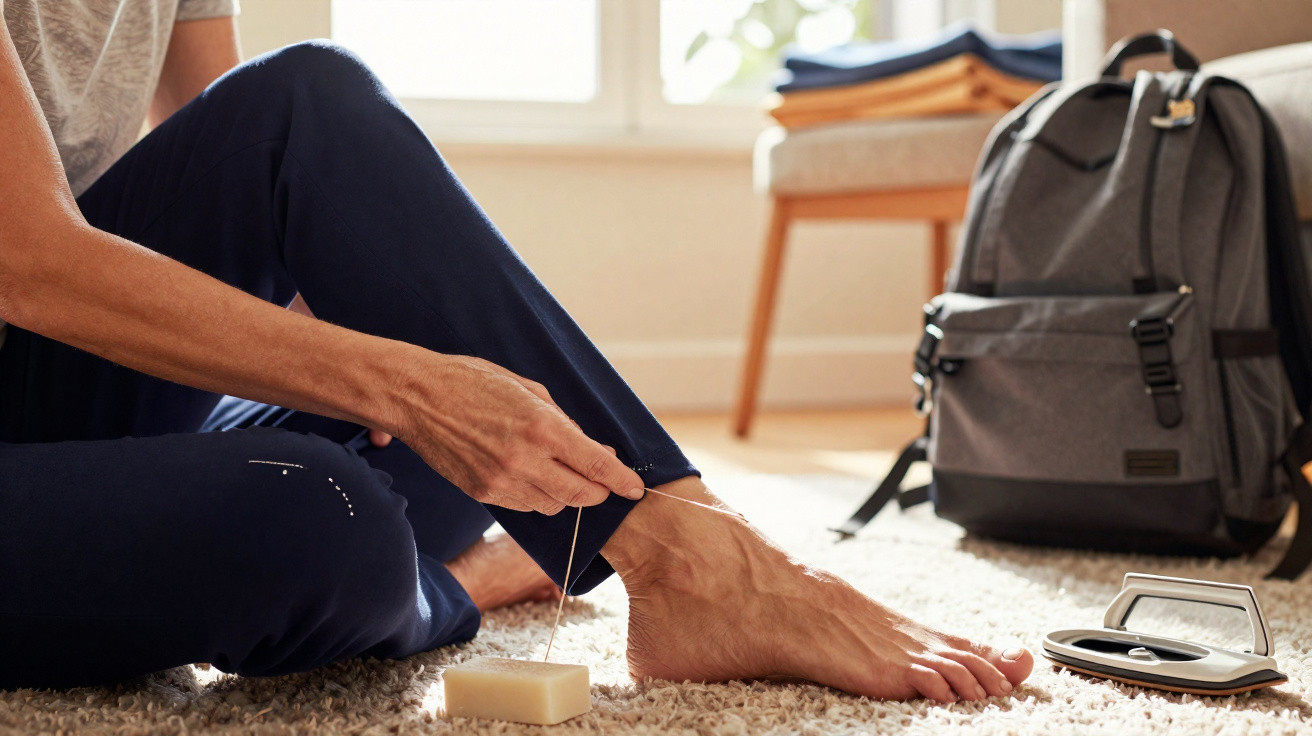
Many people know the problem: you buy new trousers, but the legs are too long, and at home there is neither a sewing machine nor an iron. For exactly these situations, there is a simple trick from Grandma’s sewing box that has been passed around for decades. With only a needle, thread and a little patience, it creates a neat, invisible turn-up.
When trousers are too long and there is no machine
Trouser legs that drag along the floor do not just look untidy; they also wear out the fabric quickly. The hems fray, the edges pick up dirt and the finish soon loses its shape. Usually, the trousers would go to an alterations service or under a sewing machine.
This hand-sewing method, however, proves that a tidy result does not require high-tech equipment or a professional workshop. It comes from old household guides that were once commonplace in many families. Back then, sewing an invisible hem by hand was considered essential knowledge, much like sewing on a button or mending a tear.
“With the right technique, the trousers look as though they were shortened in an alterations studio – just by hand.”
Once you understand the process, you can use it anywhere. Whether you are in a hotel, holiday flat or shared house, even while travelling, a small sewing kit is enough to adjust trousers to the right length quickly.
Step one: pin the correct length
Before the needle comes out, the length needs to be right. It sounds obvious, but this is often where uneven results begin.
- Put the trousers on, ideally with the shoes you will usually wear with them.
- Check each trouser leg separately, as many people have slightly different leg lengths.
- Fold the hem inwards until it reaches the desired height.
- Hold the new edge in place briefly and mark it with a pin.
A turn-up of around 3 centimetres is a reliable width. This depth gives the hem enough weight for the trousers to hang well rather than flap about. Very lightweight fabrics can be worked a little narrower, but 3 centimetres works dependably for most suit trousers and fabric trousers.
Shape the fold without an iron – the “finger iron” trick
Normally, this is the point at which you would fetch the iron and press the new fold line. If that is not possible, the fingertip trick comes into its own.
How to “iron” with your hands
Keep the turn-up where it needs to sit, then press the edge firmly between your thumb and forefinger, rubbing it back and forth between your fingers. Work your way all around the trouser leg, treating every section thoroughly.
Spend roughly 30 seconds on each trouser leg and you will notice the fabric beginning to “learn” its new shape. Natural fibres such as cotton, linen and wool respond particularly well to pressure and friction, holding the crease surprisingly reliably.
“A finger does not replace an iron, but for short-term alterations it comes remarkably close.”
Then secure the turn-up with a few pins – around five per leg is best, inserted vertically. This prevents anything from shifting while you create the hand-sewn hem.
The invisible stitch: how to hem trousers by hand
At the heart of the method is a seam that is virtually impossible to spot from the outside. Sewing classes often call it an “invisible hemming stitch” or a “blind stitch”.
Preparing the needle and thread
- Choose a fine sewing needle that is not too thick, so it does not damage the fabric.
- Use thread that matches the colour of the trouser fabric, so minor imperfections remain unnoticed.
- Use doubled or single thread; a single thread is generally enough for fine fabrics.
How to make the stitch correctly
Turn the trousers so that the inside faces upwards. You can then begin sewing:
- Insert the needle into the turn-up, around 2–3 millimetres from the edge.
- Pick up only a single thread of the outer fabric directly above the edge. Do not go deeper, or the stitches will show on the outside.
- Return the needle to the turn-up a short distance further along, then continue the seam.
- Leave roughly one centimetre between stitches.
The thread should be firm without pulling tight. If you tug it too much, the fabric will gather into small puckers, which immediately looks unprofessional. A correctly sewn hem lies flat and calm, with no rippling in the material.
From the outside, only tiny dots remain visible, and ideally they disappear entirely into the weave. Careful stitching and thread in a matching shade can produce a hem that looks as though it came from an alterations service.
Why this Grandma’s method is so durable
The combination of a firmly shaped edge and carefully placed stitches is remarkably hard-wearing. The fibre structure retains the pressure applied by your fingers, while the seam spreads tension evenly across the full length of the hem.
Because only the slightest trace of thread from the outer fabric is caught each time, there are no harsh lines or raised bumps. The material stays smooth, does not become bulky and hangs freely. Tests involving firm pulling show that this hand-sewn hem withstands far more than its delicate appearance suggests.
“What seems like an emergency fix turns out to be a technique that many professionals still use for good reason.”
Cleaner edges with a bar of soap
Another classic tip from Grandma’s era is a bar of hard soap. Dry soap can work in a similar way to a light starch spray. Rubbing it along the inside of the folded edge temporarily stabilises the fibres.
The edge can then be shaped even more clearly with your fingers and stays in place longer until the stitching is complete. The soap washes out completely in the first wash – the hem remains, while the aid disappears.
Suitable trouser fabrics – and where it gets tricky
The method works especially well on classic fabric trousers, suit trousers and lightweight wool trousers. An invisible hem is standard on these garments anyway, as visible topstitching would interrupt their elegant appearance.
With jeans, it depends on the look you want. Those who prefer the traditional denim style will often choose visible topstitching instead. The hand method also works on thicker denim in principle, but it requires more finger strength and a sturdier needle.
Very slippery synthetic fabrics and extremely thin, transparent materials can be more difficult. In these cases, try a test stitch in a concealed area first. If you can catch the fabric easily without tearing it or creating runs, there is nothing to stop you making the hand-sewn turn-up.
Practical tips for everyday life, travel and emergencies
Anyone who shortens trousers regularly or travels frequently can put together a small “hem emergency kit”:
- 1 small pair of scissors
- 1–2 fine needles
- Pins or safety pins
- Thread in black, navy, grey and beige
- One tiny piece of hard soap
This kit fits into any wash bag and can save your appearance in a suit while on holiday or a business trip. Parents benefit twice over, as lengths change constantly during children’s growth phases. With this hand-sewing method, a hem can be unpicked if necessary and moved down a little without ruining the trousers.
If you are unsure, practise on an old pair of trousers first. After two or three attempts, the stitch becomes almost automatic and any hesitation about sewing by hand fades away. Many people then discover how satisfying it is to alter their own clothes instead of sending everything away.
There is also an interesting sustainability benefit: people who adjust trousers, dresses and skirts themselves generally wear them for longer. Small flaws no longer feel like a reason to buy something new, but instead become a task that can be solved with just a few simple steps. This effort soon pays off, especially with high-quality clothing – and a little Grandma-style handiwork never hurts in everyday life.



Comments
No comments yet. Be the first to comment!
Leave a Comment