
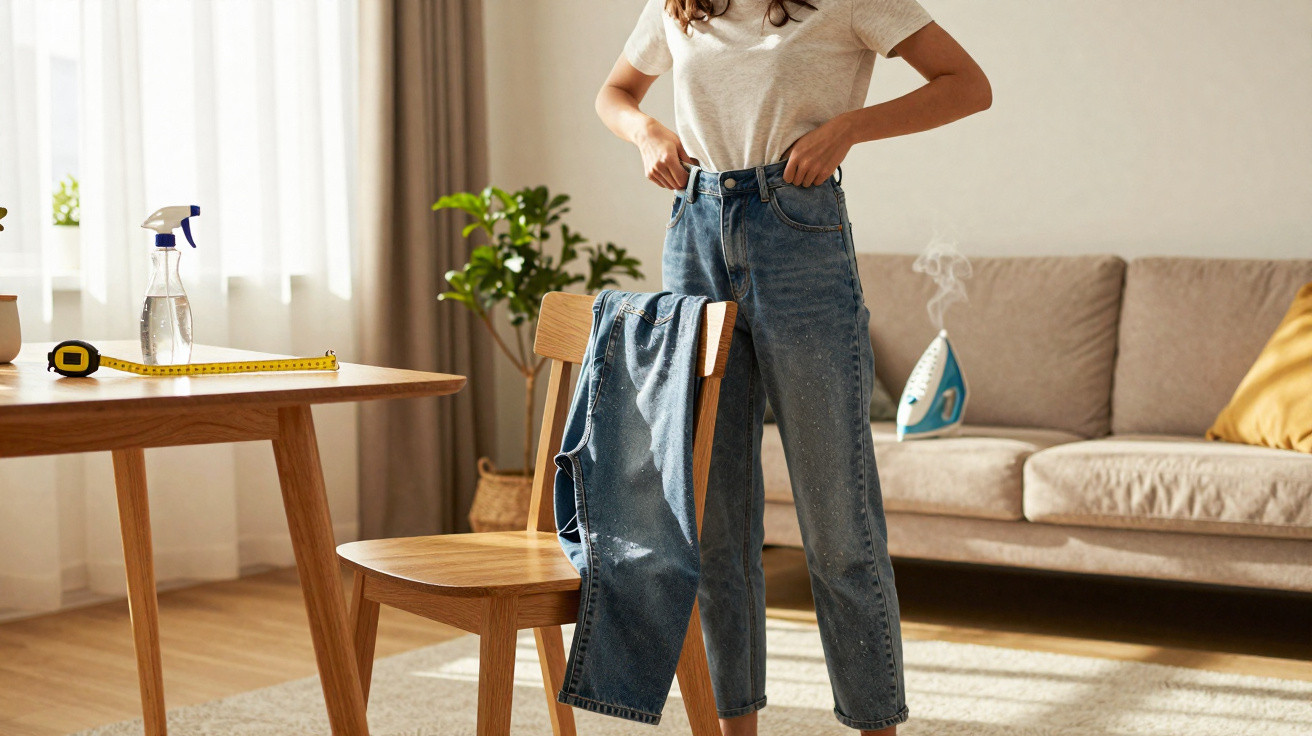
A simple sewing trick can save them.
Many people know the feeling: a few extra kilos, a bloated stomach after eating, or a wash cycle that was slightly too hot, and trousers that once fitted perfectly suddenly feel tight. Rather than frustratedly buying new clothes, you can enlarge the waistband surprisingly easily with a clever technique. There is no need for a tailor, much material or much time.
Why so many pairs of trousers suddenly become too tight
Trousers are generally made to fit very closely: perfect in the shop, but snug in everyday life. Even a small change in your body is immediately noticeable at the waistband. Common causes include:
- gradual, slight weight gain over several months
- water retention or trapped air in the stomach during the day
- hormonal changes, such as those around the menopause
- shrinkage during washing and tumble drying
The issue is nearly always in the same place: the waistline. It has very little stretch, so the strain is concentrated around the button and zip. Not only does this look unflattering, but it can also feel genuinely uncomfortable while sitting down.
The solution: rather than altering the whole pair of trousers, add a small elastic section precisely to the waistband – where the pressure is greatest.
How to discreetly enlarge a trouser waist
This technique uses a narrow stretch insert in the waistband. Professionals call it a “gusset” – essentially a small wedge of elastic material sewn invisibly into an existing seam. It gives the trousers more room without changing their shape around the hips and bottom.
One of these inconspicuous seams is best suited to the job:
- the side seam at the hip, or
- the centre back seam at the waistband
You simply open a short section of the seam, insert the panel and sew everything closed again. With careful work, there will be almost nothing to see on the outside, while the elastic wedge inside provides greater freedom of movement.
Materials needed for this waistband trick
For the quick version, a small selection of basic supplies from your sewing box or haberdashery shop is enough:
- flat elastic, about 3 cm wide, firm rather than flimsy
- sewing thread in the colour of the trousers
- a sewing needle or sewing machine
- a seam ripper, or sharp pointed scissors
- a few pins or sewing clips
- a tape measure or ruler
It is important that the elastic does not lose its stretch, as the waistband could otherwise become distorted over time. If you do not want to use elastic, there is an alternative method using fabric cut on the bias, explained later.
Step by step: up to 5 cm more room in 30 minutes
1. Prepare the trousers and open the seam
Turn the trousers inside out so you can work from the inside. Next, choose a seam – ideally the centre back seam, or a side seam that extends a few centimetres down from the top of the waistband.
- Carefully unpick the waistband seam at this point with the seam ripper.
- Continue opening the seam about 4 to 5 centimetres down into the trouser fabric.
- Take care not to damage the fabric itself.
You should now have a small V-shaped opening in the waistband. This is where the elastic insert will later sit.
2. Cut the elastic triangles
Cut two small triangles from the elastic or from a slightly thicker stretch fabric. The base of each triangle sits at the top of the waistband, while its point will face down towards the hip.
You can control the size by measuring how much extra width is needed for the trousers to fasten comfortably. If you need around 4 centimetres of additional circumference in total, each triangle should be designed to add around 2 centimetres.
3. Pin in the wedges and try the trousers on
Place the triangles into the V-shaped opening:
- align the wide side with the opened top edge of the waistband
- position the narrow point at the lower end of the opened seam
Secure both sides with pins. It is worth doing a quick fitting at this stage, even while the trousers are still full of pins: fasten them carefully, sit down, stand up and breathe. This lets you check whether the waistband is comfortable and whether the added width looks symmetrical.
4. Sew them in – by hand or machine
Once the fit is right, sew the inserts in place. A zigzag stitch is ideal because it stretches with the material. If you do not have a sewing machine, you can attach the triangles with small, close hand stitches instead.
- First sew the side edges of the triangles to the trouser fabric.
- Then close the waistband edge again, catching the top edge of the insert in the seam.
- Secure the ends of the seams well so nothing tears when you sit down or bend over.
When the trousers are turned the right way out again, the alteration will usually be invisible from the outside – especially if you wear a belt or a loose top that falls over the waistband.
An alternative without elastic: stretch created by fabric alone
Many people dislike synthetic materials against their skin, or would prefer to make use of fabric scraps they already have. In that case, a variation using ordinary fabric cut in a particular way is a good option.
Cutting fabric on the bias gives it a natural, gentle stretch – with no elastic required.
For this method, choose a piece of fabric that roughly matches the colour of the trousers and cut two triangles from it. The key is to cut the fabric diagonally rather than parallel to the selvedge. This diagonal cut, known in dressmaking as cutting “on the bias”, gives the fabric a degree of elasticity.
The process is otherwise the same as with the elastic method: unpick the seam, insert the triangles and sew them in firmly. The waistband will stretch a little less, but it often feels particularly comfortable and natural.
When favourite jeans pinch after the menopause
A frequent topic in sewing forums and consultations is women finding that their beloved jeans suddenly have no give at all around the menopause. The stomach becomes rounder, yet the waistband remains rigid. Sitting becomes uncomfortable, and the jeans end up at the back of the wardrobe.
This is exactly where two small side inserts work especially well. Placed at the sides, they stay discreet beneath tops, which usually fall over the waistband anyway. The look of the trousers remains the same, while the comfort changes noticeably.
In everyday life, this makes a real difference: you can drive comfortably again, sit at a desk or play with children on the floor without constantly feeling pressure on your stomach.
Why this trouser trick also makes environmental sense
Fashion experts and environmental authorities have pointed out for years that the textile industry produces huge amounts of waste and CO₂. Extending the life of every pair of trousers by a few years has a measurable impact.
- Buying fewer new items saves resources such as water and energy.
- Jeans production is considered particularly resource-intensive because it involves large amounts of cotton, chemicals and washing processes.
- Altering clothes you already own saves money and reduces impulse purchases.
A 30-minute waistband alteration is therefore not merely about comfort; it also helps counter disposable fashion. The small investment of time is especially worthwhile for good-quality pieces.
Practical tips for a neat result
A few additional pointers will help ensure the alteration lasts and looks tidy:
- Match the thread colour as closely as possible to the existing trouser seams.
- Before cutting the triangles, measure the missing waistband width both standing up and sitting down.
- For stretch jeans, use stretch material as well; otherwise, the fabric will move while the seam may tear.
- For very lightweight fabric, choose narrower inserts to prevent puckering.
If you are unsure, try the technique on an older pair of trousers first. With a little practice, each alteration will become more precise, often making a trip to the tailor unnecessary.
When other methods are more suitable
Elastic inserts are ideal when only a little extra room is required – up to around 5 centimetres in circumference. For more significant size changes, the technique reaches its limits, as the shape of the trousers can otherwise become unbalanced.
In those cases, consider these alternatives:
- replace the entire waistband with a new, wider one
- alter the trousers into a skirt or pair of shorts
- use the fabric for other projects, such as bags or cushions
This small waistband trick is therefore particularly suitable for anyone who wants to wear their clothes for as long as possible, whose shape has changed slightly, or who prefers straightforward everyday solutions.
If you enjoy the method, the same approach can also be used for skirts with waistbands. Pencil skirts and business skirts in particular benefit greatly from a few invisible extra centimetres, making it much more comfortable to sit in the office.


Comments
No comments yet. Be the first to comment!
Leave a Comment