
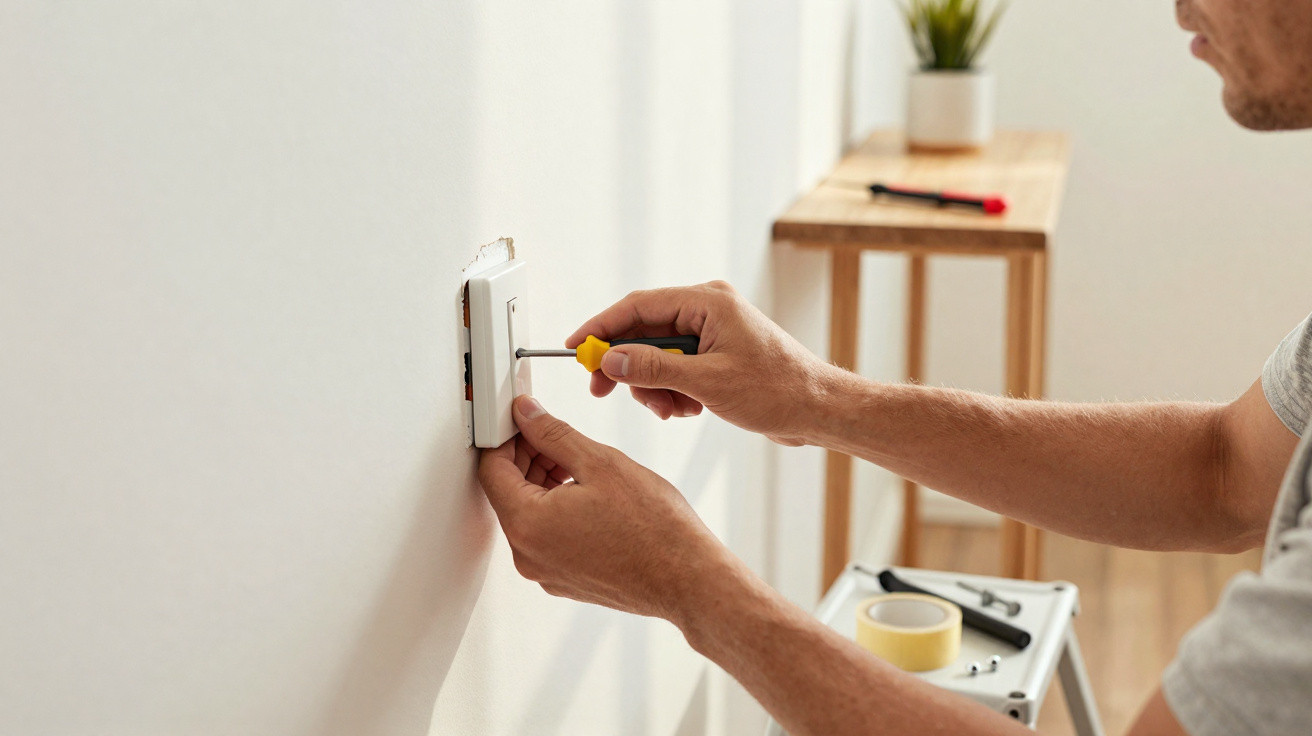
A light switch sinking into the wall usually points to loose screws, an unsecured mounting frame, a poorly fixed back box or damaged trim. As well as making the wall look untidy, it can make the light difficult to operate and create the impression of a poor electrical connection. Before attempting any adjustment, the essential precaution is to isolate the power at the consumer unit.
Why does a light switch start sinking into the wall?
With everyday use, finger pressure on the rocker can loosen screws, shift the internal frame or break small plastic parts in the faceplate. When this happens, the switch loses its stability and begins to move back into the wall.
In some situations, the fault lies with the flush back box behind the faceplate. If it is loose, cracked or inadequately secured to the masonry, the whole assembly moves when the rocker is pressed, making it seem as though the switch is sinking into the wall.
What precautions should you take before working on a light switch?
Although it may look like a straightforward repair, a light switch involves electrical power. For that reason, the first step is not removing the faceplate, but isolating the circuit at the consumer unit.
- Turn off the circuit breaker: never work on a light switch while the power is on.
- Test the light: operate the switch after isolation to check that the circuit is not live.
- Use insulated tools: do not improvise with unsuitable metal objects.
- Do not pull on wires: an internal poor connection needs careful assessment.
- Call an electrician if there is a burning smell, sparking, heat or loose wires.
How to adjust a light switch without damaging the wall
Where the issue is limited to a loose faceplate or mounting frame, it is often enough to remove the outer trim, align the assembly and tighten the fixing screws. The aim is to secure the light switch in the back box without putting strain on the wiring or internal parts.
- Carefully remove the outer cover without breaking its clips.
- Check whether the side fixing screws are loose.
- Position the mounting frame so that it sits level with the wall.
- Tighten the screws gradually, taking care not to strip the thread.
- Refit the faceplate and check that the rocker operates without sinking in.
When does a poor electrical connection need closer attention?
If the light cuts out, flickers or only turns on when the rocker is pressed firmly, the issue may extend beyond the trim. The switch itself may be worn, a connection may be loose, a wire could be damaged, or an old component may need replacing.
In these circumstances, simply tightening the faceplate and ignoring the symptom is not advisable. A poor electrical connection can cause overheating and create an electrical risk. If there is any sign of sparking, crackling, an unusual smell or discolouration around the socket, the repair should be carried out by a qualified professional.
How can you keep the finish level and secure?
After adjustment, the faceplate should sit flush against the wall, with no visible gaps and no movement when touched. If the back box is set too deeply, broken or misaligned, it may be necessary to fit a suitable mounting frame or replace the box. Always isolate the power first and, preferably, seek specialist help.
The safest repair is one that secures the fitting without concealing signs of an electrical fault. When the light switch is firm, the rocker works smoothly and there is no heat, smell or interruption to the light, the finish looks better and everyday use becomes safer.






Comments
No comments yet. Be the first to comment!
Leave a Comment