
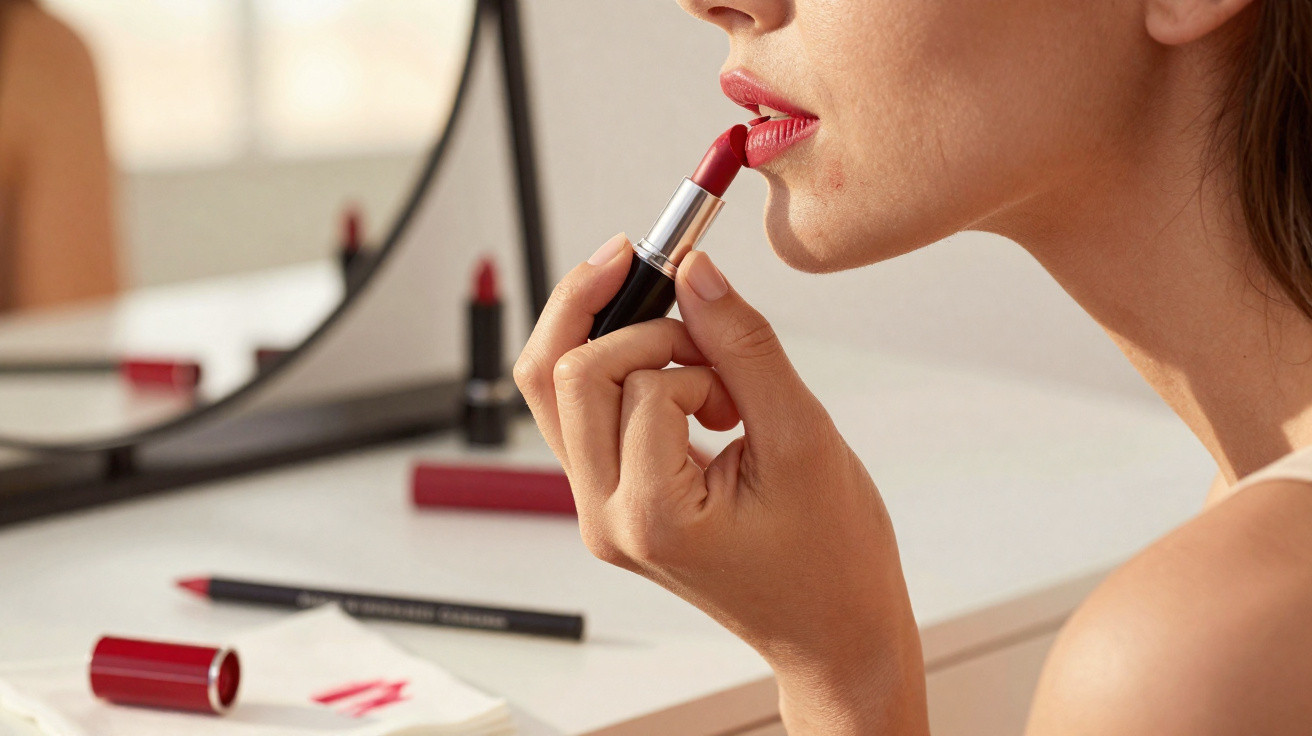
Keeping lipstick intact for hours can be difficult, especially during a long working day or at events where you are regularly talking, eating and drinking. Rather than relying solely on expensive long-wear formulas, you can significantly improve its staying power with a straightforward technique: build up thin layers, remove excess oil and set the colour strategically.
How does the trick to make lipstick last for hours work?
The key is to apply lipstick in thin coats, blotting away any excess with a tissue after each application. This helps the pigment adhere more effectively to the lips, producing a more even, hard-wearing stain with less likelihood of smudging or gathering in areas.
Lip preparation is equally important: gentle exfoliation and carefully controlled hydration help prevent loose skin and early flaking. As a result, even standard lipsticks can look long-lasting without needing frequent touch-ups throughout the day.
Watch a video on the YouTube channel Beauty Tips about professional make-up techniques for setting lipstick on the lips and keeping the colour in place all day without smudging:
https://www.youtube.com/watch?v=uK8n_b_2jxE
How do you apply lipstick in layers to improve staying power?
This method can be done with basic products many people already own, including lip balm, a tissue and translucent powder. The principle is to prep the lips, apply the lipstick in fine layers and set the colour according to the finish you want.
Prepare the lips
- Gently exfoliate with a dedicated product or a soft toothbrush to lift away loose skin.
- Apply a light layer of lip balm or lip moisturiser, then leave it for a few minutes.
- Blot away surplus moisturiser with a tissue, so the lips feel comfortable but are not overly shiny.
Create a base for lipstick
- If desired, apply a small amount of foundation or concealer around the lip line to sharpen the shape of the mouth.
- Outline and lightly fill in the lips with a lip liner matching the lipstick shade, or one slightly darker.
Apply the first layer of lipstick
- Apply a thin coat of lipstick, spreading it evenly with the bullet, a brush or your fingertip.
- Gently press the lips onto a folded tissue to absorb excess oil.
Repeat the layered application
- Add a second fine coat, intensifying the colour mainly at the centre of the lips.
- If needed, blot with the tissue again, particularly when using creamier lipstick bullets.
Set and finish
- For a more matte result, lightly press a brush loaded with translucent powder over a tissue placed on the lips.
- For extra shine, finish with only two or three lipstick layers, avoiding powder and mattifying products.
Which types of lipstick benefit most from this method?
Cream and semi-matte lipstick bullets respond especially well to thin layers and blotting, often gaining several additional hours of wear. Matte lipstick bullets, meanwhile, need fewer layers because they are naturally drier and more highly pigmented.
Matte liquid lipsticks generally offer good longevity, but using a small amount and allowing each layer to dry completely helps minimise cracking. Cream formulas and moisturising lipstick bullets can also last longer while remaining comfortable for people with dry lips.
How can you adapt the trick for a matte or glossy effect?
For an entirely matte effect, spend a little more time on the tissue-blotting step and, if necessary, apply translucent powder through the tissue. This takes down shine and helps create a long-lasting lipstick look, which is ideal for events involving prolonged talking or mask-wearing.
If you prefer a glossy or satin finish, use the same layering technique to secure the colour, then concentrate a final lipstick layer or a little gloss only at the centre of the lips. This keeps the lips luminous while making the colour more secure and reducing the risk of bleeding or smudging over the course of the day.


Comments
No comments yet. Be the first to comment!
Leave a Comment