
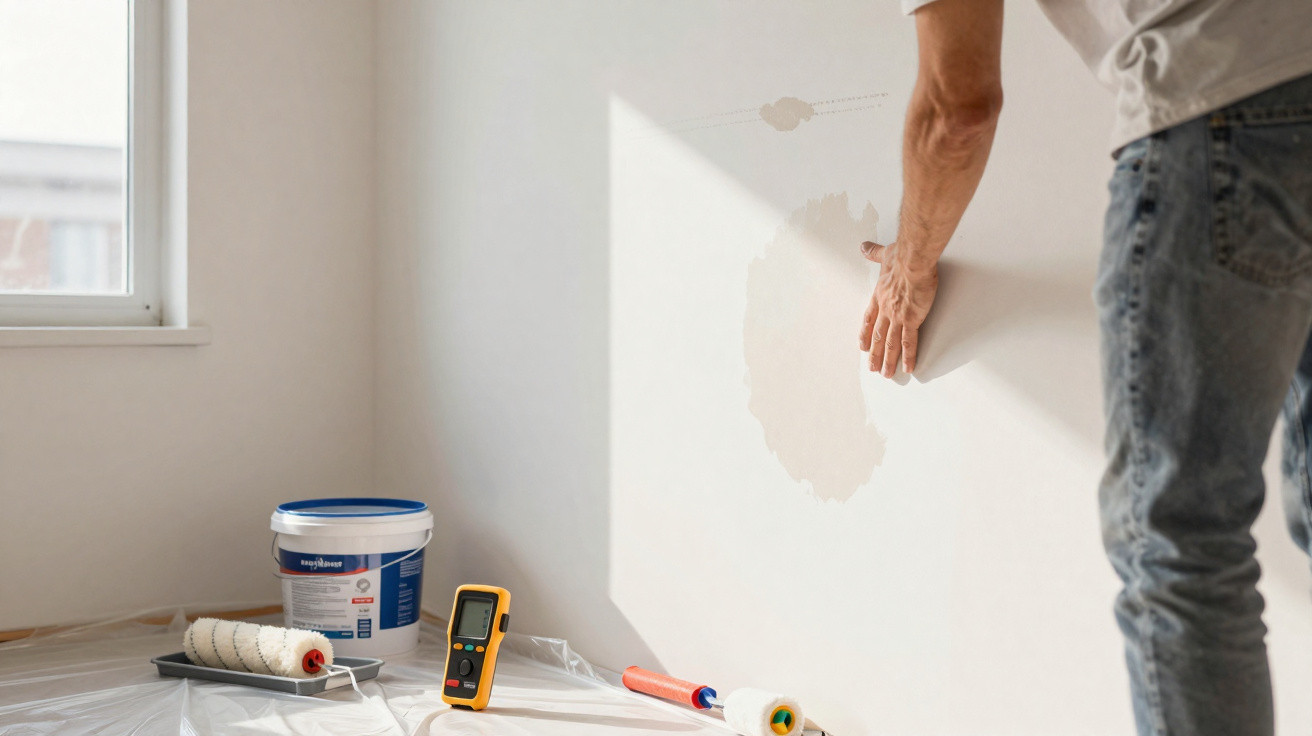
A wall affected by damp should not be filled or painted until the source of the problem has been identified and put right. Start by making the surface sound: stop the water ingress, allow the wall to dry, and strip away any loose paint, render or filler. Simply covering the stain without dealing with this stage may create an attractive finish briefly, but blistering, peeling and marks are likely to return.
What does making a damp wall sound involve?
Making the wall sound means removing anything that has lost adhesion or been damaged by water once the cause of the damp has been brought under control. A scraper can be used to take off blistered paint, loose filler and weak sections of the coating until a solid surface is reached. The aim is not to hack away at the wall unnecessarily, but to remove materials that can no longer provide a secure base for repair work.
Before doing this, however, it is important to establish where the water is coming from.
- Repair leaking pipes before restoring the finish;
- Check for water ingress from external walls, roofs or windows;
- Note whether the stain appears only during wet weather;
- Investigate rising damp when the damage begins close to the floor;
- Let the wall dry before applying new coatings.
Why does painting straight over a damp stain usually fail?
Fresh paint cannot restore adhesion to an older layer that has become powdery, blistered or detached. Although the new colour may disguise the stain for a while, water or salts within the material can continue moving towards the surface, causing further blistering, peeling or variations in colour.
How should the surface be prepared after the source of damp has been resolved?
Once damaged materials have been removed and the wall has dried, clear away dust and inspect any imperfections. Holes and areas where the coating has been removed may need mortar, plaster or a filler suited to the wall type and the room. Applying thinner layers in two stages often makes levelling easier and helps minimise unevenness.
After the repair has dried, sand it to create an even base before applying a primer or sealer that is compatible with both the wall and the selected paint.
- Remove every material that is no longer firmly bonded;
- Brush away or clean dust from the surface;
- Fill voids with a product suitable for the substrate;
- Allow each layer to dry in line with the manufacturer’s instructions;
- Sand only when the repair is fully set;
- Use a primer, sealer or surface preparer suited to the condition of the wall.
How can you tell whether the issue is water ingress, condensation or rising damp?
Where the stain appears provides useful clues. Water ingress often occurs near external walls, roofs, pipework or areas exposed to rain. Condensation is more common on cold surfaces in bathrooms, kitchens and poorly ventilated bedrooms, and may be accompanied by mould. Rising damp, by contrast, usually starts at the lower part of the wall, where moisture from the ground can travel upwards through pores in the building materials.
- Stains that become larger after rain suggest external water ingress;
- Mould in cold corners may be linked to condensation;
- Marks and salts near the skirting board can indicate rising damp;
- An isolated patch close to pipework may point to a leak;
- Persistent damp requires the cause to be corrected before finishing work begins.
Finishing should only begin once the wall is ready to receive it
Following the removal of damaged material, repair work and drying, the surface can receive the preparation system recommended for that substrate, followed by coats of paint. Surface primers, sealers and stain-blocking products serve different purposes, so the choice should reflect the wall type and the origin of the damage rather than following a single method for every situation.
The most important factor is the order of work: first remove the source of damp, then strip away what has deteriorated, and only afterwards rebuild the finish. Reversing this sequence means the paint merely conceals a problem that remains active underneath. When the wall is properly made sound, the new coating has a firm base and is far more likely to stay even for longer.





Comments
No comments yet. Be the first to comment!
Leave a Comment