
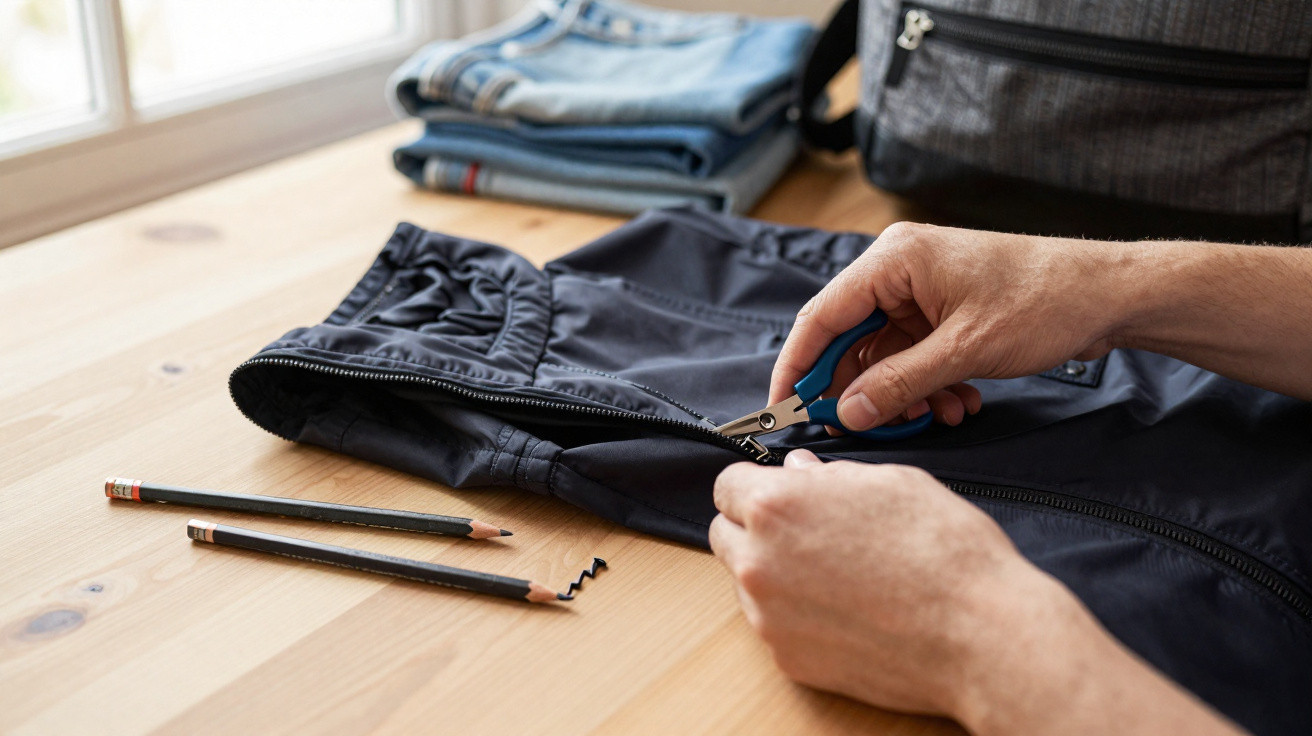
Many people discard clothes or bags far too quickly when a zip starts playing up. Yet in most instances, the issue is not irreparable damage but a minor fault with the slider. An old household technique, familiar to our grandmothers, can often get a zip working smoothly again in just a few minutes - without a needle, thread or sewing machine.
Why zips seem to come apart “by themselves”
A zip may look straightforward, but its mechanism is precisely balanced. The key component is the small slider that brings the two rows of teeth together. It works rather like a miniature vice, pressing the teeth closely enough for them to lock neatly into one another.
Over time, every strain and each sharp pull can widen a metal or plastic slider by a tiny amount. Even a fraction of a millimetre is enough to stop the teeth being pressed together firmly enough.
Typical signs of a stretched slider include:
- The zip closes but immediately separates again behind the slider.
- The rows of teeth run unevenly, with one side “lagging behind”.
- The slider feels loose, wobbles or seems to “float” along the track.
Experts estimate that around 60 per cent of all zip problems are caused by a misshapen slider - rather than damaged teeth.
The encouraging news is that the slider can usually be reshaped. No sewing and no replacement parts are required.
The three-minute method: readjusting the zip slider with pliers
The principle behind this grandmother’s method is simple: gently compress the slider again so that it grips the rows of teeth more tightly. In many homes, all that is needed is a tool already sitting in a drawer - a basic pair of flat-nose pliers.
Step-by-step instructions at home
- Open the zip completely: Move the slider as far down as it will go. Check that no fabric, lining or loose thread is caught in the teeth.
- Position the pliers: Use small flat-nose pliers; combination pliers can work if necessary. Place them against the sides of the slider, where it is widest.
- Press very gently: Apply the lightest pressure possible. Several delicate squeezes are preferable to one forceful press. The aim is to narrow it by less than a millimetre, not to crush the slider flat.
- Test it: Run the slider a few centimetres up and down. Is the zip holding together better? If so, you are heading in the right direction.
- Make fine adjustments: If the zip still opens, repeat the process with a very gentle squeeze. It will usually fit properly after two or three attempts.
Pressing too hard can cause the slider to jam. Small, controlled movements produce much better results.
This approach works with metal, plastic and coil zips, including those on winter coats, sports jackets, rucksacks and handbags.
If the zip sticks: use graphite rather than oil
Even after adjustment, a zip may still catch or feel stiff. In that case, a dry lubricant can help. Our grandmothers used an everyday writing tool for this: a pencil.
Using a pencil as a lubricant
For this method, choose a soft pencil, ideally 2B or softer. The softer the lead, the more graphite it releases.
- Rub the pencil lead directly over the zip teeth.
- Cover several centimetres both above and below the slider.
- Carefully move the slider back and forth several times to distribute the graphite.
- Wipe away excess graphite with a cloth so that it does not mark light-coloured fabrics.
Graphite creates a dry lubricating layer that is non-greasy and does not soil fabric. This gives it a clear advantage over cooking oils or sprays, which attract dust and can become sticky over time.
If you do not have a pencil to hand, the following can also help when used sparingly:
- A piece of dry soap
- Candle wax
- Glycerine
- A thin application of petroleum jelly
Use these household remedies cautiously, particularly on delicate or very pale fabrics.
Missing stops and other zip problems: simple temporary fixes
Sometimes the bottom stop of a zip has come off, allowing the slider to slip off the track. Although this can look like total failure, there is often a practical everyday solution.
A replacement stop made from a drinking straw
A short piece of plastic drinking straw can provide a surprisingly durable fix:
- Cut a piece around 3 millimetres long from the straw.
- Cut it open lengthways.
- Fit the piece onto the lower edge of the zip tape.
- Secure it with a tiny drop of superglue or strong all-purpose adhesive.
This creates a discreet but effective stop that prevents the slider from slipping off again.
This method is particularly suitable for jackets, bags and rucksacks that receive heavy use, where a perfect appearance is not the top priority.
When a zip repair reaches its limits
There are cases in which grandmother’s tricks will not solve the problem. Typical examples include:
- The zip tape is torn or badly frayed.
- Several teeth are missing or noticeably bent.
- The slider is broken rather than merely distorted.
In these situations, it may be worth considering a replaceable slider. Some models clip onto the existing tape, so there is no need to unpick the whole zip. For high-quality jackets and bags, a visit to an alterations service may also be worthwhile, as it can fit a new zip professionally.
Why repairing a zip makes financial and environmental sense
Many garments are thrown away even though the only problem is a faulty zip. A new coat, handbag or rucksack costs considerably more than a few minutes of repair work and reaching for a pair of pliers.
Fixing such small faults yourself not only saves money but also conserves resources. Textiles are among the largest sources of waste, and every saved coat matters. It also means treasured belongings stay in use instead of ending up in a textile bank.
This knowledge is particularly useful for families with children. Children’s jackets and school bags are especially hard on zips. A quick adjustment to the slider can prevent several replacement purchases each season.
Practical tips from everyday repairs
A few additional pointers can make the repair easier and safer:
- Place a thin layer of fabric, such as a handkerchief, between the pliers and slider to prevent scratches.
- Work in good light so that you can clearly see how far the slider is closing.
- Test the zip immediately after every small adjustment to avoid overdoing it.
- Take extra care with very fine zips on dresses and blouses, as their materials are more delicate.
If you carry out repairs regularly, it can be useful to keep a small kit ready: narrow flat-nose pliers, a soft pencil, a few pieces of drinking straw and a small tube of glue. With these items to hand, common zip issues around the home can be dealt with in minutes.
For keen DIYers, retailers also sell assorted sets of replacement sliders in different sizes. These allow damaged or lost sliders to be replaced entirely without sewing. Combining readjustment, lubrication and, where needed, slider replacement makes most zip mishaps manageable - right at the kitchen table.





Comments
No comments yet. Be the first to comment!
Leave a Comment