
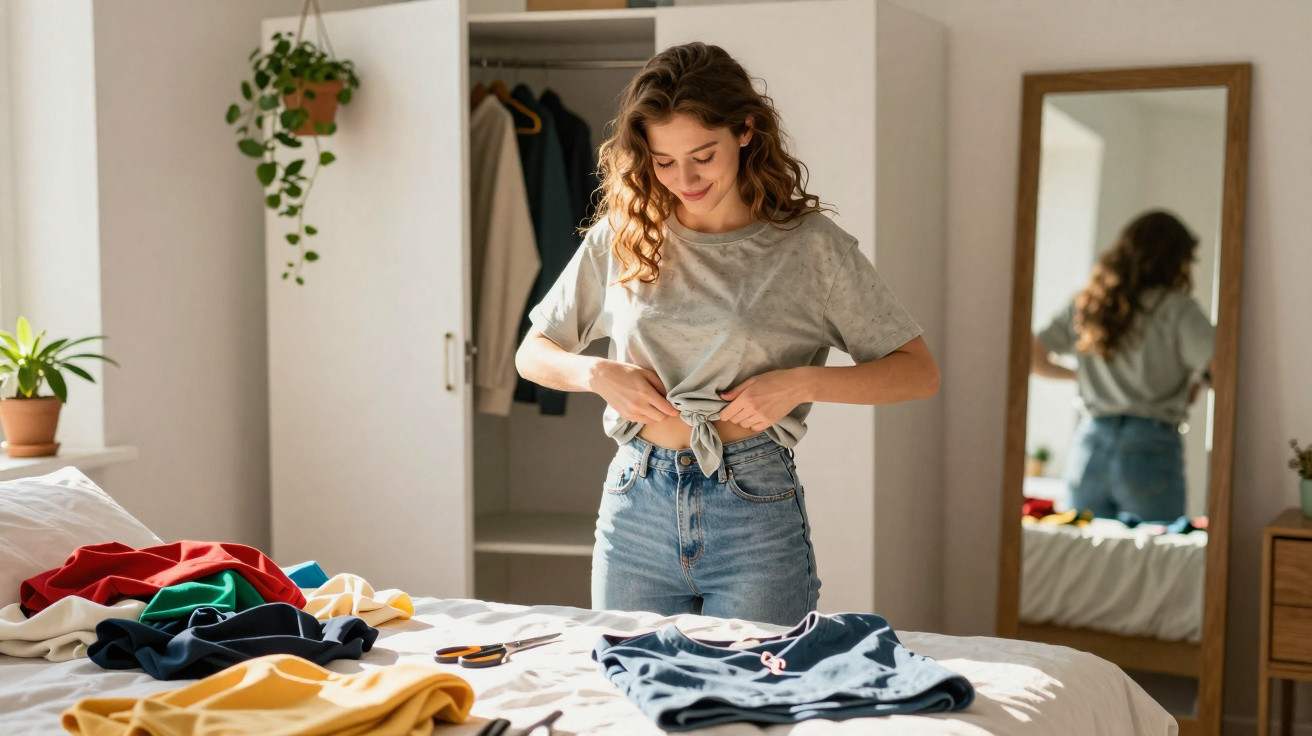
With one simple trick, they can become on-trend pieces again.
Many people own one beautiful dress with a fabric they adore but a cut that is hopelessly dated. The obvious answer often seems to be a seamstress or getting out the sewing machine – which is enough to make many people abandon the idea immediately. Yet an old-fashioned piece like this can be turned into a modern garment within minutes, without sewing a single stitch.
Why you will never need to reach for the sewing machine again
For years, changing clothes meant needing thread, a needle, practice and plenty of patience. That can be off-putting. Not everyone wants to spend hours tacking, unpicking and sewing again. There is also the fear of ruining the garment for good. This is exactly where the so-called “no-sew” trend comes in: altering clothing without traditional sewing.
“The core idea: not learning to sew perfectly, but using clever tools that do the work for you.”
With the right approach, you can seal hems, create waistbands and alter entire cuts without ever threading a needle. This method saves time and stress, making clothing upcycling accessible to anyone who is not a sewing expert.
Wardrobe treasure hunt: which piece has hidden potential?
The first stage is almost like a game: view your wardrobe as a costume archive. Look for dresses or long blouses in fabulous fabrics but outdated shapes. Typical candidates include:
- Vintage dresses with lovely floral prints and wide shoulder pads
- Dresses with fitted bodices that pinch across the bust
- Midi or maxi dresses in high-quality viscose or cotton, where the neckline does not suit you
- Favourite garments with a small stain or hole on the bodice while the skirt section remains perfect
The full silhouette is not what matters most; focus on the lower half instead. How does the fabric drape and how does its volume behave? A full, swishy skirt, a pleated hem or a smooth straight fall offers the perfect starting point for a fresh, modern skirt.
Visualising an on-trend skirt from a dated dress
Before you pick up the scissors, take a quick look in the mirror. Hold the dress so that you can imagine only its lower section as a skirt. Fold the bodice inwards or loosely hold it up. This will help you judge the most flattering length: mid-calf, just above the knee or perhaps ankle length.
At this stage, many old dresses reveal themselves as the ideal foundation for:
- a midi skirt for the office,
- a floaty summer skirt,
- or a trend-led piece that works with boots and a chunky jumper in winter too.
“The gamechanger: suddenly, you no longer see an old dress, but the fabric for a completely new favourite piece.”
The secret tool: hem tape that works like invisible seams
At the heart of this technique is an unassuming haberdashery item: iron-on hem tape, also often called “fusible tape” or “hemming web”. This narrow strip bonds through heat, permanently joining two layers of fabric.
Its benefits are clear:
- no threading needles, tying knots or snapped thread
- hems take minutes rather than hours
- neat, straight edges even for beginners
- remarkably reliable through normal washing
For a skirt, choose tape sturdy enough to hold a waistband edge. A medium width of roughly two to three centimetres will usually do. Most types work with cotton, viscose and linen; for particularly delicate fabrics, test it on an inconspicuous area first.
Be brave with the scissors: separating the bodice and skirt neatly
Once you have chosen the right dress, it is time for the exciting part. Lay it flat on a table or the floor, smoothing out every crease. Try it on and work out where you want the new skirt to sit: on the hips or at the waist. Mark this line all the way around the dress with tailor’s chalk or pins.
Leave one to two centimetres extra above the line so there is still room to form the waistband. Then use sharp fabric scissors to cut along the marking. Short, confident cuts work better than hesitant snipping and pulling. You will end up with two sections: a removed bodice and a future skirt.
“This cut is a small act of liberation – out with the old look, in with a flexible base for new outfits.”
Creating a waistband using only hem tape and an iron
Now turn to the edge that will eventually sit around your waist. Fold the top edge of the skirt section inwards – approximately the width of the hem tape, plus a little extra room. Smooth the edge down, then run the iron over it once to create a defined fold.
Next, place the hem tape inside this folded section so it is fully enclosed by the fabric. Fold the edge closed again, with the tape sitting inside like a tunnel. Work your way around in stages using the hot iron: press for a few seconds, lift it, then move on. It usually adheres best without steam, as moisture can soften the adhesive too soon.
After a brief cooling period, the waistband will be secure, the edge will look neatly finished and there will be no visible stitching at all. If you like, leave a small opening on the inside and thread through elastic; if needed, this can also be secured in places with a little hem tape.
Styling your new skirt so nobody knows it was once a dress
Styling is key if you want the transformed piece to look polished rather than “home-made”. Pairing old fabric with contemporary elements makes the outfit interesting. Try these ideas:
- Wear a floral midi skirt with a simple boxy hoodie and white trainers.
- Style a rich dark skirt with an oversized blazer and a plain T-shirt.
- For the evening, combine a fitted black top, leather jacket and ankle boots with a flowing printed skirt.
- In summer, wear it with a linen shirt and flat sandals.
“The contrast between romantic fabric and casual pieces makes your skirt look like a designer item – rather than an improvised DIY project.”
Why the no-sew method benefits more than the environment
Textile waste has long been a major issue. Every blouse you alter instead of throwing away saves resources, space and money. Once you realise how quickly an unloved dress can become a wearable skirt, you will automatically start looking at your wardrobe differently.
Rather than placing frustrating online orders, you can tackle two or three garments on a rainy afternoon. Over time, you will develop an eye for second-hand finds that can be improved with hem tape: overly long trousers turned into culottes, shirts that are too loose with a short curved back hem, or jackets whose sleeves are given an imitation turn-up.
Practical tips to help your new skirt last
Although hem tape is durable, a few simple rules will extend the life of your upcycled pieces. Initially, wash them on a gentle cycle and avoid very high temperatures. Turn the skirt inside out to reduce friction along the waistband edge.
If an area does come loose, it is easy to mend: add a little fresh tape, or reheat the existing tape and press it down briefly – done. Unlike a split seam, there is no need to get out a needle; you simply need the iron again.
More ideas for no-sew transformations
Once you enjoy this approach, you can experiment further. A men’s shirt can become a relaxed summer top by removing the collar and shortening the sleeves. An old logo T-shirt can be made into a tote bag by widening the neckline, folding up the bottom edge and sealing it with hem tape.
The important thing is to take things slowly and practise first on pieces you hardly wear anyway. This removes the fear of the scissors and quickly shows you how much potential one garment can hold. With every successful project, you will feel more confident turning apparent old clutter into wearable fashion – entirely without a sewing course or pressure to be perfect.




Comments
No comments yet. Be the first to comment!
Leave a Comment