
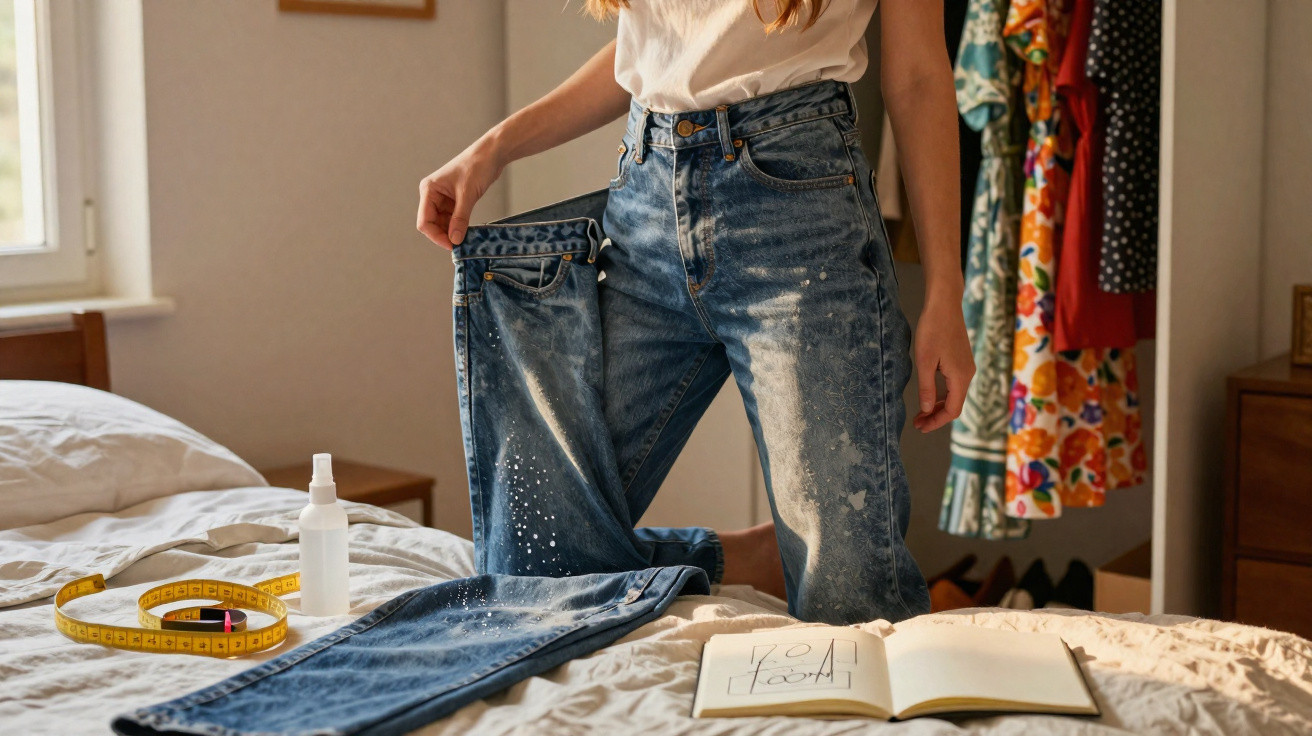
Many vintage enthusiasts know the feeling: an old designer piece looks perfect in a shop or online, yet at home you can barely fasten the button. It is frustrating, because genuine items from the 1960s, 1970s or 1980s cannot simply be bought again. This is where a few straightforward yet remarkably effective techniques come in, allowing tight vintage clothing to be adjusted by up to one size without ruining it.
Why vintage fashion often comes up smaller today
The first revelation is that sizing has changed dramatically. What was labelled a size 40 in the 1970s would now be closer to a slim size 36. Different body measurements were considered standard at the time, while garments were designed with a more fitted cut.
There is also what is known as ease allowance. Many older garments were made to sit very close to the body, sometimes almost like shapewear. The strain is then focused on the side seams and waistband. Forcing such a piece over the hips can tear the fabric or stretch it out permanently.
“The body is not the problem – the old sizing charts are. Once you understand that, dealing with vintage sizes becomes much more relaxed.”
The good news is that high-quality older fabrics in particular often respond surprisingly well to moisture, warmth and carefully applied tension. With the right approach, a narrow waistband can be noticeably enlarged.
What “one size larger” really means in centimetres
Many fashion professionals calculate in circumferences rather than clothing sizes. One extra size at the waist or hips generally means around four centimetres more in circumference.
- Approx. 4 cm more circumference = roughly one size
- Usually divided between both sides: 2 cm on the left and 2 cm on the right
- Skirts and dresses often have two side seams that can be used as adjustment points
Once these figures are clear, claims such as “three sizes larger in ten minutes” are immediately recognisable as unrealistic. Gentle methods will usually gain a few millimetres up to just under three centimetres. Anything substantially beyond that requires proper alterations to the cut and seams.
Five-minute trick: how to safely stretch your vintage jeans
This quick method works best on jeans made from 100 per cent cotton, with no stretch or only a minimal amount. These fabrics swell slightly in lukewarm water and adapt when placed under tension.
Step-by-step guide for tight jeans
- Dampen with lukewarm water: Use a spray bottle to thoroughly moisten the waistband and upper hip area with lukewarm water, until the fabric is clearly wet but not dripping.
- Put them on: Fasten the jeans while they are still damp and while standing. If necessary, do them up lying down first, then stand up.
- Move around: Stay active for three to five minutes:
- gentle squats
- forward and side lunges
- side-to-side torso twists to spread the tension across the hips and seat
- Allow them to dry: Let the jeans air-dry while wearing them. Do not use a tumble dryer, as it could make them shrink again.
- Measure again: Measure the waistband circumference before and afterwards. An increase of up to three centimetres is realistic with firm cotton.
“The technique works because cotton fibres become more pliable when wet and can lengthen slightly and permanently under controlled tension.”
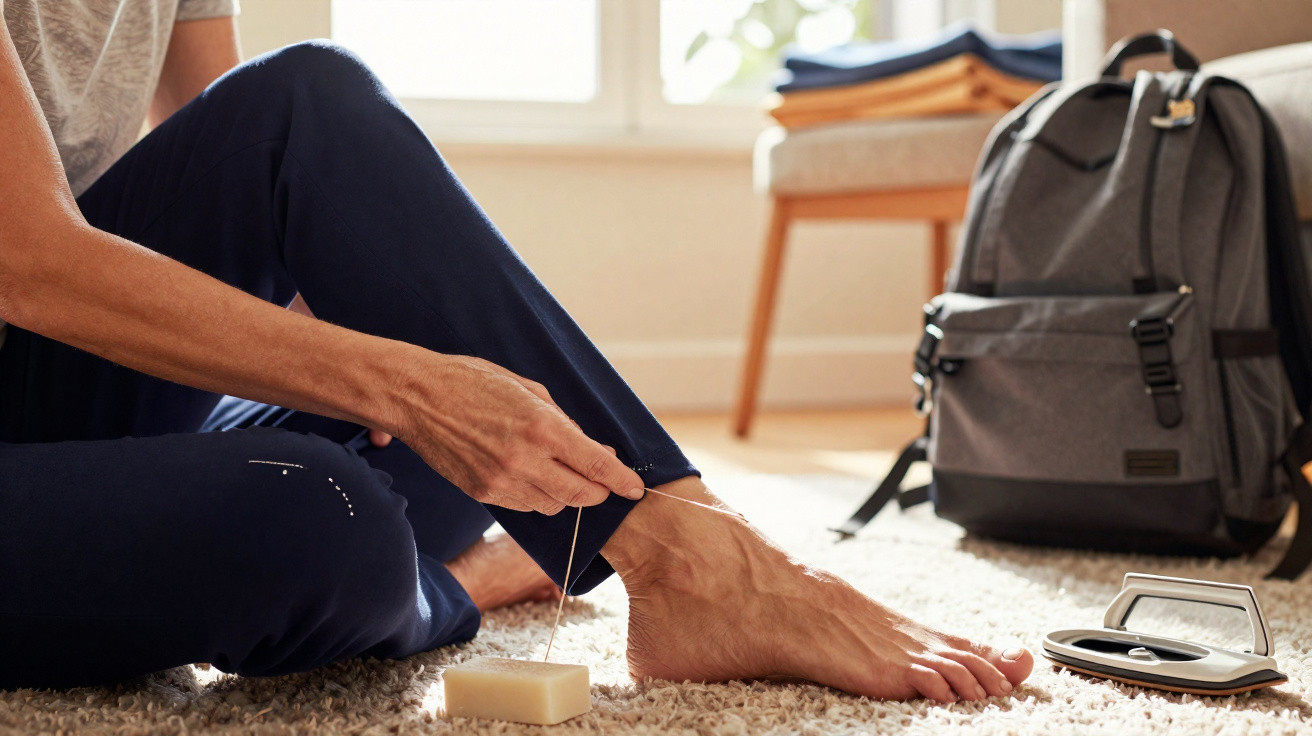
If you cannot tolerate wearing a wet garment, there is an alternative: stretch the damp waistband over a wide wooden hanger or a similar object that provides firm resistance. The tension remains as it dries, widening the waistband in a targeted way.
If the jeans still pinch: when to use a needle
If the fibre technique does not provide enough room, the cut itself needs altering. One traditional option is to unpick the back waistband and sew a small fabric panel or insert of wide elastic into the centre. The alteration is almost invisible this way, especially on dark washes.
The crucial point is to damage as little of the original fabric as possible, so the change can be reversed later. With particularly valuable collectors’ pieces, it is worth visiting a professional tailor experienced in working with older garments.
Quick relief for tight vintage skirts and dresses
With dresses and skirts, the issue is often at the side of the hips or waist. A small insert in the side seam can help; in tailoring terms, this is called a gusset or triangular panel.
How the side-seam gusset trick works
- Identify the spot: Put the garment on and mark where it feels particularly tight, usually around the waist or upper hip.
- Open the seam: Carefully unpick the relevant side seam over five to seven centimetres.
- Cut the gusset: Cut a piece measuring about six by eight centimetres from fabric that is as similar as possible, or choose a contrasting material deliberately as a style detail. Fold it once lengthways to create a triangle.
- Insert it: Place the tip of the triangle facing downwards into the V-shaped opening, then sew it in on the right and left with close stitches.
- Repeat: Work identically on the other side of the garment so the silhouette remains symmetrical.
Two neatly placed triangles distribute the tension more effectively and can ideally add the “magic” four centimetres in circumference. The garment’s line is retained, while freedom of movement increases noticeably.
“Especially with pencil skirts, an almost invisible gusset at the side seam can make the difference between ‘ready for the wardrobe’ and ‘favourite piece’.”
How to prevent damage to older fabrics
Many older textiles are more delicate than newly made mass-market clothing. Before doing anything, carry out a brief check:
- Does the fabric look brittle or shiny along its creases? If so, apply only very gentle tension.
- Is the waistband already stretched out or heavily reworked with numerous old seams? It is better not to add further strain.
- Are there visible tears or thin areas at the seam? Reinforce them before attempting to stretch the garment.
If you are unsure, test the method first on a less treasured garment with a similar fibre blend. This gives you a sense of how much a fibre will stretch with moisture and movement.
Why vintage clothing adjustments are worth the effort
Vintage pieces often offer a quality that today’s fast-fashion chains rarely provide: more densely woven fabrics, careful construction and timeless cuts. Spending a little time on alterations pays off. Rather than buying another pair of jeans that fits only “well enough”, you can save a distinctive one-off piece.
Every rescued skirt and adjusted pair of jeans also saves resources. Producing new textiles uses considerable water, energy and chemicals. Wearing existing clothing for longer noticeably reduces your personal fashion footprint without sacrificing style.
Over time, many enthusiasts develop something of a routine: try on a newly found old piece, check the areas under strain, use the fibre technique for denim, and plan gussets for skirts and dresses. In this way, a slightly tight find becomes a personal favourite with a story – and the right fit.



Comments
No comments yet. Be the first to comment!
Leave a Comment