
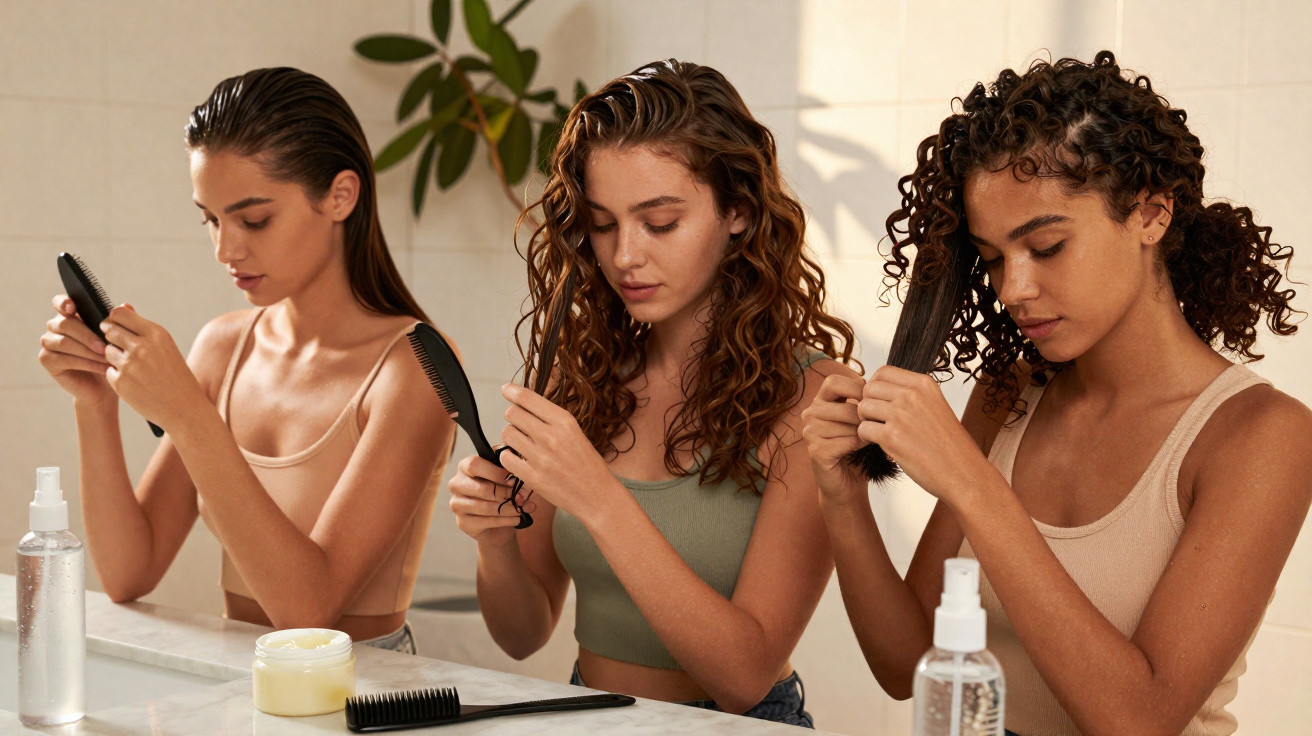
Whether it is first thing in the bathroom or after a day at the beach: wet hair can do far more than simply be wrapped in a towel.
If you only style your mane once it is completely dry, you are missing out on real potential. Wet or towel-dried hair is easier to shape, has a more intense shine and holds certain looks more effectively. A few simple moves and a little gel or mousse can create hairstyles worthy of an editorial shoot – even when you only need to get out of the house quickly.
Why styling wet hair works so well
Damp hair is pliable, responds more strongly to products and retains its new shape for longer. The familiar “wet look” relies precisely on this: shine, defined sections and a clear shape that draws attention to the face.
Used correctly, styling wet hair saves time, disguises bad-hair days and looks surprisingly professional.
To prevent the finish from looking stiff or greasy, product quantity and the direction in which it is applied are what matter most. Gel is best concentrated at the roots and across the top layer, while the mid-lengths and ends should remain more flexible.
Relaxed and loose: wet look hairstyles worn down
1. The classic slicked-back style
For the signature catwalk finish, brush damp hair firmly backwards. Next, work gel or gel cream from the roots towards the back, without applying too much to the ends. This keeps the top glossy and sleek while the lengths retain a more natural appearance.
- Rub the product between your palms instead of squeezing it straight from the tube onto your hair
- Comb the hair back section by section
- Apply more gel at the roots and use less through the lengths
- Leave it to air-dry or set it with a hairdryer on a low setting
2. Centre parting with glossy roots
A sharply defined centre parting adds structure around the face. Style the roots close to the head with gel, while the lengths can remain softly wavy or straight, depending on your natural hair texture.
The look works especially well with:
- soft beach waves, with the ends left almost dry
- straight hair given a gentle bend with straighteners
- fine hair, which appears fuller thanks to the lacquered-looking roots
3. Side parting for softer facial features
If your face is more angular, a deep side parting is often the better option. The heavier side falls softly across the forehead, while the other side sits close to the head. Focus the gel on the crown and sides, then shape the ends using only a little serum.
4. Retro details around the front hairline
For a hint of old Hollywood, wind individual sections at the front hairline around a finger and arrange them in gentle waves across the forehead. Secure the shape with hair clips until everything has dried.
Finger waves or softly curved sections across the forehead instantly add retro flair and look extremely elegant in photographs.
Ponytails and more: tied hairstyles with a wet-effect finish
5. Low sleek ponytail
A low ponytail suits both the office and dressed-up evenings. Comb the hair tightly backwards, leaving the parting either in the centre or positioned to one side. Use gel to lay the roots completely flat, while keeping the ponytail itself movable.
- Gather the hair at the nape of the neck
- Wrap a section of hair around the hair tie and secure it with a bobby pin
- Smooth the roots with a fine-toothed comb
- Apply a light layer of hairspray over the surface
6. High ponytail with a sporty twist
For a sporty yet polished style, secure the ponytail high on the back of the head. Pull the roots firmly upwards with gel; the lengths can be braided, twisted or left sleek. The result combines gym-inspired styling with red-carpet appeal.
7. Half-up ponytail for everyday wear
When mornings are rushed, the half-up ponytail is invaluable. Take the upper layer back, fasten it with a small elastic and use gel to define only this top section. The rest falls loosely over the shoulders and back.
8. Glossy braids along the head
Braided styles benefit hugely from the wet effect because every section becomes more clearly visible. Tight braids that sit close to the head are easier to form on damp hair and keep their shape throughout the day.
Popular options include:
- a classic, tightly braided French plait from the roots to the nape
- one or two close-to-the-head braids with a high-shine finish
- a loose braid with gel applied only at the roots
- a braided “crown” worn around the head like a hairband
Elegant knots: updos with a wet-effect finish
9. Low sleek knot at the nape
This low, ultra-smooth knot is ideal with fine fabrics, large earrings and business appointments. Tie the hair into a tight ponytail at the nape, twist it, then pin it securely in place. Gel at the roots creates a mirror-like shine.
10. High knot with loose sections
For a slightly more relaxed version, position the knot higher and leave a few sections loose at the sides. The surface stays glossy and controlled, while the playful strands soften the severity of the look.
11. Double knot at the nape
Two small knots, placed left and right above the nape, look playful yet modern. Part the hair down the middle and create two ponytails, twisting each one into a mini bun. Shape the roots and sides with gel.
12. Multi-knot row
Those who enjoy making a statement can create several small buns in a line from the crown to the nape. Each mini knot should sit tightly, with the spaces between them left glossy with gel. It creates a highly graphic effect that works well for parties or festivals.
Choosing the right products for wet looks
13. Which gel is suitable?
Many wet-look mistakes come down to using the wrong product. Very sticky gels can make hair appear brittle. Better choices include versions containing conditioning ingredients, ideally aloe vera-based or alcohol-free formulas.
| Product type | Effect | Suitable for |
|---|---|---|
| Lightweight gel | Moderate hold, natural shine | Fine to normal hair |
| Gel cream | Soft hold, conditioning effect | Dry or curly hair |
| Strong-hold gel | Firm hold, intense shine | Short or unruly hair |
14. How to make the style last all day
Before working in gel, hair should be clean and thoroughly combed through. Once it has been applied, use a little hairspray selectively over drier sections that are not meant to look glossy. This preserves the contrast between wet-looking roots and freer ends.
- Build up product in thin layers rather than applying everything at once
- Spray hairspray from a distance to avoid droplets forming
- Reshape the hairstyle once more with a fine-toothed comb
15. Removing gel and hairspray gently
To avoid irritating the scalp, wash out styling residue thoroughly in the evening. Before shampooing, lukewarm water helps to loosen the gel. Gently massage the scalp with your fingertips rather than scratching with your nails to prevent irritation.
Anyone who uses strong styling products regularly should include a mild clarifying shampoo once or twice a month.
Practical tips for different hair types
Fine hair
Fine hair needs only a small amount of product. Focus on the roots and leave the lengths almost product-free, otherwise they can quickly look stringy. A touch of volumising mousse underneath the wet look can work wonders.
Thick or curly hair
Here, gel cream or a stronger gel is perfectly suitable. Wet curls look especially attractive when their sections are clearly defined. Distribute the product generously with your hands, then gently scrunch the ends upwards.
Coloured or damaged hair
If you bleach your hair often or use straighteners regularly, it is better to choose products with conditioning benefits. Ingredients such as glycerine or plant oils add moisture, while the wet look smooths the surface and visually disguises brittle ends.
When the wet look is especially worthwhile
A quick wet-look style can rescue many hairstyles on humid summer days, on holiday or after swimming. After a workout at the gym, dampen sweaty roots with water, work in gel and tie a neat ponytail straight away – without the effort of washing and blow-drying your hair.
The style also has advantages for evening occasions: it opens up the face, complements bold make-up and directs attention towards the eyes and cheekbones. Statement earrings, slicked-back roots and a low knot can make even a simple outfit look instantly more modern.


Comments
No comments yet. Be the first to comment!
Leave a Comment