
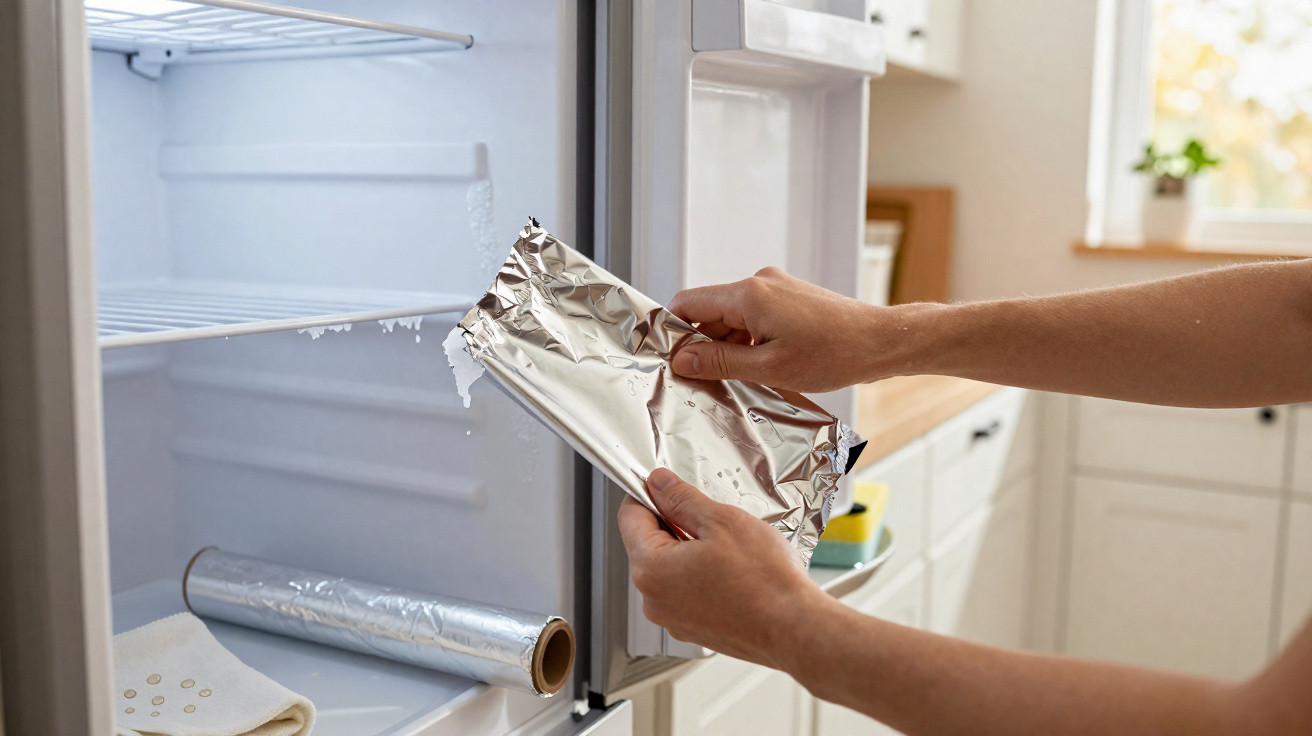
A familiar kitchen essential could make this household task much easier.
In many homes, freezers develop ice far too fast, reducing room for food and gradually increasing electricity costs. A straightforward aluminium foil method is gaining attention online, offering a way to defrost more quickly without investing in specialist equipment.
Why modern freezers still develop frost
Although most newer appliances advertise “no frost” technology, thick layers of ice can still appear within a few months. The explanation is simple physics. Whenever the freezer door is opened, warm, moisture-filled air from the room enters the compartment and hits its cold interior surfaces. The moisture condenses and subsequently freezes, building up in successive layers.
Worn or unclean door seals can make matters worse. If the gasket fails to shut tightly, a small but constant flow of warm air can enter throughout the day. This makes the freezer run for longer, consume additional electricity and create more ice on its walls and evaporator.
Ice build-up narrows storage space, pushes the compressor to work harder and can shorten the life of the appliance.
Obstructed vents, drawers packed too tightly and food that is inadequately wrapped can also affect the way cold air moves around the appliance. The result may be uneven temperatures, isolated patches of frost and damp ice on certain shelves while other areas remain almost frost-free.
How aluminium foil helps remove freezer ice
Although aluminium foil is normally used for covering leftovers, it is unexpectedly useful for defrosting. Aluminium is a strong conductor of heat, so even a thin sheet absorbs warmth from the room and passes it into any ice it is touching.
The foil also provides a pliable layer between the ice and the freezer's plastic lining. This means you can help release the ice without gouging the interior with metal implements or knives.
Foil does not magically melt ice on its own, but it speeds up the process and concentrates heat exactly where you need it.
It is also easy to mould aluminium foil into the shape required. Fold it into broad panels for larger sections, or twist it into slim strips for corners, beneath rails and around shelves, where frost commonly collects.
Step-by-step: safely removing ice with aluminium foil
Prepare the freezer before handling the ice
- Switch the freezer off at the wall or unplug it.
- Transfer food to another freezer, insulated container or cool bags.
- Put towels on the floor and, where possible, set a tray at the base of the freezer to collect melting water.
Do not work on an appliance that is still powered while water is nearby. Turn off the electricity before beginning any hands-on work.
Positioning the aluminium foil
Pull off several sizeable pieces of foil, then fold each sheet two or three times to make firmer panels about the dimensions of a book page. The extra thickness helps them retain their form and makes them easier to hold with cold hands.
Carefully press the sheets against frosted areas. Place them over extensive patches on the rear wall, ceiling and around permanent shelves. Ensure the foil lies as flat as you can, creating a generous contact area.
When the room is cool, put a bowl of warm, rather than boiling, water on a shelf. Close the freezer door almost completely, ensuring the cable remains outside. The warmer air will help the foil heat up more rapidly and begin separating the ice from the surface behind it.
Loosening the ice
Check the freezer again after around 15–30 minutes. Water droplets will often appear around the foil edges, along with fine cracks in the ice. Slowly lift a foil panel from one side; in many instances, a complete slab of ice will detach along with it.
For more persistent frost, leave the foil where it is and place a warm, damp cloth over it for a minute. The cloth heats the foil, the foil transfers warmth to the ice and the frozen bond begins to give way. Use a plastic scraper or purpose-made defrosting spatula to raise the softened ice afterwards.
Avoid knives, metal spatulas and screwdrivers. One slip can pierce coolant pipes and put the freezer beyond repair.
Tackle the freezer in small sections, finishing each area before moving onwards. Change the foil panels when they become ripped or saturated, since wet foil makes poorer contact and is more awkward to use.
Cleaning and switching the freezer back on
Once every trace of ice has been cleared, dry the internal surfaces with a clean cloth. Next, wipe them using a cloth lightly moistened with a mild mixture of water and bicarbonate of soda. This helps remove odours and any remaining meltwater film that could otherwise freeze again as a thin coating.
Thoroughly dry the compartment, paying particular attention to the grooves and door seals. Shut the door and switch the freezer on again. Allow it to return to its normal operating temperature before replacing food, preferably within a couple of hours to keep it safe.
Everyday habits that reduce ice build-up
You will still need to defrost occasionally, but a few routine adjustments can extend the time between sessions.
Review your freezer door habits
Technicians often refer to prolonged opening as “door abuse”. Standing with the door open while deciding what to take out lets humid room air flood inside. Decide what you need before opening it, and make sure the door is firmly closed afterwards.
Inspect the gasket carefully as well. Cracks, mould or a door that no longer closes with a secure snap can indicate that the seal requires cleaning or replacing. Try the simple paper test: close a sheet of paper in the door and pull it. If it comes away without resistance, the seal is not gripping effectively.
Arrange the contents and check the temperature
A half-empty freezer contains a greater volume of warm air. When it is more fully stocked with neatly packed food, it holds its temperature more effectively each time the door is opened. If you do not often fill it, containers of water or ice packs can provide thermal mass and help keep the internal environment stable.
Check the thermostat setting too. Many households operate freezers at temperatures lower than necessary. For most domestic appliances, approximately -18 °C (0 °F) is sufficient to keep food safe. Reducing the temperature further rarely enhances food quality, but may increase frost formation and electricity consumption.
Comparing popular freezer defrosting methods
| Method | Speed | Cost | Risk level |
|---|---|---|---|
| Natural thaw (door open, power off) | Slow | Free | Low, but more water to manage |
| Aluminium foil panels | Medium | Very low | Low, if used with plastic tools |
| Bowl of hot water inside | Medium–fast | Low | Moderate, risk of steam near electrics if careless |
| Hair dryer directed into freezer | Fast | Low | High, due to heat and moisture near live parts |
| Metal tools chipping ice | Variable | Free | Very high, can pierce pipes or liner |
Aluminium foil provides a useful middle ground: it works faster than allowing a natural thaw, is less forceful than using hot air or chipping at ice, and costs little enough for nearly any household.
When freezer frost may indicate a technical problem
If the appliance needs defrosting every few weeks, aluminium foil will have limited effect. Frost that returns consistently and quickly may point to an underlying fault, including a defective thermostat, failed auto-defrost components or a blocked drainage channel behind the internal panel.
Other signs include water gathering beneath the drawers, ice appearing only in one upper corner or a motor that seldom stops running. A qualified technician should assess the sensors, fans and seal around the evaporator housing in these situations.
Additional tips for safer, cleaner freezer maintenance
Defrosting is also an opportunity to review the food you have stored. As the appliance warms, examine dates, labels and packaging. Before putting items back, sort them by type and age, keeping older food at the front. This can reduce food waste and limit the time spent searching with the door open.
If you are concerned about aluminium coming into contact with food, use foil solely to remove ice and throw it away after each defrosting session. You can then line shelves with silicone mats or thin plastic chopping boards to catch crumbs and small drips. This makes later cleaning easier and prevents frost forming around sticky spillages.






Comments
No comments yet. Be the first to comment!
Leave a Comment