
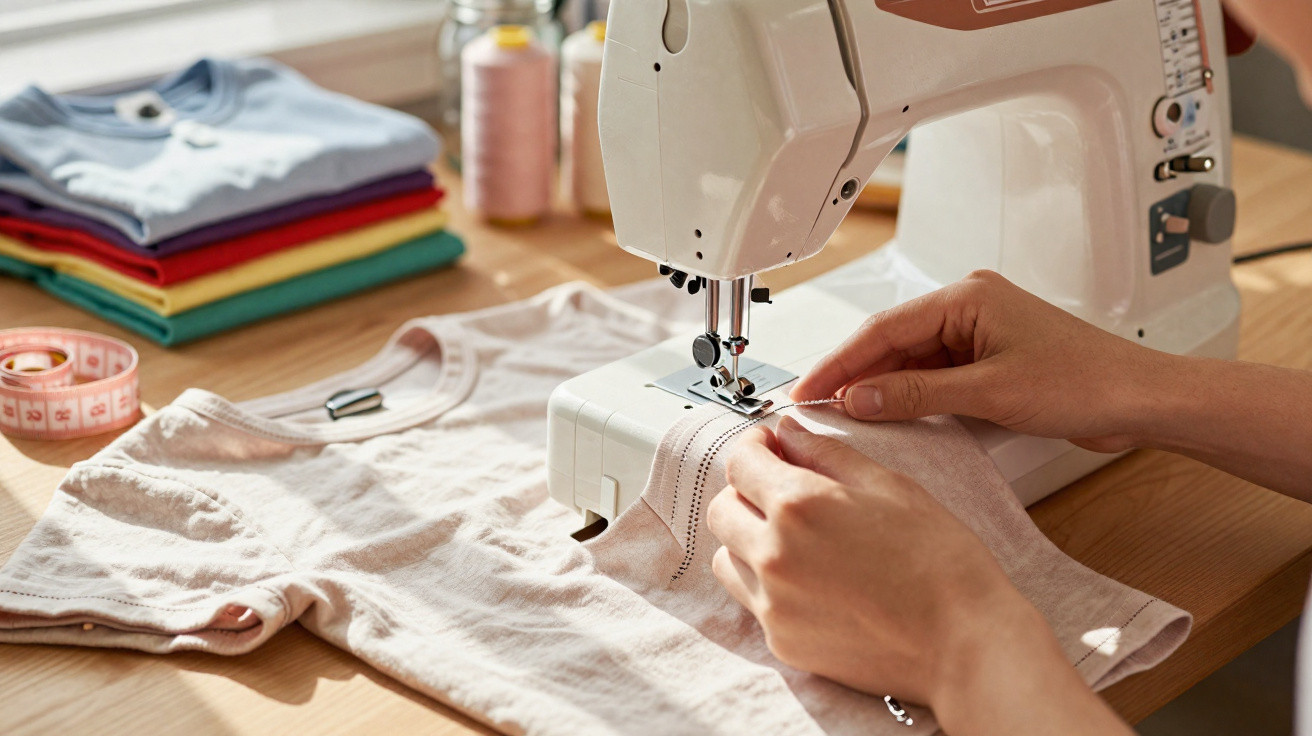
The hem may look smooth as soon as it is sewn, the T-shirt has been pressed, and everything appears flawless. Then comes the disappointment when trying it on: the fabric ripples, the thread snaps, and the hem looks cheap. Yet the difference between this and a professionally finished shop-bought T-shirt often has little to do with sewing ability. It is usually down to a concealed feature found on almost every domestic machine – but rarely used.
Why T-shirt hems often go wrong at home
Anyone who has shortened or made a T-shirt will recognise the issue: the hem contracts, becomes stiff, or splits the first time the garment is pulled over the head. Standard straight stitches are particularly prone to problems on jersey and stretchy cotton fabrics.
A quick look through a wardrobe reveals why shop-bought garments differ. Most ready-made T-shirts have two neat parallel rows of stitching on the outside, with a soft, stretchy construction on the inside. Factories generally produce this finish with coverstitch machines. Few home sewists own such specialist equipment, but they do not necessarily need it: many ordinary domestic sewing machines already offer a similar result.
Many Singer, Brother, Pfaff and similar machines include an accessory that can make T-shirt hems stretchy, tidy and surprisingly professional-looking.
The overlooked accessory: the twin needle under the cover
The answer is the twin-needle setting, also commonly called a double needle. It recreates both the appearance and function of the familiar T-shirt hem found in the clothing industry, without requiring an expensive specialist machine.
In technical terms, this is what happens:
- Two top threads run from two spools to the needle.
- One shared bobbin thread – the standard bobbin in the hook mechanism – joins the two threads.
- On the upper side, it produces two parallel lines of straight stitching, usually spaced 2 to 4 millimetres apart.
- Underneath the fabric, the bobbin thread forms a zigzag-like pattern between the two needle threads.
That zigzag provides the crucial stretch. The hem can extend without the thread breaking. On stretchy cotton fabrics, this can increase stretchiness by roughly one third to one half compared with a single straight-stitch seam.
To find out whether a machine can do this, check the accessory compartment or beneath the upper cover. There is often a second spool pin there, usually an inconspicuous plastic rod. Once fitted, it allows the machine to hold two thread spools – the essential requirement for sewing with a twin needle.
How to set up a twin needle correctly
A little preparation is worthwhile if T-shirt hems are to look genuinely neat. These steps work in a similar way on most domestic sewing machines.
Step 1: Choose the right needle
For jersey and T-shirts, twin needles in size 80 or 90 are suitable. Ideally, the space between the two needles should be 2.5 or 4 millimetres, depending on how prominent the parallel lines should appear.
- Size 80: for lightweight jersey and light cotton blends
- Size 90: for slightly firmer shirts, sweatshirt fabrics or heavier cotton
- 2.5 mm spacing: a subtle, narrow appearance
- 4 mm spacing: a more visible, sporty finish like that on many branded T-shirts
Step 2: Thread two spools
Place two spools of top thread onto the spool pins. Many sewists simply use the same thread twice, keeping both the colour and handle consistent. At first, the two threads pass together through the tension discs and thread guides. They are separated only shortly before the needle, then each is threaded through one of the two needle eyes.
Everything underneath remains as normal: one bobbin sits in the case or horizontal hook.
Step 3: Adjust stitch length and thread tension
A straight stitch is enough for T-shirt hems. The strength comes from its combination with the twin needle, rather than from a special stitch selection. Reducing the top-thread tension slightly helps prevent an unattractive “tunnel” forming between the two lines of stitching. On many machines, a setting just below the usual value produces good results.
Before sewing the actual hem, test the settings on a scrap of the original fabric. Most importantly, do not pull the fabric while sewing. Tugging distorts the jersey, causing the hem to ripple later when worn.
Practical example: the troublesome hem on a stretch T-shirt
A typical scenario is a cotton T-shirt containing elastane that is given a new hem using an ordinary straight stitch. When the garment is put on, the thread breaks in several places and the hem feels stiff and tight.
A twin needle changes the outcome considerably:
- The hem remains flat against the garment.
- The thread gives when the fabric is stretched.
- The characteristic T-shirt look, with two visible lines, appears automatically.
For exceptionally thin or highly stretchy fabrics, an additional technique can help: use textured nylon or mousse thread in the bobbin. It stretches more readily and creates a softer, fuller zigzag on the reverse. Sportswear is often sewn this way because the inside rubs less and the hem stays flexible even after many washes.
When an invisible hem is the better option
Sewing machines usually provide another often underestimated feature: the invisible hem stitch. In the stitch selection, it is often hidden behind a letter or symbol, such as a small “V”-shaped pattern. This stitch consists of a series of short straight stitches interrupted by a sideways zigzag.
A dedicated blind-hem foot, with a ridge or central guide, makes it possible to maintain a very precise distance from the folded hem edge. Stitch length is generally between 1.5 and 2.5, while stitch width remains narrow. The aim is to catch only one or two threads from the outer fabric.
On the right side of the fabric, a successful invisible hem shows only tiny pinprick stitches – from a normal viewing distance, the edge looks smooth and hand-sewn.
This stitch is less suitable for T-shirts and jersey because it allows very little stretch. However, it is ideal for trousers, skirts, suits and any non-stretch fabric where the hem edge should be visually unobtrusive.
The choice: twin needle or invisible hem?
- Jersey, stretch fabrics, sports T-shirts: twin needle, because it provides the right look and elasticity.
- Smart trousers, woven skirts, evening dresses: invisible hem stitch, because almost nothing can be seen from the outside.
- Jeans and heavy cotton: depending on the desired style, use a visible double row of stitching for a sporty look or an invisible hem for a discreet edge.
Whichever stitch is chosen, one point remains the same: the hem should be pressed precisely, pinned neatly and fed beneath the presser foot without tension. Many problems result from distorted fabric or handling it too hastily.
Key terms for the perfect T-shirt hem
Anyone who does not sew regularly can easily be confused by terminology in sewing instructions. Several common terms are straightforward:
- Jersey: a stretchy knitted fabric, often used for T-shirts.
- Twin needle: two needles fixed to one shank that sew simultaneously.
- Bobbin: the small spool inside the machine that supplies the lower thread.
- Top-thread tension: the mechanism controlling how tightly the upper thread is pulled.
- Textured nylon / mousse thread: a bulky, stretchy thread that is soft and filling, ideal for sportswear and performance clothing.
How to avoid common mistakes
A few straightforward habits can prevent many frustrating sewing moments. Anyone who regularly works with jersey will benefit greatly from these measures:
- Always make a test seam on fabric scraps.
- Change the needle regularly, as blunt needles damage knitted stitches.
- Do not pull the fabric during sewing; guide it only lightly.
- Steam and allow the hem to cool thoroughly before sewing so that its length stabilises.
- For very slippery fabrics, consider using a walking foot.
Once sewists deliberately explore the twin needle, they soon realise that this unassuming item in the accessory compartment often determines whether a handmade T-shirt looks home-sewn or boutique-quality. It is particularly worthwhile for anyone altering clothes or sewing several garments from favourite patterns.
It also creates new possibilities: contrast thread for sporty details, tone-on-tone stitching for a restrained appearance, and different spacings for different styles. This turns a simple repair tool into a creative design feature capable of far more than rescuing a standard hem.




Comments
No comments yet. Be the first to comment!
Leave a Comment