
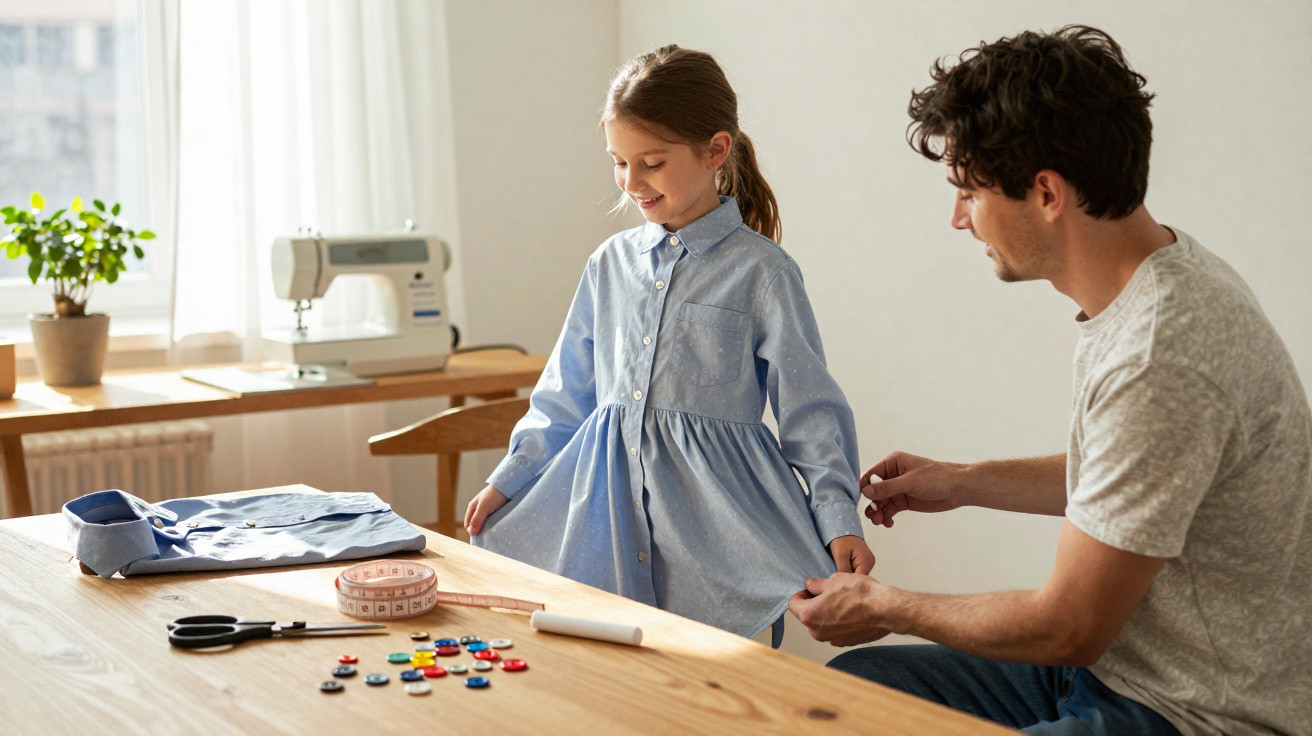
Often, at the very back of the wardrobe, there are shirts nobody wears any longer: the collar is worn, the pattern has dated, yet the fabric remains in excellent condition. With just a few simple steps, it can be turned into a charming children’s dress – at virtually no cost, with plenty of sentimental value and a meaningful environmental benefit.
Why a men’s shirt is ideal for a children’s dress
A shirt in size L or XL contains a surprisingly generous amount of fabric. It provides around 1.5 to 2 square metres of material – sufficient for a dress for toddlers and pre-school children. In a fabric shop, comparable-quality cotton could easily cost £15 to £25 per metre. Here, the material is already in the wardrobe and has completed its first chapter of use.
Common shirting fabrics such as poplin, Oxford cloth and chambray are closely woven while still feeling soft against the skin. Having already gone through numerous washes, they tend to hold their shape, shrink very little and no longer bleed colour. Those qualities make them particularly suitable for children’s clothing: hard-wearing, practical for everyday wear and comfortable.
“An old men’s shirt provides high-quality fabric for free – while also reducing waste and the need to buy new items.”
There is an emotional aspect, too. If the dress is made from Dad’s former favourite shirt, the child is wearing a keepsake that can be used. A garment with its own history becomes a fresh family project.
Step by step: turning a shirt into a children’s dress
Preparation: checking what is still usable
Before picking up the scissors, inspect the shirt carefully:
- Wash the shirt and press it thoroughly – lines can only be marked accurately on smooth fabric.
- Look for worn sections, most commonly on the inside of the collar and at the cuffs.
- Mark any stains so those areas can be avoided when cutting out the pieces.
Rather than unpicking the entire shirt, it is especially effective to take it apart only where needed. Many of the time-consuming stages involved in working from a conventional sewing pattern have already been completed in a shirt. The button placket is particularly useful: it is neatly made, durable and saves considerable time later on.
Cutting out the children’s dress using an existing dress as a template
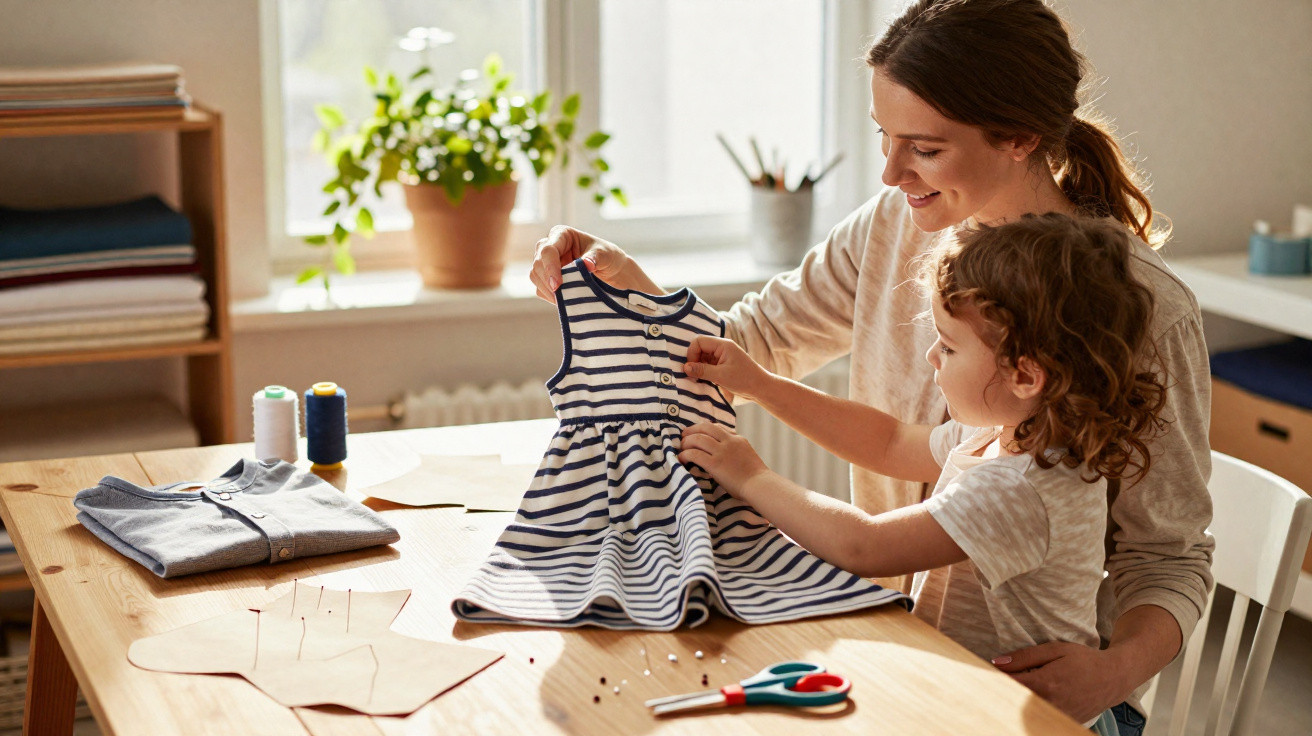
Anyone wishing to avoid complex patterns can simply use a well-fitting children’s dress from the wardrobe as a template. Depending on the shirt size, this method works well for approximately ages two to six.
The process is straightforward:
- Lay the shirt flat on a table and fasten the buttons.
- Set aside the back of the shirt for the skirt, as this is usually the largest uninterrupted area of fabric.
- Cut the bodice pieces, front and back, from the sleeves or the front sections.
- Place the existing children’s dress on top and trace around it, adding allowances for seams and the hem.
- Position the pattern pieces to avoid stained or worn areas.
The skirt can be cut generously and lightly pleated afterwards. This creates a comfortable, gently swaying shape that allows plenty of movement – ideal for the playground, nursery and garden.
“Simply keep the shirt’s original bottom hem – it saves time and gives an instantly professional finish.”
The key sewing stages at a glance
Once every piece has been cut out, the sewing can begin. For experienced sewers, the project generally takes only an afternoon. It is also manageable for beginners, as the shirt has already taken care of many of the more complicated stages.
| Step | What happens |
|---|---|
| 1. Shoulder seams | Sew the front and back bodice pieces together at the shoulders. |
| 2. Close the sides | Stitch the bodice side seams, ensuring there is enough room around the arms. |
| 3. Gather the skirt | If required, lightly gather the skirt so that it fits the bodice. |
| 4. Attach skirt to bodice | Sew the skirt and bodice together, then finish the seam allowances. |
| 5. Neckline & armholes | Neaten them with facings, bias binding or a simple turned hem. |
One particularly useful shortcut is to leave the ready-made hem along the shirt’s lower edge in place. This edge is often softly curved and very neatly stitched. It saves around 20 minutes of work while giving the dress a soft shape that suits children.
Design ideas: making every children’s dress unique
Once the basic shape is complete, the creative part begins. The look can be tailored to the child and the occasion, from playful to understated.
- Change the button placket: Leave it at the front for a classic shirt-dress style, or move it to the back to make the dress easier to put on.
- Use the shape of the hem: The familiar gently rounded shirt hems create a flowing skirt line.
- Add decorative details: Small bows, ornamental buttons, narrow frills or tiny sleeves make the dress more individual.
- Make accessories from offcuts: Leftover fabric can become a matching hairband, headband or even a small doll’s dress.
Those who enjoy sewing can transform the former cuffs into small flutter sleeves or shoulder straps. The shirt’s breast pocket can also be reused as a patch pocket on the dress – handy for tissues or little treasures.
“One shirt can make a dress, a hairband and a doll’s outfit – all in the same look.”
Which men’s shirts work especially well
Not every shirt is equally suitable, although choosing one is usually straightforward. Styles made from firmer but soft natural fibres are particularly recommended.
- Material: Cotton is the best option, whether poplin, Oxford cloth or chambray. Linen is also suitable, provided the weave is neither too coarse nor too loose.
- Pattern: Fine stripes, small checks and subtle all-over prints often look especially sweet at children’s scale. Even bold designs appear less overpowering when made into a children’s dress.
- Size: L or XL offers enough fabric to position the pattern pieces flexibly and work around damaged sections.
Slight fading or worn patches do not necessarily rule out a shirt. These areas are often near the outer edges and can be excluded during cutting. In some cases, a noticeable mark can even be deliberately reworked as a design feature, perhaps beneath an appliquéd pocket or patch.
Can it be done without a sewing machine?
Anyone without a sewing machine can complete the project by hand. It will take longer, but it is entirely achievable if the seams are sewn carefully.
Useful supplies include:
- small, even running stitches or backstitches for strong seams
- stronger sewing thread suited to the shirt fabric
- needles appropriate for the weave, neither too fine nor too thick
For those at the beginning of their sewing journey, this shirt project is a good introduction. The broad shapes are forgiving of small inaccuracies, and fiddly elements such as zips are not needed at all. In most cases, a children’s dress that already fits well is enough for guidance, ensuring the neckline width and length are suitable from the outset.
Benefits for family and the environment
This simple upcycling project brings together several advantages: saving money, cutting waste, expressing creativity and helping children understand the value of resources. A garment that was close to being thrown away becomes a new favourite piece that may remain in use for years.
With a little planning, different versions can also be sewn: sleeveless for summer, with small flutter sleeves for milder in-between weather, or worn with leggings and a long-sleeved top on cooler days. Particularly thick shirts, such as flannel ones, can quickly become a cosy winter dress.
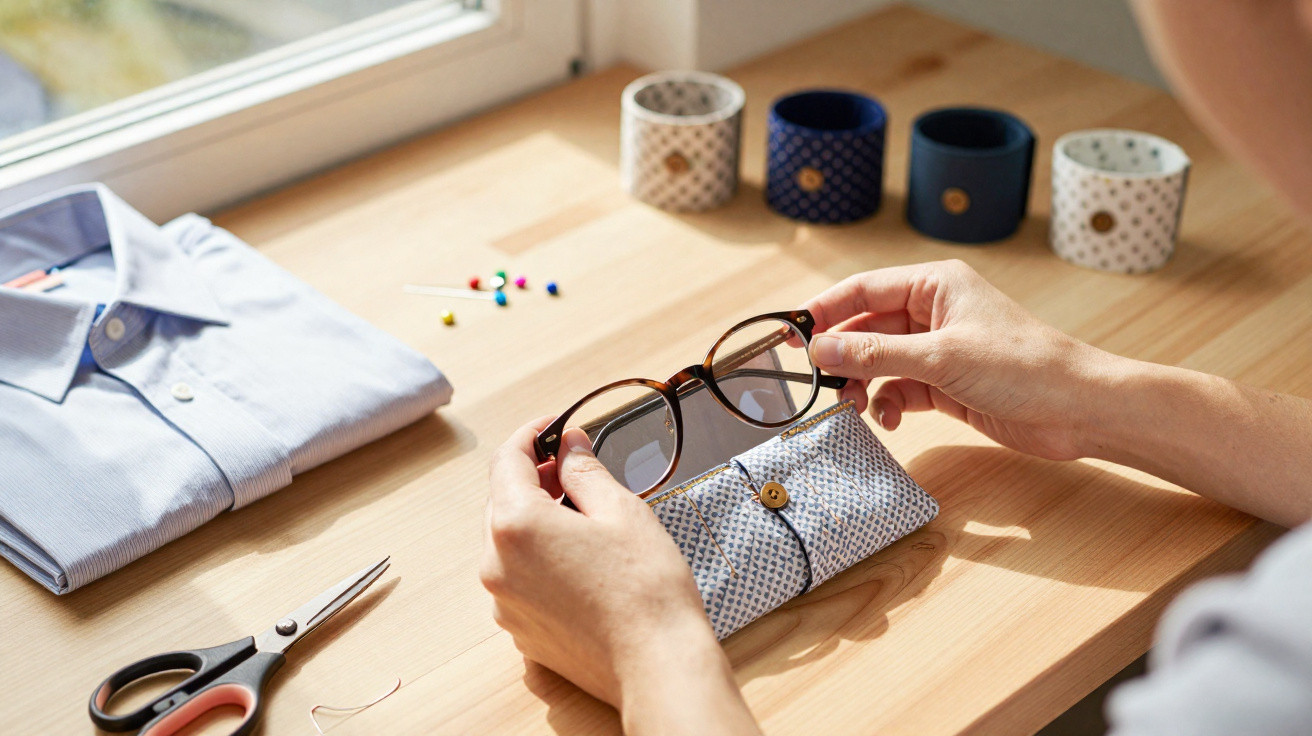
Anyone who enjoys this approach can apply it to other items as well. Men’s shirts can also be made into loose-fitting blouses for adults, children’s shorts, cushion covers or bags. The guiding principle remains the same: use fabric that already exists before buying more.
For families on a limited budget, this offers a creative alternative to quick purchases from fast-fashion retailers. The child wears something one of a kind, can help choose and decorate it, and learns along the way that clothing can be more than a disposable product – it can be a piece of family history that is retold again and again.



Comments
No comments yet. Be the first to comment!
Leave a Comment