
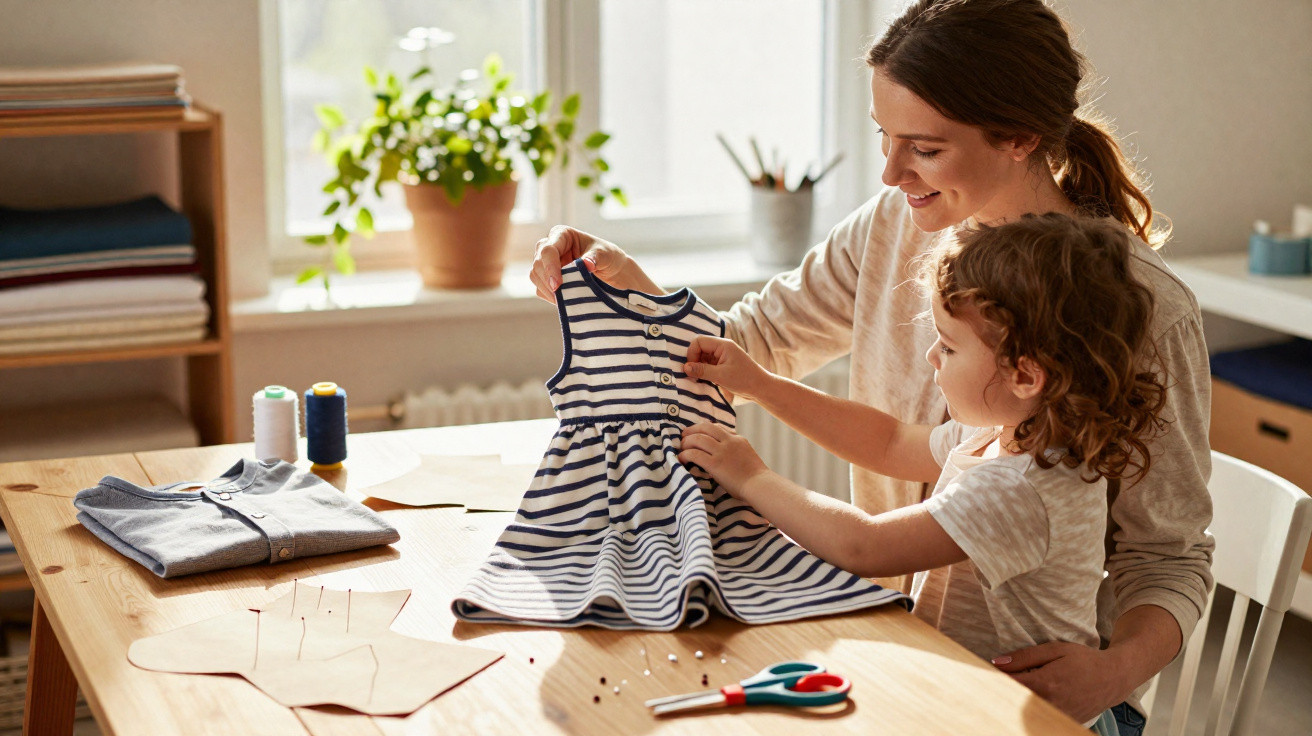
An old men’s shirt may be hanging unworn in the wardrobe – yet it can become your child’s new favourite dress in very little time.
Rather than putting a slightly worn shirt into the textile recycling bag, a few stitches can turn it into a personal, comfortable children’s dress. It saves money, conserves resources and lets your child carry a lovely reminder of Dad or Grandad in their everyday clothes.
Why a men’s shirt is ideal fabric for a children’s dress
A standard shirt in a size L or XL contains a surprisingly generous amount of fabric: usually between 1.5 and 2 square metres. In a fabric shop, comparable cotton materials such as poplin, Oxford cloth or chambray could easily cost €15 to €25 per metre. Yet these lengths of fabric often sit unused in wardrobes, even when the material itself remains in excellent condition.
Reusing an old shirt saves real money and reduces the environmental footprint of your wardrobe.
Shirting is also generally hard-wearing, tightly woven and already washed many times. It is soft against the skin, is unlikely to shrink further and rarely releases any more dye. These are exactly the qualities parents want in children’s clothing: comfort, easy care and durability.
Shirts have visual appeal too. Fine stripes, checks, tiny spots and understated prints look much more playful when scaled down for a child than they do on an adult. Even a design that might seem “tacky” can suddenly look genuinely charming in miniature.
Preparing the shirt for sewing
Before reaching for the scissors, inspect the shirt carefully. A little preparation makes the sewing easier and helps prevent crooked seams or distorted edges later on.
- Wash it: Launder the shirt freshly and check it for stains.
- Iron it: Smooth fabric is much easier to mark out and cut.
- Check for wear: The inside of the collar, cuffs and breast pocket are usually the areas most likely to be worn.
- Find clear sections: The back and front panels generally provide the largest undamaged pieces of fabric.
There is no need to unpick every seam when taking the shirt apart. It is more practical to cut it apart strategically: separate the side seams, shoulder seams and sleeves, but make sure the button placket stays intact. The button placket is the most labour-intensive part of a shirt, so it is ideal to reuse it directly for the children’s dress.
Step by step: turning a shirt into a children’s dress
For children aged roughly two to six, a regular men’s shirt will normally provide enough fabric. Use a well-fitting but loose children’s dress from the wardrobe as your template.
1. Position the pattern pieces carefully
Place the shirt face up on a table. An existing children’s dress acts as a template:
- The back panel of the shirt works brilliantly for the skirt section.
- The sleeves provide fabric for the bodice or wide shoulder straps.
- The front panel with the button placket can be positioned at either the front or back of the finished dress.
Lay your child’s dress on the shirt fabric, draw around its outline roughly and allow approximately one centimetre for seam allowance all the way around. Simply keep any stains or thin areas outside the pattern pieces.
2. Cut the skirt and bodice sections
Many home sewers use the lower section of the shirt, including its original hem, for the skirt. This not only saves time: the existing, slightly curved shirt hem also creates a naturally attractive edge on the dress.
The shirt’s original hem replaces the later skirt hem – giving a neat finish and easily saving 20 minutes of work.
Create the bodice from the sleeves or the upper shirt section, depending on the width and length required. For younger children, one sleeve will usually provide enough fabric for both a front and back bodice piece; for older children, you are more likely to need both sleeves.
3. Sew it together in a few stages
The sewing process is straightforward:
- Join the bodice shoulder seams.
- Sew the bodice side seams.
- Close the skirt side seams, if required.
- Gather the upper edge of the skirt slightly so that it matches the width of the bodice.
- Stitch the bodice and skirt together with right sides facing.
- Finish the neckline and armholes using bias binding or a simple turned hem.
Depending on your experience, the project can be completed in just one afternoon. Anyone comfortable using a sewing machine will finish especially quickly. However, a closely worked running stitch will also produce sturdy seams when sewing by hand.
Design ideas for a one-of-a-kind children’s dress
The basic dress is now complete, so it is time for the creative part. Children can have plenty of input here: which buttons should remain, should the dress have little bows, or perhaps a pocket for a favourite pebble?
- Button placket at the front: This looks classic and child-friendly while making the dress easier to put on and take off.
- Button placket at the back: It gives a “Sunday dress” appearance and makes the front panel look calmer.
- Mini flutter sleeves: The cuffs can be transformed into small flutter sleeves or attached shoulder straps.
- Belt or bow: Sewn from leftover strips, this adds shape at the waist.
- Matching headband or scrunchie: A few small offcuts are enough to make a coordinated set.
If you wish, the remaining fabric can become a miniature dress for a doll – something children are typically very excited about. Simply repeat the same idea on a smaller scale, without needing a detailed pattern.
Which men’s shirts work particularly well
Many fabric types can be used, provided they are not too thick or stiff. The following are especially suitable for children’s dresses:
- Cotton in a poplin or Oxford weave: hard-wearing, smooth and comfortable against the skin.
- Fine chambray: looks a little like denim but is much softer.
- Lightweight linen: if it is woven densely enough, it is airy to wear in summer.
Cut away large logos, heavy discolouration and stiff collar sections generously. Even a shirt that has long fallen out of fashion visually can begin a second life as a children’s dress – patterns look completely different at a smaller scale.
Can it be made without a sewing machine?
You can still take on this project if you do not own a sewing machine. It will take a little longer, but it remains very achievable.
A simple hand-sewn running stitch, worked closely together, can create a durable children’s dress.
Use strong sewing thread, a needle that is not too fine and a thimble to protect your fingers. For added reassurance, sew crucial sections twice, such as the seam joining the bodice to the skirt.
An existing children’s dress remains a useful guide. It ensures the neckline width and length are right without requiring a complicated commercial pattern. If you discover that you enjoy sewing, you can always invest in patterns later.
Why this project is more than simply a sewing idea
Textile recycling containers are overflowing in many places. The fashion industry is among the sectors with a high environmental impact worldwide. Giving a garment a second life cuts waste, saves resources and reduces the impact associated with buying new items.
For children, a dress made from Dad’s or Grandad’s shirt can hold another kind of value: it carries a story. Adults can explain where the shirt was once worn – at family celebrations, in the office or on holiday. This gives the new garment emotional meaning while also encouraging awareness of sustainable consumption.
Once you have caught the sewing bug, it is easy to spot further projects around the home: old jeans can become sturdy shorts, bed linen can be made into summer pyjamas, and men’s T-shirts can turn into comfortable leggings. The principle is always the same: use fabric you already have instead of buying new material.
Families who need to watch their budget benefit twice over: material costs are virtually zero, while they can create individual pieces that cannot be bought in a shop. And perhaps that first children’s dress made from Dad’s shirt will mark the beginning of a practical new passion for sewing.





Comments
No comments yet. Be the first to comment!
Leave a Comment