
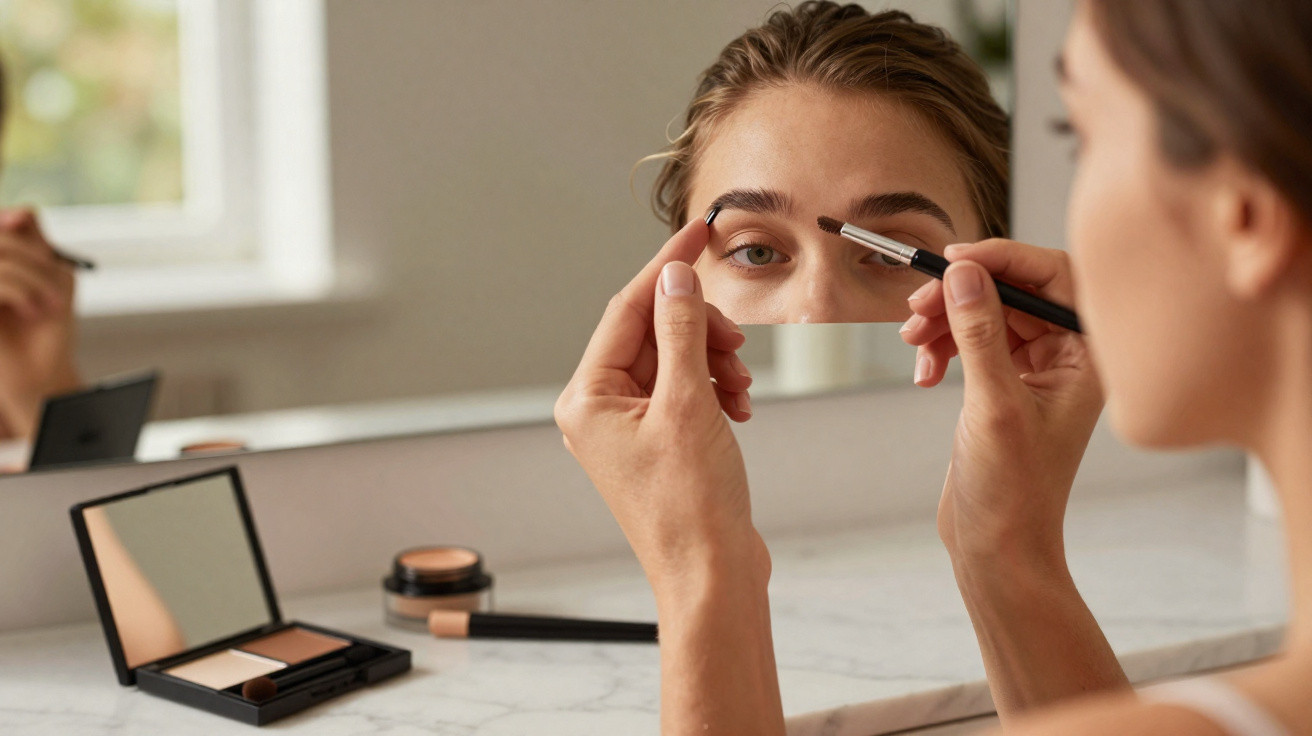
The first feature I noticed was neither her eyeliner nor her foundation. It was her brows.
I was in a bustling city café, midway through a lukewarm latte, watching a makeup artist refresh her friend’s face at the next table. She ignored the contour and scarcely looked at the lashes. Instead, she removed the end of one brow, redrew its tail a few millimetres higher, then took a step back.
In an instant, her whole face looked different.
Her friend appeared less exhausted and less “pulled down”, as though she had enjoyed a full eight hours’ sleep rather than scrolling TikTok until 1 a.m. Her jawline seemed more defined, while her eyes looked more alert. It was not dramatic, simply… elevated.
That was when it clicked: a minute adjustment to eyebrow placement can create the effect of a mini facelift that you can wash away at night. Once you have noticed it, you cannot stop seeing it.
The tiny brow tweak that fakes a lifted face
Scroll through any feed packed with selfies and you will spot it: two people may be the same age on paper, yet one somehow appears brighter and more lifted. They might have the same blush, lip gloss and phone filter. Often, the distinction is in the brows.
Because eyebrows frame the upper third of the face, tails that slope downwards can make the entire expression appear to drop. Positioning the tail a little higher and making it slightly shorter makes the eyes seem more open and the cheekbones more sculpted.
This is the eyebrow placement hack that makeup artists quietly rely on. It does not require a new product or a dramatic new shape; it is about altering where the brow begins, reaches its peak and, most importantly, finishes.
A London-based bridal MUA told me that on wedding mornings, she now devotes more time to correcting brow placement than to applying eyeliner. One bride arrived wearing her usual brow look: long, flat and densely filled at the tail. She was beautiful and wore an expensive dress, but her eyes appeared slightly closed off on camera.
The artist carefully removed the final centimetre of brow, used a fine pen to raise the tail by a few millimetres, and softened the colour at its ends. When they captured a test photo, the bride gasped.
She looked like a more rested version of herself rather than a different person. That small alteration changed both the way light reflected in her eyes and the overall impression of her face in photographs that would last forever.
There is a straightforward reason the hack is so effective. Our brains interpret angles and lines as emotional signals: downward slopes around the mouth and eyes suggest sadness or tiredness, whereas upward angles appear more positive and fresh.
A brow tail that is low and long can visually pull the outer eye corner downwards. When the tail is positioned above the brow head, it produces a subtle lifted effect without surgery or threads.
Structurally, a raised tail also reveals more lid space, making eye makeup appear cleaner and more current. This is why the placement technique appears on red carpets, catwalks and in your friend’s surprisingly flattering holiday photos.
How to place your brows for a brighter, more lifted look
This hack begins before you reach for any product. Sit upright in front of a mirror with your face relaxed: no lifted brows and no “photo face”. Your neutral expression provides the most accurate guide.
Picture three gentle reference points: the start of your brow, roughly aligned with the side of your nose; the highest point of the arch, above the outer edge of your iris; and the end of the tail. Here is the change: rather than extending the tail down towards the eye’s outer corner, finish it slightly higher, softly directing it towards the top of your ear.
Apply product lightly at the front, concentrate the pigment through the middle and gradually taper it into the lifted tail. You are not creating a Nike tick; you are encouraging the line to rise, just slightly.
This is where many of us go wrong. We continue lengthening the tail because we assume longer always looks more glamorous. Yet on a tired Tuesday morning, that instinct can work against you. An overly long tail draws focus outwards and down, particularly when the colour is dark or blocky.
If your eyes seem “sad”, or concealer repeatedly creases at the outer corner, the brow tail could be too low. Cutting back even 2–3 millimetres and raising the endpoint can immediately make the area look tidier.
Take your time. Remove the smallest amount from the tail, stand back and snap a quick selfie in natural light. Your phone camera is brutally honest, but helpfully so.
“Brows are architecture,” says Paris-based makeup artist Eléa Martin. “You don’t need to rebuild the house. You just realign one beam and suddenly the whole room feels bigger and brighter.”
- Position the tail a little higher than the brow head, never lower.
- Place the strongest pigment through the middle rather than at the front or extreme end.
- Create hair-like strokes at the front to prevent a stamped-on effect.
- Blend any severe downward angle using a clean spoolie brush.
- Hold the raised tail in place all day with a clear or tinted gel.
Living with lifted brows and adapting the hack
Once you begin experimenting with brow placement, you will see just how much it influences the mood of your face. On some days, you might prefer maximum lift and room for graphic liner; on others, a gentler, straighter brow can feel more understated and cool.
The appeal of this technique is its adaptability. For the office, keep it very subtle by raising the tail only enough to suggest that you slept well. On an evening out, combine the higher tail with a touch of shimmer on the brow bone to reflect light and strengthen the effect.
Honestly, nobody does this every day. However, having this tweak in your repertoire gives you an easy, dependable way to brighten your entire face in five minutes when you want to look good in photographs.
| Key point | Detail | Value for the reader |
|---|---|---|
| Lifted tail placement | Finish the brow slightly higher and a little shorter, gently angling it towards the top of the ear | Produces a natural “mini facelift” and opens the eye area |
| Soft, strategic filling | Keep the front lightly pigmented, build fullness through the middle and taper towards the tail | Avoids a heavy, drooping effect while keeping brows fresh and modern |
| Check in real lighting | Try the adjusted shape in natural-light selfies, making small refinements | Lets you tailor the hack to your own features and everyday style |
FAQ:
- Does this eyebrow lift hack work on hooded eyes? Yes. Raising and shortening the tail slightly can create more visible lid space on hooded eyes, preventing liner and shadow from vanishing into the crease.
- What if my brows are naturally very straight? A dramatic arch is not necessary. Simply finish the tail a little above the start and comb the hairs gently upwards with tinted gel for a soft lift.
- Can I do this if I’ve overplucked my brows? Absolutely. Draw a lifted tail with hair-like strokes using a fine brow pencil or pen, then allow your natural hairs to gradually grow towards that new guide.
- Will lifting the tail make my brows look too “Instagram”? Not when you keep the front soft and avoid severe, blocky lines. A fluffy finish with some visible skin will ensure they still look natural.
- Should my brow tail ever go lower than the front? No, not if you want a bright, lifted effect. Keeping the tail level with, or a little above, the brow head visually opens and elevates the full eye area.






Comments
No comments yet. Be the first to comment!
Leave a Comment