
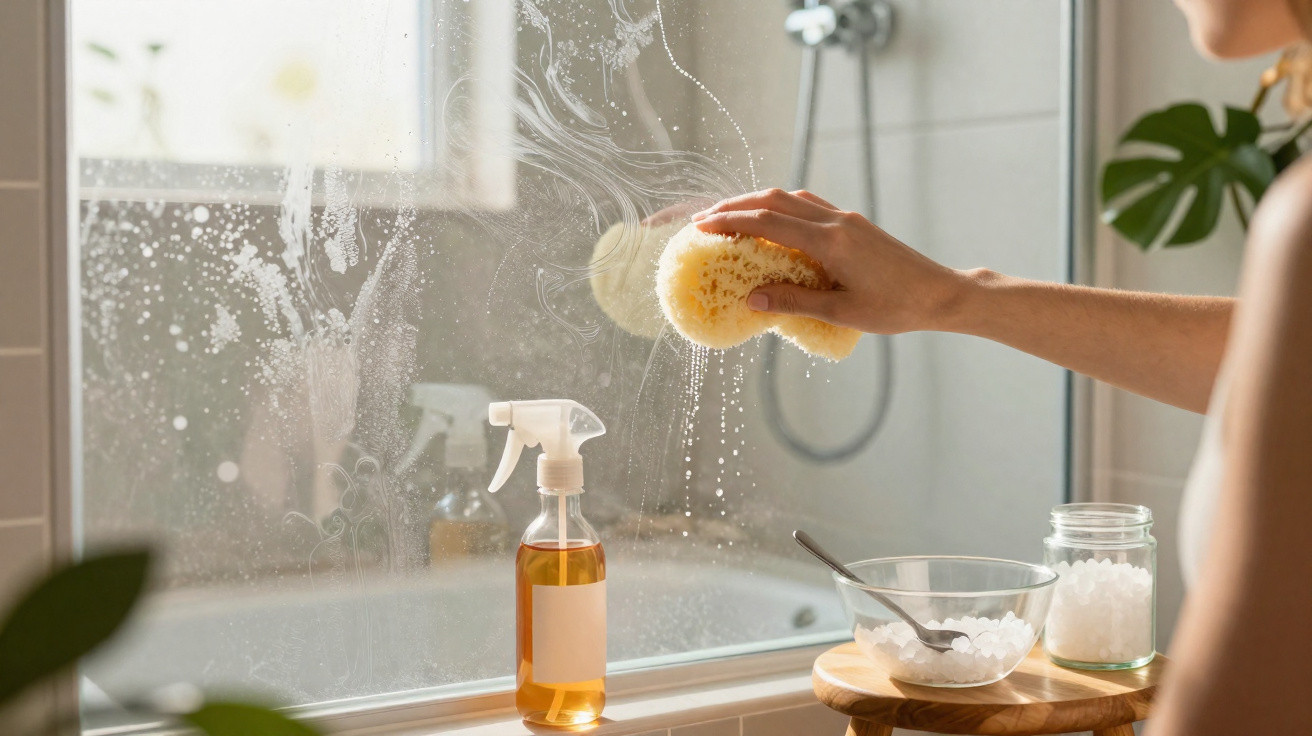
Many people will recognise the white haze and droplets on a glass shower screen that simply refuse to disappear. Even after using specialist cleaners, a dull film often remains, making the entire bathroom look uncared for. Yet a straightforward homemade mixture made from only three cupboard ingredients can tackle precisely this issue – without scratches or harmful fumes.
Why shower glass quickly becomes cloudy and marked
When you take a hot shower, the water is not just water. It carries dissolved minerals, particularly limescale (calcium) and magnesium. Once the water evaporates, these substances remain behind as solid deposits.
This is what happens on a glass shower screen:
- white spots and edges begin to appear
- over time, they turn into a milky-looking film
- soap and shampoo residues cling to the surface more firmly
- the layer becomes thicker and harder
If this is left untreated for months, you will eventually see more than limescale: genuine “scars” can form in the glass. The surface can look damaged, develop tiny dots and take on a yellowish appearance. At this point, it is often no longer possible to reverse the damage completely.
Many people then turn, out of frustration, to harsh products such as cream cleaners, cleaning stones or scouring pads. While these may remove some of the build-up in the short term, they also leave fine scratches. New limescale settles even more readily in those grooves – creating a vicious circle.
“The trick is not more elbow grease, but chemistry: gentle acids dissolve limescale, while scratching damages glass.”
The simple gel formula: three ingredients nearly everyone has at home
Household cleaning professionals have long relied on a different approach: mild acids that chemically break down limescale, combined with a consistency that stays in place on vertical surfaces. This creates an anti-limescale gel that can replace shop-bought products surprisingly effectively.
What goes into homemade anti-limescale gel
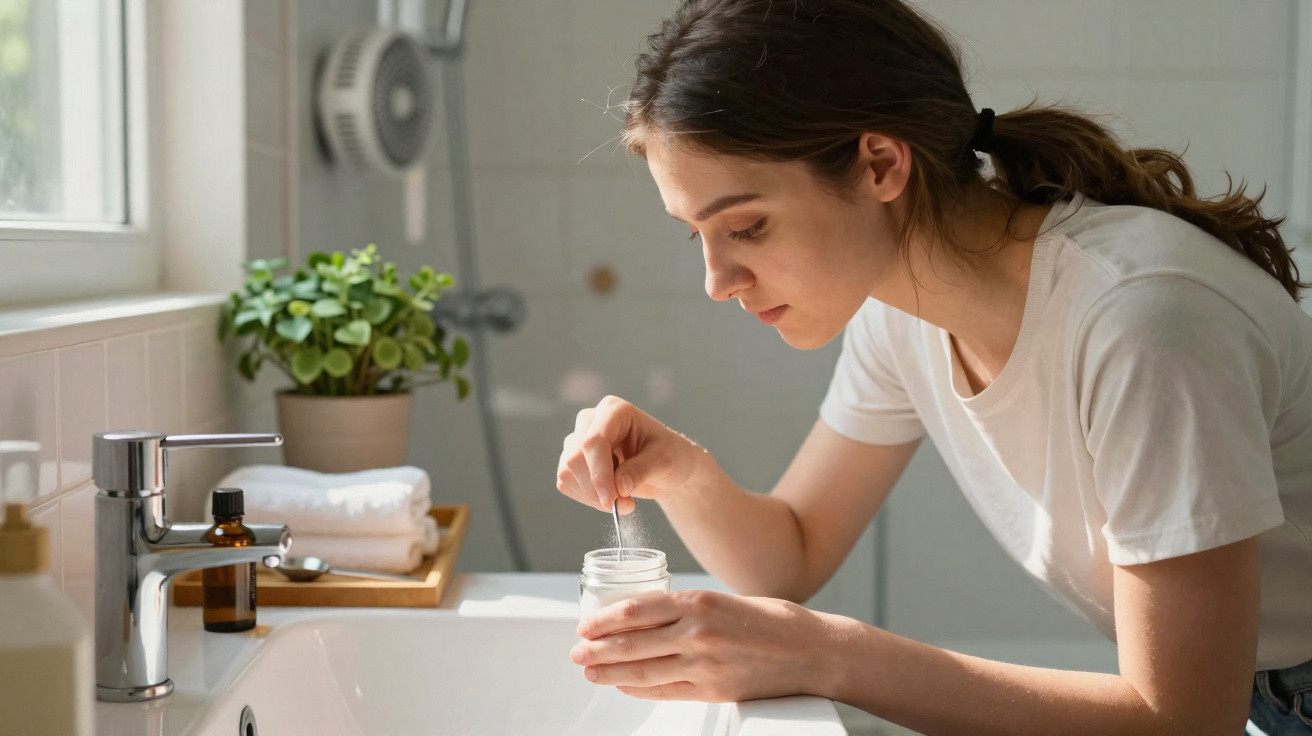
A small quantity is enough to clean a shower screen. You will need:
- Vinegar essence or clear household vinegar (around 8% acidity) – dissolves limescale and soap residue
- Citric acid (powder) – boosts the effect on stubborn deposits
- Cornflour (for example, maize starch) – gives the mixture its gel-like texture
The two acids work on mineral deposits rather than the glass itself. The starch thickens the liquid into a gel, allowing it to cling to a vertical glass shower screen and giving it time to work.
How to make the anti-limescale gel in ten minutes
Making it is easy and costs only a few pence:
- Stir one tablespoon of cornflour into 300 millilitres of cold water.
- Heat the mixture in a saucepan over a low heat while stirring, until it thickens and becomes slightly translucent.
- Remove it from the heat and allow it to cool a little.
- Stir in one tablespoon of citric acid.
- Add around 100 millilitres of vinegar and mix thoroughly.
- Leave it to cool, then transfer it to an empty bottle or a screw-top jar.
This quantity is enough to give a shower a thorough clean several times. Compared with buying products from the cleaning aisle, the total cost is approximately 50p for the whole batch.
“One small saucepan, three kitchen ingredients – and you have replaced several bottles of bathroom cleaner.”
Using the anti-limescale gel: a clean shower screen without a single scratch
For the gel to work at its best, both the order of application and the cleaning tools matter. The key point is this: never use hard sponges on glass.
A step-by-step route to a clear glass shower screen
For a typical glass shower screen, proceed as follows:
- Prepare: Rinse the screen with clean water to remove loose soap residue and dust.
- Protect: Put on rubber gloves to protect your skin from the acid.
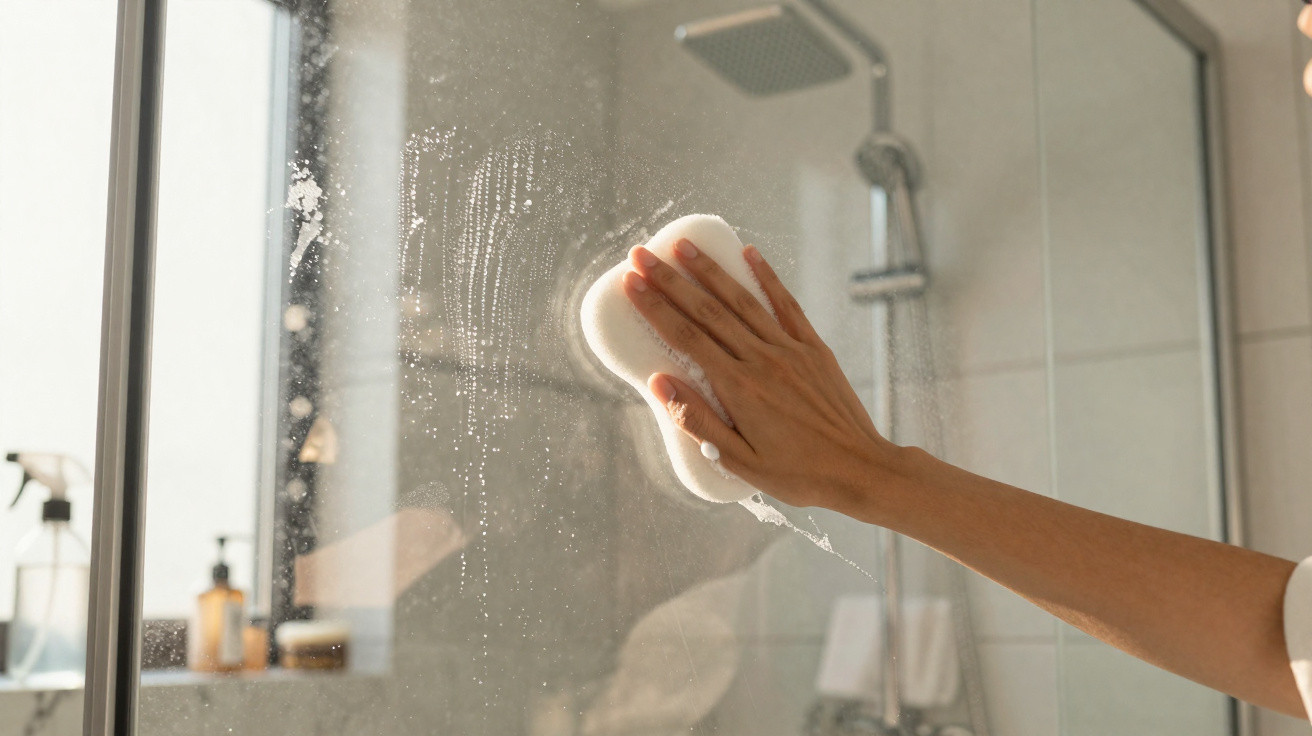
- Apply: Spread the gel generously over the limescale-covered areas, using a sponge or soft cloth, for example. Do not scrub; simply distribute it.
- Leave to work: Wait for at least 15 to 30 minutes. For heavy limescale, leave it for up to an hour.
- Finish gently: Lightly go over the surface with a non-scratch sponge or microfibre cloth.
- Rinse thoroughly: Wash everything away with warm water.
- Dry: Wipe the surface dry with a cloth or remove the water with a shower squeegee.
The glass shower screen should then look noticeably clearer and feel smoother. One application is often sufficient, although very old deposits may need a second treatment on particularly stubborn areas.
Take care with different materials: not all shower screens are the same
A bathroom contains a range of materials, not all of which react in the same way. Knowing what surface you are dealing with helps to prevent damage.
Standard glass, coated glass and plastic
| Material | Recommendation | Best avoided |
|---|---|---|
| Clear standard glass | Use the gel as described, with soft sponges and microfibre cloths | Scouring pads, cream cleaners, cleaning stones |
| Anti-limescale-coated glass | Test on an inconspicuous area first; dilute the mixture with water if necessary | Long contact times, concentrated acids without testing |
| Plastic or acrylic | Use only a heavily diluted mixture and very soft cloths | Abrasive sponges, concentrated citric acid |
| Marble, natural stone, granite | Do not use any acidic products; use specialist stone cleaners | Vinegar, citric acid, acidic bathroom cleaners |
Natural stone in particular is sensitive. Acids do not just attack limescale on these surfaces; they can also damage the material itself, leaving dull and rough patches.
How to prevent new limescale marks with a few simple habits
If you do not want to keep reaching for the gel, a few regular habits can save a great deal of time.
- Use a shower squeegee after every shower: This leaves very little water on the glass surface.
- Dry water droplets with a towel: This is especially useful in areas where drops repeatedly collect.
- Use the gel once a month: Regular, light treatment prevents thick deposits from developing.
- Keep the shower head clean: Low-limescale nozzles reduce splashing and water marks.
“Limescale can never be prevented completely – but a few minutes of effort each week keeps the shower clear for much longer.”
The chemistry behind vinegar, citric acid and starch
Vinegar and citric acid are known as weak acids. They dissolve the mineral components of limescale without damaging glass. Compared with aggressive industrial products, their smell and fumes are generally much more pleasant, and they are uncomplicated to use around the home as long as children cannot access them directly.
The starch acts purely as a carrier. It prevents the cleaner from immediately running down the screen, giving it the necessary contact time. That time is exactly what the acids need in order to act on the limescale. Without the gel texture, a runny vinegar cleaner would simply flow down a vertical surface before it could work properly.
If you wish, you can add a few drops of essential oil to the cooled gel, such as lemon or orange. This does not change its cleaning performance, but it does leave the bathroom with a pleasant scent.
Risks, limitations and useful additions
This homemade cleaner is not entirely risk-free. The acids may irritate sensitive skin, so gloves are advisable, especially during longer cleaning sessions. Very frequent use on rough tile grout can slightly affect the grout material, so a shorter contact time is sufficient there.
Anyone living in an area with extremely hard water may still reach the limits of good cleaning habits. In that case, a combination of a water softening system, regular shower screen care and occasional use of a specialist glass cleaner can help. The homemade mixture remains a valuable part of this routine, particularly because it is inexpensive and contains no harsh abrasive particles.
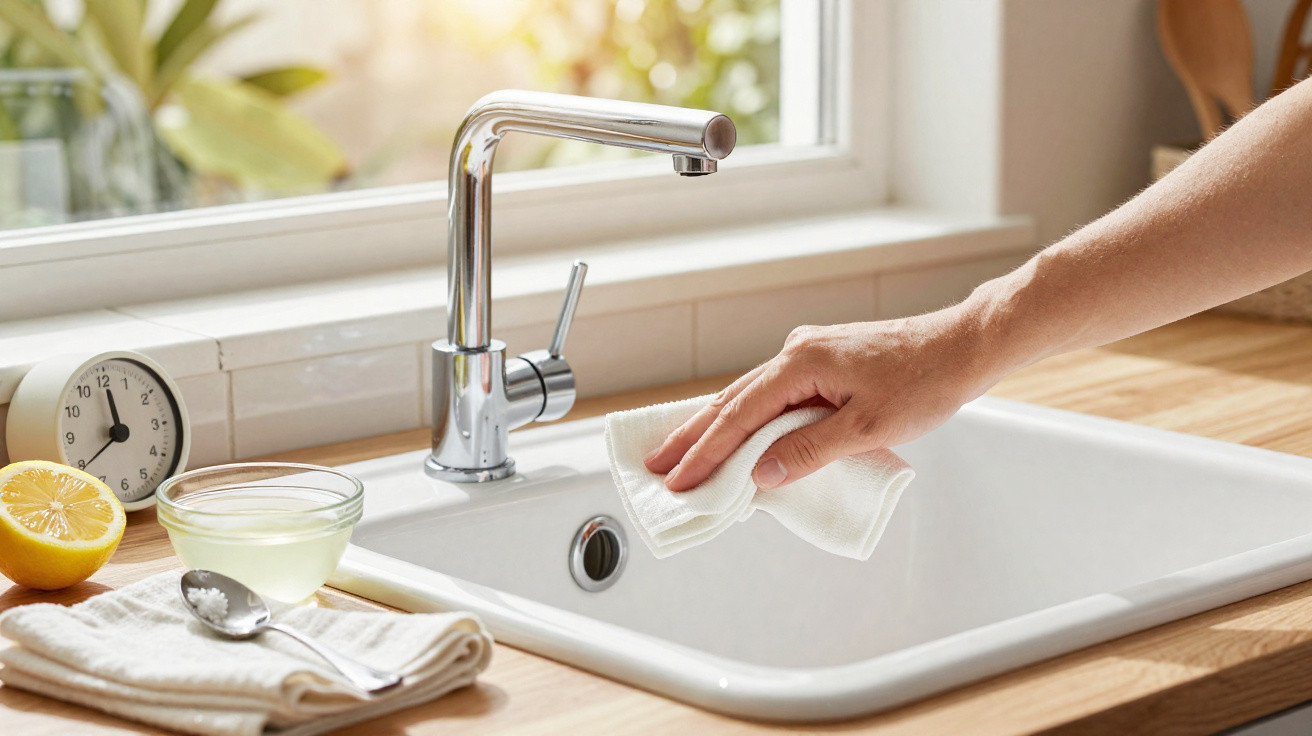
It can also be useful elsewhere in the bathroom: the gel is suitable, for instance, for chrome taps, glass shelves or tiles around the shower. The same rules always apply: test it on a small area first, never use it on natural stone, and work only with soft cloths. With the same three ingredients, it is possible to reduce a large proportion of bathroom limescale problems significantly.
Comments
No comments yet. Be the first to comment!
Leave a Comment