
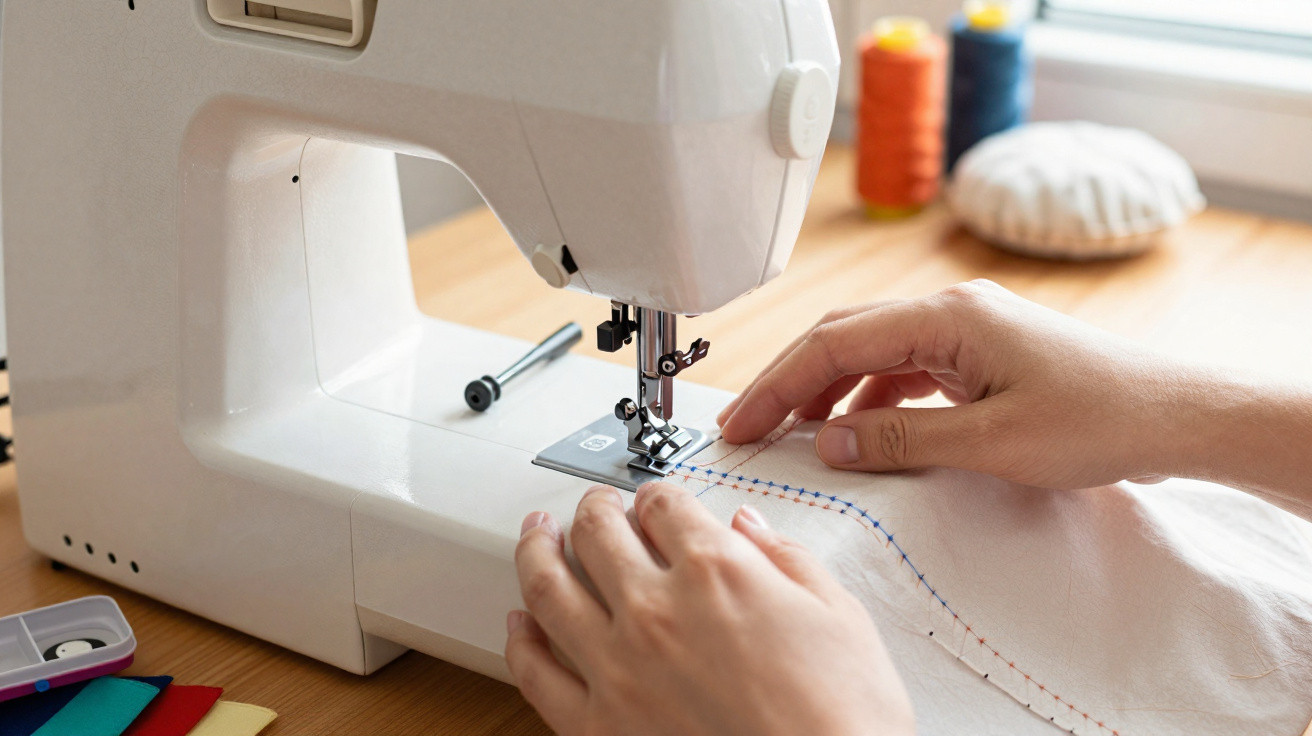
Many people begin sewing projects without noticing minor deviations in the thread path. When the fabric starts to pucker or develops uneven loops, panic can quickly set in. Understanding how the machine's tension regulator works prevents waste and delivers an immaculate finish.
Why does fabric often pucker while sewing?
Unwanted gathering in handmade pieces often occurs when the pressure applied to the threads is out of adjustment. If the upper thread is pulled too tightly, it draws in the textile fibres and creates visible ripples. This common fault damages the structure of the fabric being sewn.
Many sewists only spot the distortion after stitching several centimetres, forcing them to unpick the entire seam. Preventive adjustment safeguards delicate materials and ensures the join between sections remains even. This initial attention saves valuable time in day-to-day production.
What does a loose stitch on the reverse reveal about the needle?
When the lower loop suddenly comes loose, the real cause may lie in the hidden position of the… Read more
How can you identify an incorrect upper-thread path?
Threading the machine head incorrectly is one of the leading causes of machine faults. If the thread leaves its guide path or runs behind the metal plates, the machine loses control. This oversight produces immediate knots in the upper thread.
Another critical issue is dirt building up between the tension discs, preventing proper contact with the filament. Cleaning the area with a brush and checking the complete thread path restores its natural movement. The mechanism can then operate with full mechanical precision again.
Below is a video from the Help Máquinas de Costura YouTube channel demonstrating how to make this adjustment in practice:
What is the correct way to adjust the tension discs?
Precise tension-disc adjustment should always be carried out with the presser foot properly lowered during manual calibration. As you turn the circular dial gradually, you will notice the resistance increasing little by little. The correct adjustment prevents the thread from becoming too loose.
If the tension exceeds the recommended limit, the thread runs a serious risk of snapping while the seam is being made. Finding the ideal balance requires patience and sensitivity in your hands. This technical care stabilises every stitch produced.
Tension Adjustment Kit
Essential calibration steps
Follow these stages to balance the thread path:
- Raise the presser foot before placing the thread between the discs.
- Turn the tension-regulator dial gradually until you feel firm resistance.
- Pull the thread by hand to test the level of resistance.
How does the bobbin case affect stitch results?
The lower part of the machine also plays a vital role in the quality of the connection between the two sewing threads. If the lower thread is not correctly seated beneath the flexible spring, untidy loops will appear. A poorly positioned bobbin compromises overall stability.
When placing the part into the hook, check that the spool remains secure and unwinds without snagging. A quick inspection in this area removes a large proportion of the irregularities visible on the reverse. This simple step ensures perfect, aligned interlocking.
See the essential bobbin-case checks:
- Position the bobbin beneath the metal spring to keep the thread stable.
- Check that the thread offers gentle resistance when pulled from the case.
- Draw up the lower thread carefully before positioning the fabric.
Why does testing on a fabric scrap prevent rework?
Before sewing directly on the main fabric, making stitches on a small scrap makes all the difference. This practical procedure immediately shows whether the stitches are balanced on both sides. Using this method saves material and unnecessary effort.
By assessing the sample beforehand, you can adjust the pressure of the discs without putting the final finish of the project at risk. This quick check turns the workflow into a calmer routine. This regular habit delivers results of a high professional standard.






Comments
No comments yet. Be the first to comment!
Leave a Comment