
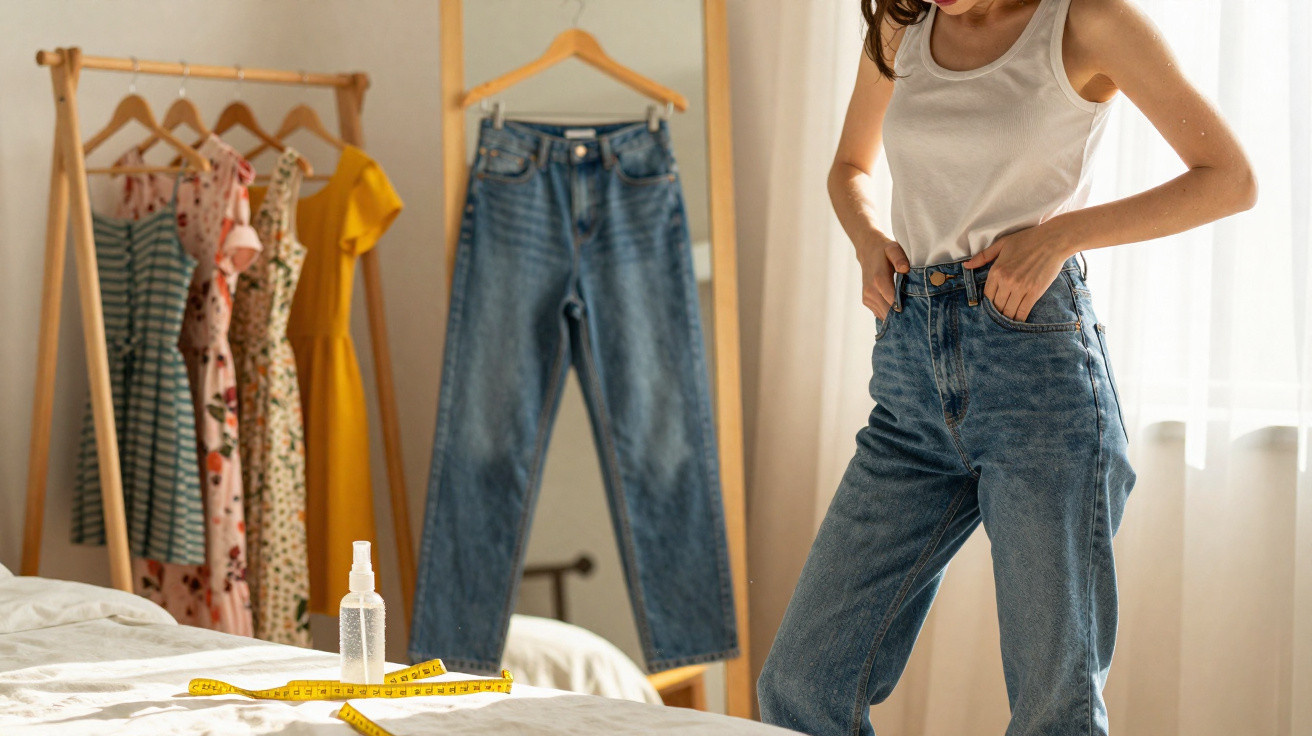
Everything suddenly feels tight, the zip refuses to close and frustration sets in.
This is a familiar situation for many people who love vintage finds from the 1960s, 1970s or 1990s. The fabrics are high quality and the cuts are fantastic, but the sizing is wrong. Rather than returning the garment or taking it straight to an alterations service at considerable cost, it is worth trying a few simple methods. A vintage jeans waistband that is too tight can often be noticeably enlarged within minutes, while skirts and dresses can become wearable again too.
Why vintage clothing often comes up small today
When buying vintage, it is tempting to rely on the number on the label. That can be misleading. What was once a size 40 may fit more like a current size 36. Sizing charts have changed significantly over recent decades. Many brands of the period used slimmer cuts, while body shapes and expectations of comfort have also changed.
Older garments also tend to be more closely fitted at the waist. This concentrates strain directly on the side seams and waistband. Forcing the zip shut can damage the fibres: the fabric may warp or, in the worst case, tear. The good news is that these pieces can often be saved without altering their original cut.
Anyone who understands what one size represents in centimetres can judge more accurately which methods will work - and when a proper alteration is needed.
What “one size larger” actually means
People often say “one size larger” without considering the measurements involved. In practical terms, this usually means gaining around four centimetres in circumference, whether at the waist, hips or bust. Those four centimetres are divided between the front and back of the garment, equating roughly to two centimetres on each side.
If only one or two centimetres are needed, gentle stretching and suitable fabric treatment can achieve a great deal. Where five centimetres or more are missing, a structural alteration - such as inserts or new seams - is usually unavoidable. For valuable garments in particular, an alterations service is well worth considering.
The 5-minute trick for a tight vintage jeans waistband
One particularly effective approach works very well on classic jeans made from pure cotton. Cotton denim responds strongly to moisture and tension: the fibres swell, can be shaped while damp, then settle into their new position as they dry.
How the jeans trick works, step by step
- Check the jeans: This method works best with 100 per cent cotton denim, with no elastane or only a very small amount.
- Dampen the waistband: Spray the waistband and upper hip area generously with lukewarm water until clearly damp, but not dripping wet.
- Put them on: Wear the jeans while they are still damp, even if this initially feels slightly unusual.
- Move around: Stay active for three to five minutes with squats, lunges and gentle upper-body twists. This directs tension precisely to the areas where the fabric needs to give.
- Allow them to dry: After the “gym session”, leave the jeans to air-dry rather than using a tumble dryer.
Many people find that this can increase the waistband circumference by up to three centimetres, depending on the fabric thickness and starting fit. The result is generally more pronounced with very stiff denim than with soft jeans that have already been washed frequently.
Five minutes of movement in damp jeans can often noticeably enlarge a vintage jeans waistband - without needle and thread.
Alternative to damp jeans: stretching on a hanger
Anyone who dislikes the feel of damp trousers against their skin can create tension using a sturdy hanger instead. A wide wooden hanger or a dedicated trouser hanger is suitable for this.
Dampen the waistband and upper hip area with lukewarm water as described above. Rather than wearing the jeans, stretch the waistband over the hanger so that it is held under gentle tension. Ideally, the hanger should widen the waistband in the direction where extra room is needed. Leave the trousers secured this way to air-dry.
The outcome is usually slightly less dramatic than with the body-worn method, but a few millimetres to more than one centimetre is often achievable. This option is frequently gentler on delicate or very old fabrics.
If the jeans are still tight: using inserts
If water stretching is not enough, a classic tailoring technique comes into play: an insert, often cut in a triangular shape. It adds extra width without completely changing the appearance.
A typical insert in a side seam is made as follows:
- Open the seam where the fabric is under the greatest strain - usually around the hip or just below the waistband.
- Prepare a piece of fabric measuring roughly six by eight centimetres, ideally in similar denim or deliberately in a contrasting colour.
- Fold the rectangle into a triangle to create a tapered shape.
- Place the triangle in the opened seam with its point facing downwards, then sew it in securely with close stitches on both sides.
Adding two such inserts, one on each side, distributes the strain much more evenly. The jeans gain several centimetres around the circumference without suddenly looking entirely different.
Creating more room in tight skirts and dresses
The triangular insert works equally well for narrow skirts and fitted dresses. With pencil skirts especially, the zip often stops just short of the waist even though only a few centimetres are needed.
One commonly used solution is to unpick the side seam at its point of greatest strain for several centimetres, around five to seven centimetres. Then cut and insert two small triangles in matching fabric or elastic material. For everyday wear, firm black stretch fabric is one option: it works as an almost invisible wedge, providing extra width as well as a little flexibility.
Well-placed inserts can save a favourite garment - and remain almost invisible in many cuts.
Finding suitable fabric for inserts
If there is no identical fabric available at home, a creative solution can work just as well. A few options include:
- Offcuts from overlong trouser legs, old jeans or skirts that are no longer worn.
- Contrasting materials, such as black denim or coloured cotton, for a visible fashion detail.
- Firm stretch fabric or wide elastic sewn inside the waistband, which only becomes visibly stretched when worn.
The key consideration is that the fabric should match the original in weight and strength, preventing the garment from distorting.
How much stretching is safe for vintage fabrics?
Although gaining a full size may sound appealing, overdoing it carries risks. Old seams and fibres have often already endured a great deal, including detergent, sunlight and friction. Putting them under sudden, extreme strain can cause tears at the edges or seams to pull apart.
As a rule of thumb, more than four centimetres of additional width across the total circumference is critical for many garments. Silk, lightweight viscose and wool blends are especially sensitive. With these materials, test very cautiously, preferably on an old, unimportant item before attempting any changes to a favourite piece.
Why good vintage pieces are worth the effort
Adjusting a skirt that is too tight or a snug pair of jeans does more than improve a wardrobe. Quality clothing from earlier decades is often better made and constructed from more durable fabrics than many current fast-fashion items. Extending the life of an existing garment instead of buying something new saves both resources and money.
It also often creates a genuinely individual look. A visible insert in a contrasting colour can become a style feature that no one else has. With every successful alteration comes a stronger sense of understanding both one’s own body and the language of fabric. A frustrating purchase can then become a personal favourite that remains in use for many more years.



Comments
No comments yet. Be the first to comment!
Leave a Comment