
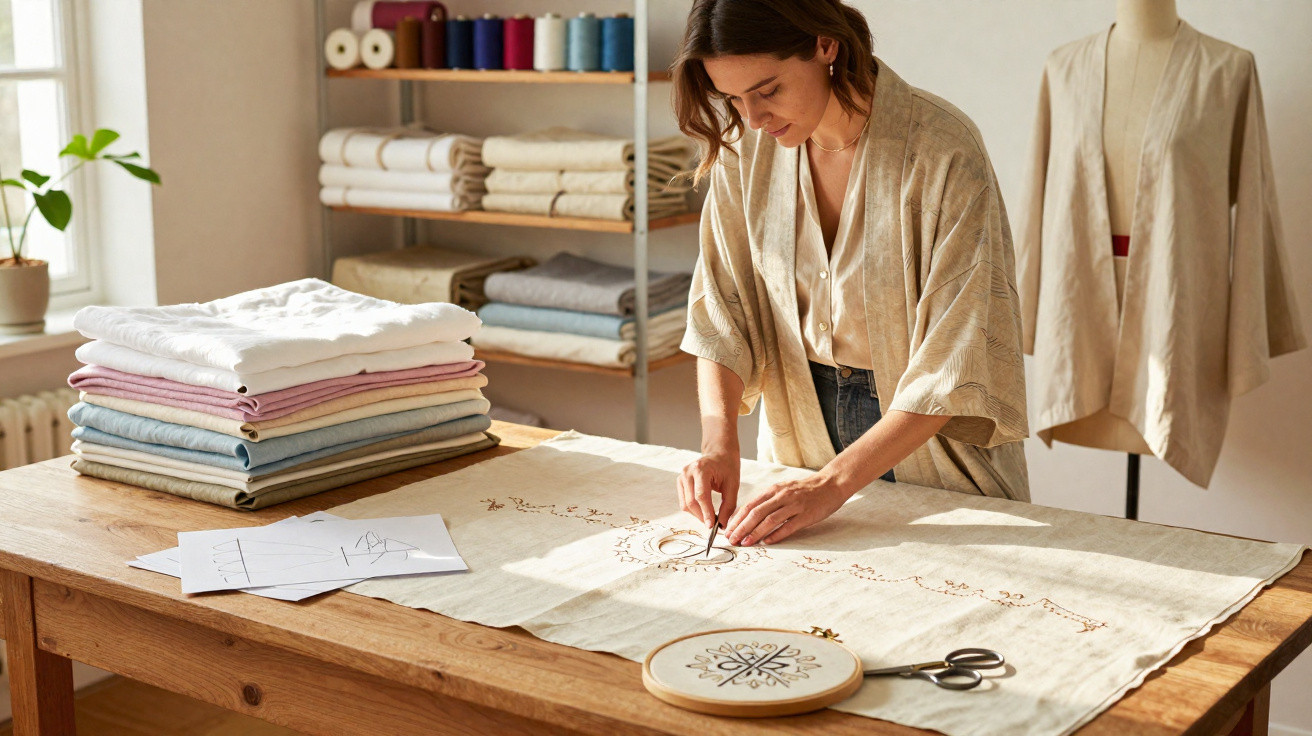
With a smart sewing method, they can suddenly become a fashion statement.
Anyone who still has old trousseau sheets from their grandmother or great-grandmother owns a small treasure, even if they initially seem like a musty relic of the past. These heavy, embroidered bed sheets are ideally suited to sewing high-quality clothing and elegant home accessories. What matters is not only the fabric’s durability, but also how the embroidery is positioned, cut and showcased.
Why old linen sheets are better than much newly bought fabric
Many vintage sheets are made from pure linen or a hard-wearing linen-and-cotton blend. They are heavier than modern bed linen, tolerate high washing temperatures and become softer with every wash. They are also breathable and moisture-regulating, making them perfect for garments and home textiles.
“These sheets were once intended to last for decades, not merely a few seasons. That is precisely what makes them so exciting for upcycling projects today.”
There is an environmental benefit, too: the textile industry creates enormous quantities of waste each year. Reusing materials already on hand conserves resources, prevents waste and preserves a piece of family history at the same time. Rather than purchasing new fabric by the metre, old embroidery can be transformed into genuine one-offs that no fast-fashion label can offer.
Preparing old sheets for sewing
Before the scissors come anywhere near the fabric, the sheet needs a thorough refresh. Dust, storage odours and possible discolouration must be removed so that the finished piece looks refined.
Washing, brightening and protecting the fabric
- Wash thoroughly: Start with a full wash cycle suited to the fibre; 60 °C is often possible.
- Remove yellowing: For a yellow cast, soak the sheet in very hot water with lemon juice or an oxygen bleach such as sodium percarbonate.
- Avoid chlorine cleaner: Harsh bleaching agents damage natural fibres and can make them brittle.
- Dry properly: Dry flat or on a washing line to prevent the fabric from becoming distorted.
Once washed, it is worth ironing the sheet carefully. Smooth fabric can be cut more accurately, while small areas of damage are easier to spot. At this stage, you can see which sections are suitable for large panels and where the embroidery is especially attractive.
Mark the most beautiful sections
Use tailor’s chalk or a washable fabric marker to identify the best features:
- Monograms or initials
- Openwork patterned bands
- Scalloped edges and delicate lace trims
- Areas free from stains or thin patches
The large, plain sections can later be used for front and back panels or cushion covers. Plan the decorative areas deliberately, so they appear as intentional design details rather than accidental remnants.
The key sewing technique: turning embroidery into a design feature
The essential approach is to treat embroidery as part of the pattern rather than an obstacle. Consider each motif a separate fabric component and place it where piping, pockets or facings would usually be incorporated.
“Rule number one: embroidery does not belong in the scrap basket – it is the centrepiece of the entire project.”
How to plan the pattern intelligently
Before cutting anything, place your sewing pattern, or improvised paper templates, on the pressed sheet. Position the decoration exactly where it will have the greatest impact:
- A monogram placed directly on a breast pocket or centred on the back
- Openwork bands running along the hem of a blouse
- An embroidered edge used as an sleeve finish
- A lace trim forming a ready-made skirt hem
Do not cut immediately beside the embroidery; instead, leave generous seam allowances. This provides enough room for adjusting and finishing the piece. Fragile areas can be reinforced from the reverse with lightweight interfacing before sewing.
A practical example from the sewing room
Imagine a three-metre-long sheet featuring one large, intricately embroidered initial. Instead of leaving the monogram wherever it happens to be, cut it out generously and later apply it to the breast pocket of a lightweight transitional jacket. Use the remaining fabric for the front and back panels, sleeves and facings.
Pairing plain, weighty fabric with nostalgic embroidery creates a jacket that feels both contemporary and subtly bohemian. The material’s history remains visible, but gains an entirely new setting.
What you can sew from old linen sheets
Depending on its size, one large sheet can yield several projects. It makes sense to sketch out a rough plan before making the first cut.
Clothes with a history: from kimono to blouse
For fashion enthusiasts, relaxed shapes are particularly appealing because they make good use of the firmer structure of old fabrics:
- A loose blouse or tunic with an embroidered yoke
- A kimono jacket with the lace edge forming the hem
- A lightweight summer coat with a monogram positioned on the pocket
- A sleeveless top with openwork inserts around the neckline
If you do not yet have much sewing experience, begin with simple, straight-cut designs. The embroidery already provides plenty of sophistication, so the pattern itself need not be complicated.
Elegant home textiles with a boutique-hotel feel
Projects for the home can be just as appealing. The densely woven fabric is ideal for durable household essentials and decorative textiles.
| Project | How the embroidery makes an impact |
|---|---|
| Duvet cover | A monogram centred or placed in the upper area creates a focal point |
| Tablecloth | Borders run around the edge like those on premium hotel linen |
| Napkins and tea towels | Small embroidered sections form corners or central bands |
| Cushion covers | A single monogram is positioned in the centre or to one side |
| Curtains | An embroidered edge creates a finished lower hem |
To make a duvet cover, sew two large rectangles of sheet fabric together along three sides, leave an opening, reinforce its edge and add buttons or ties. The result is a cover with the feel of high-quality hotel bedding, but with a personal touch.
Quick projects for beginner sewers
If you are not yet ready to tackle more complex garments, start with smaller accessories. These projects are manageable, while still showing the embroidery’s wow factor to full advantage.
- Cushion covers: Cut square pieces, position the monogram in the centre and allow for a zip or envelope closure.
- Simple curtain: Use the sheet’s full length, fold over the upper edge to create a rod pocket and let the embroidered edge hang at the bottom.
- Small pouches: Turn embroidered offcuts into cosmetic bags or project pouches.
- Baby or children’s bedding: Sew undamaged sections into smaller duvet covers; they are soft, robust and long-lasting.
Old fabric is particularly well suited to children’s bedding: repeated washing has already made it soft and removed most unwanted residues, while it remains sturdy enough for energetic children and frequent laundering.
Tips for durability, care and style
A few technical considerations will help the new pieces last for years. Seams should be secure, raw edges need neat finishing and aftercare also deserves some thought.
- Adjust the stitch length: Use a slightly longer stitch on heavier fabric to avoid perforating it.
- Finish seam allowances: Use an overlocker, zigzag stitch or French seams to stop the fabric fraying.
- Handle embroidery gently: Place a cloth over it when ironing so the threads do not become shiny or flattened.
- Create a care label: Sew in a small fabric tab with guidance on temperature and detergent.
In styling terms, feel free to embrace contrasts: pair old monograms with jeans, heavy linen with silk, or nostalgic embroidery with sporty trainers. This ensures the result looks like a deliberate style contrast rather than something from a dressing-up box.
Combinations with modern fabric by the metre can be equally effective. An old monogram can become an appliqué pocket on a new blazer, while an embroidered border can be used as an insert in a contemporary cotton dress. In this way, one sheet can stretch across several projects and generations, finally leaving the mothball-filled cupboard behind.





Comments
No comments yet. Be the first to comment!
Leave a Comment