
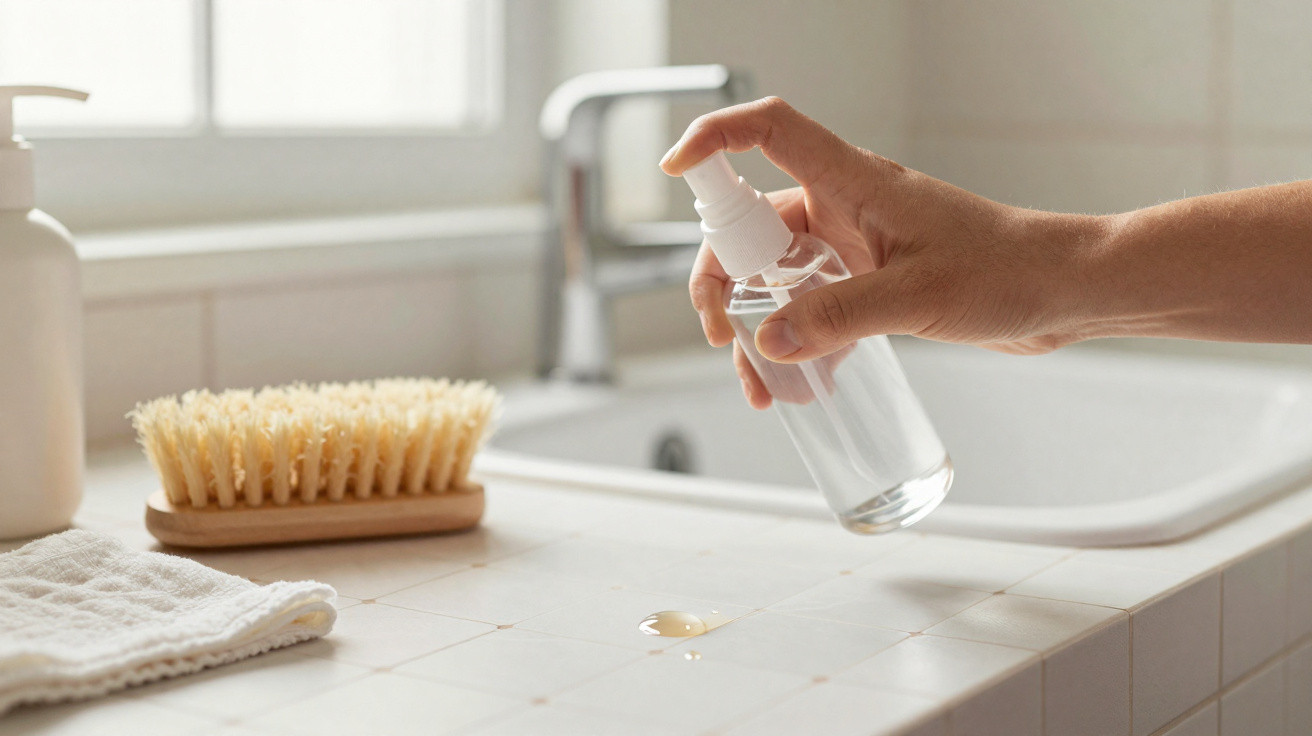
The bathroom appeared spotless.
Morning light bounced off the tiles, the mirror had been polished, and the towels carried a fresh-cotton scent. But attention kept returning to one detail: the grey grout lines around every tile, like a weary border.
She had attempted to clean them the previous month. On her knees with an old toothbrush, her shoulders ached within ten minutes. The outcome? One slightly lighter area in a corner and a powerful desire to give up entirely.
That was when a simple thought began to emerge: perhaps the issue was not the grout itself, but how we were trying to clean it. It is a question that points towards a completely different approach.
Why grout becomes dingy before the rest of your tiles
Bathroom and kitchen grout is much like carpet: porous, absorbent and constantly collecting the messiest parts of everyday life. Steam, soap residue, toothpaste, muddy footprints and cooking splatters all end up absorbed by those narrow cement lines rather than remaining on the glossy tile surface.
When grout begins to darken, it rarely does so uniformly. Instead, there are odd patterns: shadows along the most-used routes, deeper marks behind the bin or around the base of the toilet. This visual clutter can make a room seem older and less fresh, however clean everything else may be.
Most people respond by reaching for the most aggressive tool available: rigid brushes, scouring powders or even metal pads. Although the tiles may withstand this, the grout gradually wears away. Once damaged, it retains even more dirt. It is a vicious cycle that resembles “deep cleaning” while silently reducing the lifespan of the floor.
One woman I interviewed adored the white-tiled kitchen in her home when she first moved in. Two years on, the tiles still looked good, but she found herself constantly apologising for the floor. “I mop twice a week,” she said, gesturing towards the dark joints around the cooker. “It always looks dirty.”
She had used bleach spray, powder cleaner and even steam. Every time, she scrubbed until her wrists ached. The grout would look lighter for several days, before the same grey film returned, more uneven than previously. When her contractor arrived to provide a quote for fully regrouting the floor, he identified the issue: all that aggressive cleaning had left the grout brittle and pitted.
His recommendation transformed her routine. Rather than frantic brushing sessions, he advised soaking the surface and “letting chemistry do the heavy lifting”. After a month of small but deliberate changes, the grout lines were much closer to their original colour, without damaging her joints in the process. The tiles were unchanged; only her method was different.
Grout is mineral-based, usually cementitious, and does not behave like the ceramic or porcelain surrounding it. Its naturally rough surface allows residue to cling to it. It also reacts differently to highly alkaline and highly acidic products than tiles do. Vigorous scrubbing with an unsuitable cleaner can open microscopic pores in grout, making it an ideal trap for fresh stains.
Mechanical scrubbing only addresses dirt on the immediate surface, leaving stains within the grout untouched. This is why a line can look a little cleaner just after being cleaned, then darken again quickly as moisture rises through the joint and draws embedded dirt back to the surface. Strategic cleaning reverses that process: soften, dissolve and lift, using as little abrasion as possible.
Strategic grout cleaning: let products, time and tools do the work
The first strategic change is to treat grout as you would laundry, rather than a burnt pan. Focus on soaking time rather than elbow grease. For light to moderate dirt on sealed grout, a straightforward household solution is two parts warm water, one part white vinegar and a teaspoon of washing-up liquid in a spray bottle.
Spray the grout lines generously, then leave them alone for 10–15 minutes. Do not scrub yet. While you wait, the solution enters the pores and starts breaking down soap scum and light mineral deposits. Afterwards, use a soft nylon brush or a microfibre cloth folded over your fingertip, making short passes along each joint rather than desperate circular motions.
For more persistent discolouration, particularly in kitchens or near toilets, a different combination can be effective: oxygen bleach powder, or sodium percarbonate, mixed with hot water to make a thin paste. Apply it along the grout lines, leave it for 15–30 minutes, then agitate gently and rinse. Patience matters more than pressure. The product requires undisturbed time to work within the grout.
In practical terms, it helps to work in sections. Clean only the shower floor and the area immediately around the drain one day, then tackle the strip in front of the bathroom basin another day. This approach of breaking the task into small pieces suits everyday life and stops a Tuesday evening becoming a renovation marathon. Let’s be honest: nobody really does all of it every day.
Rinsing is often overlooked, yet leftover cleaner in grout continues to attract dirt. After soaking and lightly brushing, use a bucket of clean warm water with a flat mop or thick microfibre cloth. Make one pass to collect the released grime, then make another with fresh water to remove the remaining product.
A small adjustment in mindset may help too: think of cleaning grout as flossing. Use brief, accurate and methodical movements. There is no need to furiously attack every millimetre; focus on the noticeably dark lines, recognise that older stains may require two or three gentle treatments, and protect the material rather than chasing an immediate “before/after” image.
“Harsh scrubbing is usually a symptom of panic cleaning,” a professional cleaner told me. “If you plan ahead, most grout can be restored with much gentler moves.”
A few targeted habits will then help preserve the result:
- Store a dedicated grout spray, whether a mild vinegar mixture or pH-neutral cleaner, beneath the bathroom basin and apply it weekly to high-traffic spots.
- After a hot shower, quickly use a squeegee or towel to dry the floor joints where water collects, especially around the drain and doorway.
- Place mats with rubber-free backing near basins and baths, so moisture and dyes do not gradually seep into the grout lines.
Common mistakes that damage grout quietly - and simple solutions
One of the most common errors is applying the same product to tiles, glass and grout. Many sprays marketed for a shining bathroom are designed for quick evaporation and fragrance, not for deeply cleaning porous surfaces. They can leave behind a faint coating that attracts dust and shoe marks, causing grout to darken over time.
Another widespread mistake is using unsuitable tools: old stiff-bristled brushes, metal scouring pads or drill-mounted scrubbers at full speed. They may feel gratifying at the time, but they remove the grout’s upper layer. The damage may not be immediately visible, yet small pits develop and begin retaining more dirt and water.
The gentler option is unexciting but reliable: use a soft nylon brush or a dedicated grout brush with angled bristles, together with suitable cleaning chemistry and adequate dwell time. Gadgets are not necessary; consistency is. Choose a brush that flexes rather than scratches, a cleaner suited to your grout type, and a routine that respects the material instead of punishing it for becoming dirty.
There is also the instinct to use bleach. A splash of chlorine bleach on stained white grout can seem miraculous because it brightens it immediately. However, repeated application can weaken cementitious grout, particularly when it is not rinsed thoroughly. Bleach does not eliminate every trace of dirt; often, it simply removes the colour from what remains within the pores.
In addition, strong fumes make cleaning enclosed spaces such as small showers unpleasant, making it harder to maintain a gentle, regular routine. Oxygen-based bleaches and specialist grout cleaners formulated for your tile type are generally safer, more sustainable choices.
Grout can also provoke an unusual sense of embarrassment. During a video call, someone apologised for the grey lines behind them in their bathroom, despite everything else looking immaculate. We put enormous pressure on these narrow borders, as though they prove something about how we live. We have all had that moment when we look down, slightly embarrassed, at a grout line that has become far too black.
Learning a calmer, more strategic way to care for grout can feel unexpectedly reassuring. Instead of waging an unwinnable toothbrush battle, you are restoring something intended to be neutral and unobtrusive, allowing the rest of the room to breathe.
| Key point | Details | Why it matters to readers |
|---|---|---|
| Use soak time, not force | Apply a targeted cleaner, using a vinegar mixture for light dirt and oxygen bleach for heavier stains, then leave it for 10–30 minutes before brushing. | This cuts physical effort, protects your joints and prevents grout damage caused by frantic scrubbing sessions. |
| Match cleaner to grout type | Unsealed cement grout can tolerate mild acids in moderation, whereas epoxy or coloured grout often requires pH-neutral cleaners to prevent fading or etching. | Selecting the right product avoids discolouration and stops you from “fixing” problems accidentally caused by unsuitable chemistry. |
| Switch to soft tools | Choose a soft nylon grout brush or microfibre cloth rather than hard-bristled brushes, scouring powders or high-speed drill scrubbers. | This safeguards the grout surface, keeping it denser and less porous, which means less resoiling and longer gaps between deep cleans. |
Keeping grout bright with little effort - small habits, significant visual impact
Once the grout has returned to a reasonable shade, the focus changes to low-drama maintenance. This is where tiny habits make the difference. For example, keep a spray bottle of mild, pH-neutral cleaner in the shower and lightly mist the floor grout two or three times each week just before stepping out.
The shower water helps distribute the cleaner, while a 30-second wipe with a squeegee or microfibre cloth removes what would otherwise become the next day’s film. This is not about perfection; it is about never allowing grime to settle for long enough to demand an aggressive rescue operation.
In kitchens, the higher-risk areas are easy to predict: in front of the basin, beneath the front of the cooker and beside the bin. Treat these as hot spots. A weekly pass with a slightly stronger mixture, such as an oxygen bleach solution or a grout-safe dedicated floor product, is enough to prevent grease from travelling into the joints and oxidising there.
One gentle warning: excessive cleaning can have the opposite effect. Saturating grout with strong products several times weekly strips away sealant and weakens the joints. If brilliant white grout seems impractical in a busy household with pets, children and cooking, that is because it is. Natural grout with a slightly warmer tone often disguises daily life more effectively than stark white.
This is where sealing makes a genuine difference. A penetrating grout sealer, applied every year or two after the joints are completely clean and dry, fills the micropores and extends the time before stains become permanent. The task is slow but straightforward: use a foam brush, a towel for wiping the tiles and a quiet evening.
Think of it as wearing a good coat before going out in the rain rather than drying your clothes with a hairdryer afterwards. You may still get wet, but the moisture does not penetrate as deeply. The next clean is then quicker, calmer and more forgiving.
There is a design consideration beneath all of this too: could your grout lines be working against you? White grout that darkens on a high-traffic floor is likely to create continual frustration. After restoring and sealing it, some homeowners opt to recolour the grout with a tinted sealer in a warm grey or beige that better suits real-world use.
This is not so much surrendering as accepting how a home is actually used: a kitchen where children spill tomato sauce, a hallway where muddy boots arrive in winter, or a bathroom where hair dye occasionally splashes. Strategic cleaning is not an Instagram challenge. It is a long-term truce between your time, your body and your floors.
That truce begins with a different question the next time you notice those shadowy lines: not “how hard will I need to scrub?”, but “how can I let the right ingredients sit long enough to do this for me?”. Usually, the answer is a mild cleaner, a timer and a softer brush than you might expect. The outcome is not simply brighter grout, but a more peaceful relationship with the surface you walk on every day.
FAQ
- How often should I deep clean my grout if I hate scrubbing? For most busy households, a gentle deep clean every 2–3 months is sufficient, provided that high-traffic areas receive small, low-effort maintenance once a week. Dividing the work into zones makes it less daunting and helps prevent marathon scrubbing sessions.
- Is vinegar safe for all grout lines? Vinegar is suitable for many unsealed cement grouts, but it is not ideal for natural-stone tiles or certain epoxy and coloured grouts. If you are uncertain, test it first on a tiny concealed area and consider using a pH-neutral cleaner designed for tiles and grout.
- Can I really clean grout without hard scrubbing at all? Some light agitation is still needed, but the aim is gentle brushing after allowing the product to soak, not intense and repetitive scouring. When the chemistry and dwell time are right, the brush simply guides away loosened dirt rather than grinding it out.
- What’s the difference between oxygen bleach and regular bleach for grout? Oxygen bleach, or sodium percarbonate, releases oxygen when combined with water and removes stains more gradually, with fewer fumes and less harm to grout structure. Chlorine bleach is more aggressive, may weaken joints over time and often only whitens residue rather than genuinely removing it.
- How do I know if my grout needs sealing? Place a teaspoon of water on a clean section of grout and observe it. If the water beads on the surface for several minutes, the sealer is still working. If it quickly soaks in and darkens the grout, it is time to apply a new coat of penetrating sealer.





Comments
No comments yet. Be the first to comment!
Leave a Comment