
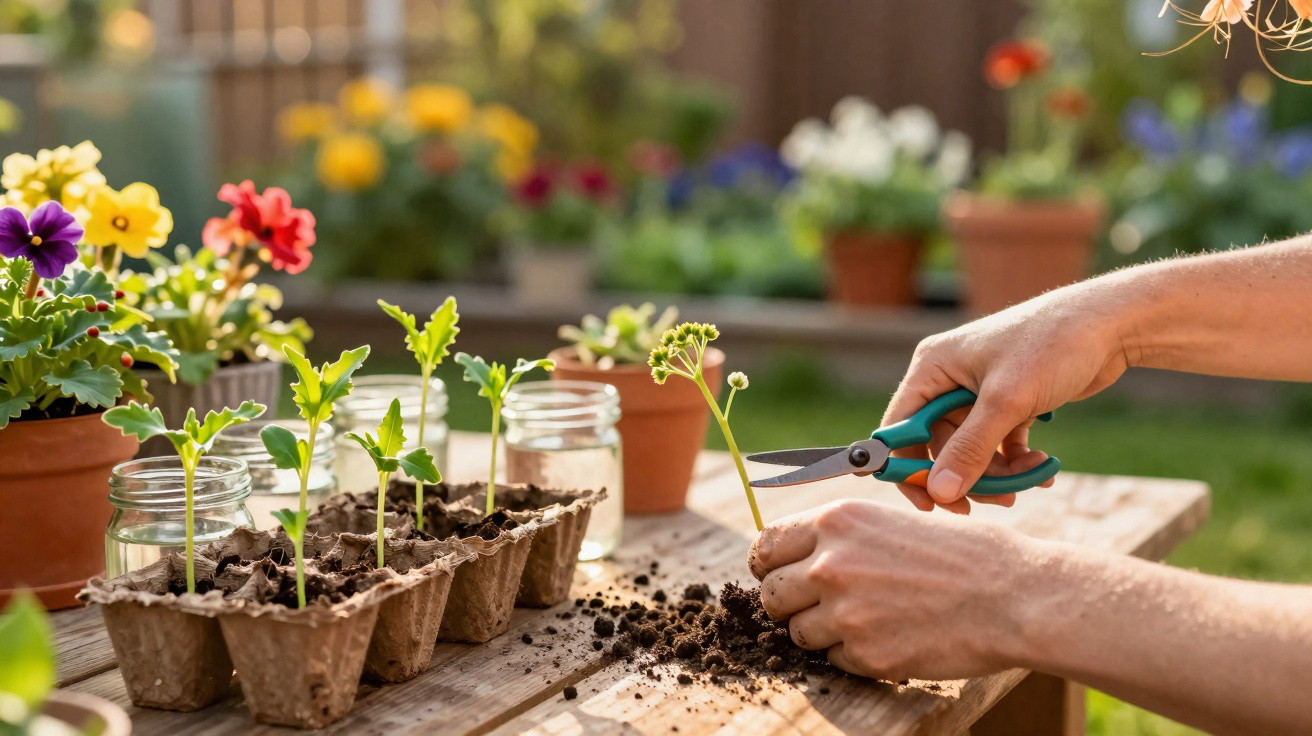
A single snip, a touch of patience, and your patio can look as though it has had a complete upgrade.
The morning warmth had only just begun to rise when I saw a neighbour pinch out a petunia tip as delicately as though plucking a miniature violin string. She slipped the cutting into her pocket, placed it in a Mason jar as if it were a secret, then returned to watering without a fuss. A fortnight later, the jars were packed with roots, while new pots around her steps overflowed with colour. Bees darted between the original plants and their new clones, as though the garden had suddenly discovered harmony. She simply shrugged: “I just take cuttings the way I make coffee-regularly.” The whole street carried the scent of summer weddings. The answer had been there all along.
One small cut, months of colour
Everything begins with a pinch. Taking away the growing tip rouses a plant that appears to be flagging, encouraging it to produce side shoots with more buds. The parent plant becomes fuller, while the removed piece starts its journey towards becoming another plant.
I watched this happen in a cool-climate garden, where pelargoniums, petunias and million bells had become straggly by July. The gardener selected a dozen 10-cm cuttings from stems without flowers, placing eight in a tray of perlite and compost and the remainder in water. Three weeks on, nine had developed roots. She potted them individually, fed them sparingly and positioned them around the parent plants. The result had a pleasing boldness: identical colours, twice the fullness, and another flush of flowers just as the originals began to slow down.
There is straightforward botany behind this apparent magic. Growing tips produce auxin, a hormone that suppresses buds farther down the stem; once the tip is removed, apical dominance weakens and side buds spring into growth. The cuttings retain the genetics of the flowering plant you admired, so their colour, form and flowering time remain consistent. At the same time, the parent stops directing its energy into one long, leggy stem. More branching instead creates a compact cushion laden with flowers.
Pinch–Propagate–Plant: the three-step bloom multiplier
Select a young stem without flowers that bends easily rather than feeling woody. With clean pruners, make a 45-degree cut immediately below a node, taking a piece 8–13 cm long. Remove the leaves from the lower part, leave two at the top, and take off any buds so that the plant focuses on roots before flowers.
Dip the cut end in rooting hormone, or use a homemade alternative such as honey with a pinch of cinnamon. Insert the cutting into a small pot filled with peat-free compost combined with perlite or sand to maintain airflow. Water it once, cover it loosely with a clear bag to retain humidity, and place it in bright shade. After 10–21 days, a gentle tug should reveal resistance: roots have formed.
Transfer rooted cuttings to individual pots, pinch them out once again to promote branching, and then plant them close to the parent for a denser display. Use a balanced feed first, followed weekly by a flower-promoting liquid feed that is low in nitrogen and high in potash. Pinch to trigger branching. Allow the routine to become second nature.
Common pitfalls, gentle fixes
Giving cuttings too much care is the usual mistake. Waterlogged cuttings rot, so use an open mix and keep it only lightly moist. Bright shade encourages faster rooting than strong sunshine, which can scorch a delicate stem within an hour.
Stems carrying flowers tend to root more slowly, so choose green tips with no buds. Wipe your pruners with a little alcohol, then relax-plants are often more forgiving than we expect. Most of us have watched a tray of cuttings droop by midday, only to see it recover by evening. Let the plants show you their own rhythm.
Root in a fast-draining mix, rather than heavy garden soil. Take modest batches every 10–14 days instead of tackling one overwhelming session. After all, nobody carries out a complete propagation session every morning.
“The day I learned to pinch and stick a stem, my garden budget dropped and my blooms doubled,” says community grower Lena Ortiz. “It’s the cheapest thrill in horticulture.”
- Cut beneath a node, remove the lower leaves and take off buds.
- Provide bright shade, steady humidity and very little water.
- Pot on, pinch again, then feed for colour.
- Stagger fresh cuttings for an ongoing flowering display.
Stagger the cycle, stretch the season
This is the point at which the trick becomes a longer-term approach. Begin with one set of cuttings, then repeat the process every 10–14 days. Each group develops on a slightly different timetable, meaning the garden does not reach one peak and then fade away-it keeps moving.
Set the clones around the parent plant to make a circle of colour, or group them by shade to create a succession of “echoes”. Deadhead gently and apply a light but regular flowering feed while plants are actively growing. Such a small cut can act like a reset button.
Early in the season, try basal cuttings from chrysanthemums and dahlias for generous autumn colour. For tender favourites including coleus, pelargoniums and verbena, rooting in water on a bright kitchen windowsill works particularly well before moving them into soil. Stagger cuttings every 10 days, and your borders will begin to appear choreographed rather than accidental.
The greatest pleasure is not the shortcut itself, but the rhythm it creates. By midsummer, you will know which stems to pinch, when to pot them on and which cuttings are ready. In return, the garden provides a second performance that seems remarkably generous. Before long, you may be sharing rooted young plants with neighbours, swapping red for coral, fragrance for ruffles, and finding that the flowering calendar is suddenly yours to shape.
| Key point | Detail | Benefit for the reader |
|---|---|---|
| Pinch to wake plants | Removing the tip redirects hormones to side buds | Bushier plants carry more flowers over time |
| Propagate in small batches | Cut every 10–14 days, root in airy mix, bright shade | Steady stream of new blooms without overwhelm |
| Clone your best bloomers | Cuttings keep colour and habit of the parent plant | Reliable results and a cohesive colour story |
FAQ:
- Which plants respond best to this trick? Soft-stemmed annuals and tender perennials such as petunias, million bells, pelargoniums, verbena, coleus, salvia, sweet potato vine and chrysanthemums (basal cuttings) are straightforward choices.
- Is water rooting or soil rooting better? Water rooting is easy to observe, while soil rooting makes transplanting easier and causes less shock. Test both methods and use the one you are most likely to repeat.
- Do I need rooting hormone? No, although it can speed up rooting and reduce rot. A light dusting is enough; using too much may have the opposite effect.
- Why did my cuttings collapse overnight? Heat and low humidity are commonly responsible. Move them into bright shade, recut the base and cover them with a loose clear bag for a week.
- How long before I see flowers? Most easy cuttings root within 2–3 weeks and begin flowering 3–6 weeks later, especially when pinched regularly and given a light potash feed.





Comments
No comments yet. Be the first to comment!
Leave a Comment