
Bathroom tiles do not become grimy all at once. A thin layer builds little by little, until the room starts to look slightly worn, however clean the towels may be. The answer does not require a cupboard full of new products or a weekend spent breathing in harsh fumes. It begins with a white powder that is likely already near your kettle.
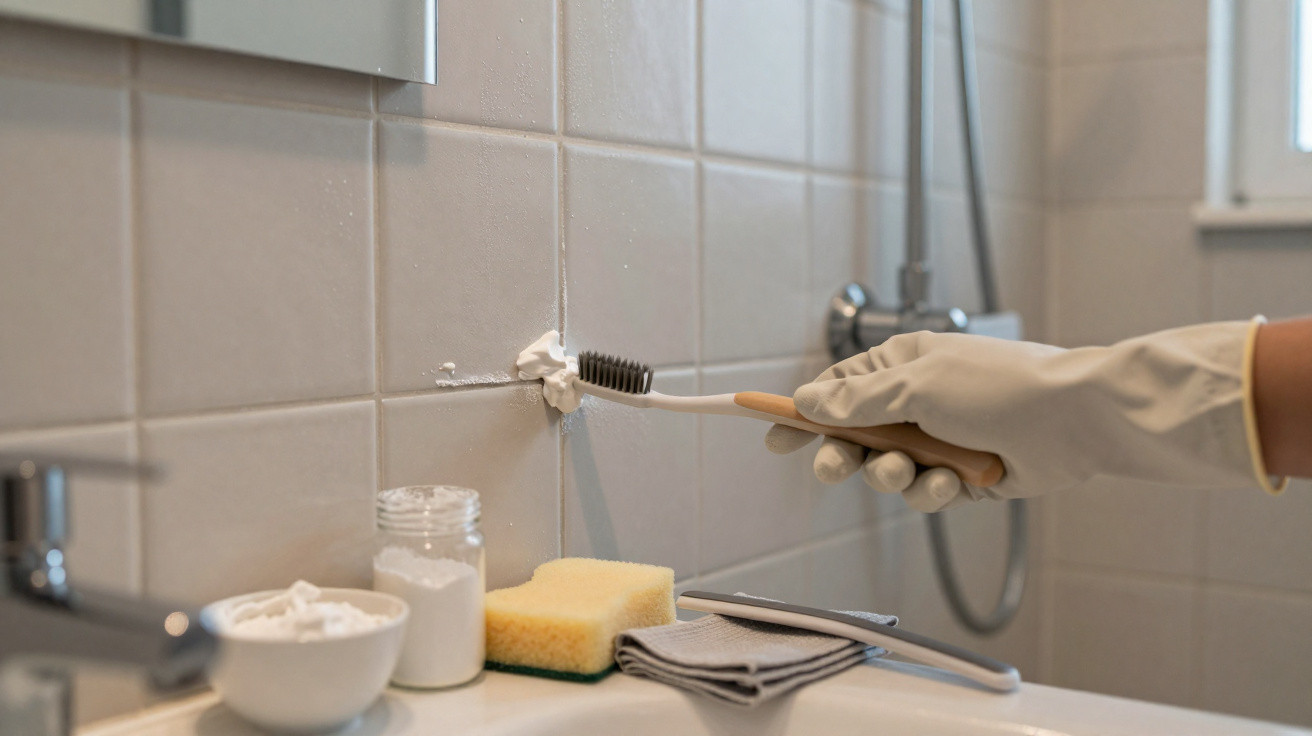
Once the shower screen was clear, the real state of the tiles became obvious: a pale grey film over the glazed squares and darker grout lines, winding like neglected roads on a map. Running a finger over one corner produced resistance rather than a smooth glide. That dull coating has a way of hanging around. I took out a bowl, added baking soda and mixed in warm water until the consistency resembled yoghurt. The first pass of the brush made a faint scraping sound that felt unexpectedly promising. Something was moving beneath the bristles - and it was more than ordinary dirt.
Baking soda and bathroom grime: the quietly effective science
Bathroom tiles gather a whole mixture of residue: soap scum, skin oils, hard-water minerals and the occasional mist of hair product. A quick wipe rarely makes much difference to that combination. Most of us have watched a cloth slide across tiles and achieve almost nothing. Baking soda offers mild cleaning power without the aggression of a scouring powder. Its gentle abrasiveness helps lift the film without damaging the finish. On grout, it reaches into pores where foam cannot easily work. It acts gradually and consistently, which is often exactly what bathroom surfaces need.
I saw this in a rented flat where hard water left a chalky coating on nearly everything. The tiles looked lifeless at first, as though their shine had simply given up. I spread a warm-water baking soda paste over the worst grout lines and left it for ten minutes while making tea. The first scrub brought up tiny beads of grime that had not been visible beforehand. After rinsing and wiping, the wall reflected light differently. There were no artificial glow-up effects - only clearer tiles and grout that appeared a little newer.
Its effectiveness comes down to both texture and chemistry. Baking soda has tiny, rounded crystals that ease residue away rather than cutting into surfaces. As an alkaline substance, it helps loosen acidic soap deposits and certain body oils. Grout pores hold on to grime, while the paste settles into those spaces like a poultice before releasing the dirt during rinsing. Vinegar fizz may look impressive on TikTok, but mixing it with baking soda in the same bowl neutralises the cleaning action. Treat them as a sequence rather than a partnership: use one, rinse, then apply the other if required.
How to make and apply a baking soda tile scrub
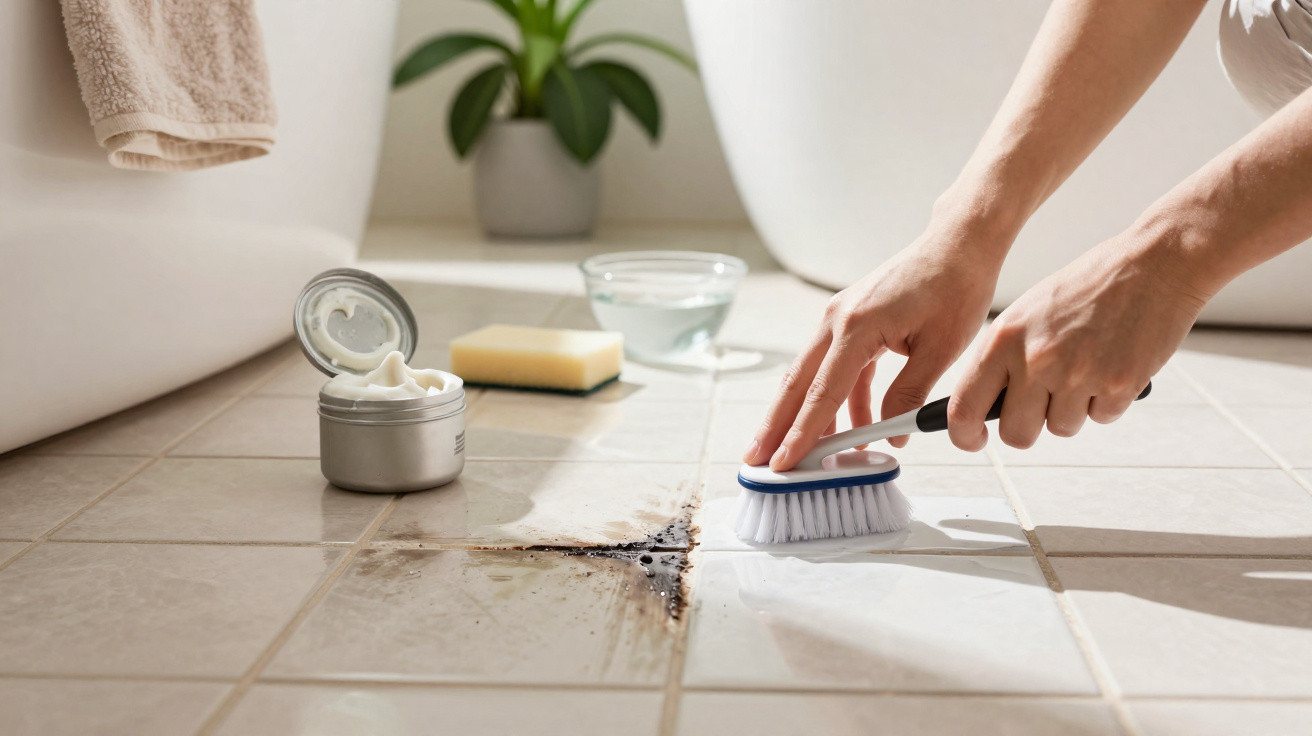
Begin with a small, hands-on approach. In a bowl, combine 3 parts baking soda with 1 part warm water, creating a paste that spreads like thick yoghurt. For tiled walls coated with body oils, add a drop of washing-up liquid. Apply the mixture to the tiles with a soft sponge. For grout, use an old toothbrush or a dedicated grout brush, working with short strokes. Leave stubborn patches for 5–10 minutes before scrubbing gently. Rinse with warm water, wipe using a microfibre cloth and dry the surface afterwards to prevent fresh water marks. That final drying step creates the real shine.
Most problems result from either rushing the task or using too much force. An overly wet mixture becomes runny and slips away before it can work. Pressing hard with an abrasive pad can leave glossy tiles hazy. Avoid using vinegar on already fragile, cement-based grout. Bleach should not be part of this process either: it can react badly with acidic residues, create unpleasant fumes and be harsh on both you and the bathroom. Realistically, nobody follows this routine every day. A gentle weekly wipe, followed by a more thorough baking soda clean once or twice a month, means major scrubbing sessions should be uncommon.
“Baking soda is the friend that never judges your grout. It just shows up, does the job, and doesn’t stink up the place,” said Lisa, who manages end-of-tenancy cleans in South London.
Put together a small kit and store it beneath the sink, so starting takes five seconds rather than fifteen minutes of searching. The simpler it is to begin, the faster the job gets finished.
- 1/2 cup baking soda in a lidded jar
- An old toothbrush or slim grout brush
- A soft sponge and microfibre cloth
- A small bowl and spoon for mixing
- Washing-up liquid and warm water from the tap
Keep bathroom tiles cleaner for longer with simple care
A bathroom that dries fast tends to stay cleaner. After showering, run a squeegee over the tiles in around thirty seconds, then open the window or run the extractor fan for ten minutes. Removing that moisture promptly slows the formation of soap scum and mineral deposits. A light dusting of baking soda on a damp sponge halfway through the week refreshes surfaces before grime can settle. Avoid harsh sprays that make the room smell like a laboratory. The more straightforward the routine, the more likely it is to fit into everyday life.
The material matters, so adapt the cleaning method to the wall. Ceramic and porcelain tiles respond well to baking soda, while natural stone such as marble or limestone does not. Even its mild grit may reduce the polish, and the alkaline nature of baking soda is unsuitable for these materials. If you are unsure what type of tile you have, test a very small area and inspect it in daylight. Rinse every trace of paste away so that no crusty residue dries in corners. When cleaning grout, use controlled pressure and clean brushes; bent bristles spread out and can mark the surrounding tiles. Clean tools simply work better - a truth as old as mops.
There is an undramatic rhythm to the method: spread the paste, allow it to work, then scrub as though you are brushing your teeth rather than sanding a deck. Mould around silicone edges is a separate issue. Baking soda can remove surface staining, but living mould requires a targeted treatment and improved airflow. Reserve stronger chemicals for grout lines that genuinely need them, and leave baking soda to deal with the everyday film. A bathroom smelling of soap instead of chlorine feels altogether more pleasant.
Return to the room once everything is dry and you may notice the difference first through sound. Clean tiles seem to make the space quieter, with a brighter echo, rather like polished glass. It is not miraculous; it is simply the effect of small, repeated jobs and an inexpensive white powder that deserves its space in the cupboard. Pass the tip on to a neighbour, or to the friend who insists their bathroom never looks clean. The pantry approach may not look as impressive as a shelf of bottles, but it gives you some time back. That is the real improvement.
| Key point | Detail | Benefit for the reader |
|---|---|---|
| Gentle abrasion | Baking soda crystals lift film without scratching ceramic or porcelain | Cleaner tiles with less risk to finishes |
| Correct method | 3:1 paste, leave for 5–10 minutes, scrub lightly, rinse warm, dry | A clear, repeatable routine that genuinely works |
| Sensible limits | Avoid natural stone, do not mix with bleach, keep tools soft | Helps prevent damage and keeps cleaning safer |
Frequently asked questions
- Can baking soda damage grout? When used with a soft brush and light pressure, it is safe for most cement-based grout. Excessive scrubbing or abrasive pads can wear down the edges, so work gently and rinse thoroughly.
- Is it okay to mix baking soda and vinegar? Do not combine them in the same bowl. The fizz neutralises their cleaning power. Apply one, rinse, then use the other if you need to address a different kind of residue.
- How often should I scrub bathroom tiles? A quick squeegee after showers and a weekly wipe make upkeep manageable. Use a baking soda scrub every 2–4 weeks, or more often where hard water leaves marks.
- Will baking soda remove mould? It may lift surface stains, but active mould in silicone or deep grout needs a targeted mould remover and improved ventilation to prevent its return.
- Is baking soda safe on marble or natural stone? No. Do not use baking soda on marble, limestone or other natural stone, as it can dull the finish. Choose stone-safe cleaners and soft cloths instead.



Comments
No comments yet. Be the first to comment!
Leave a Comment