
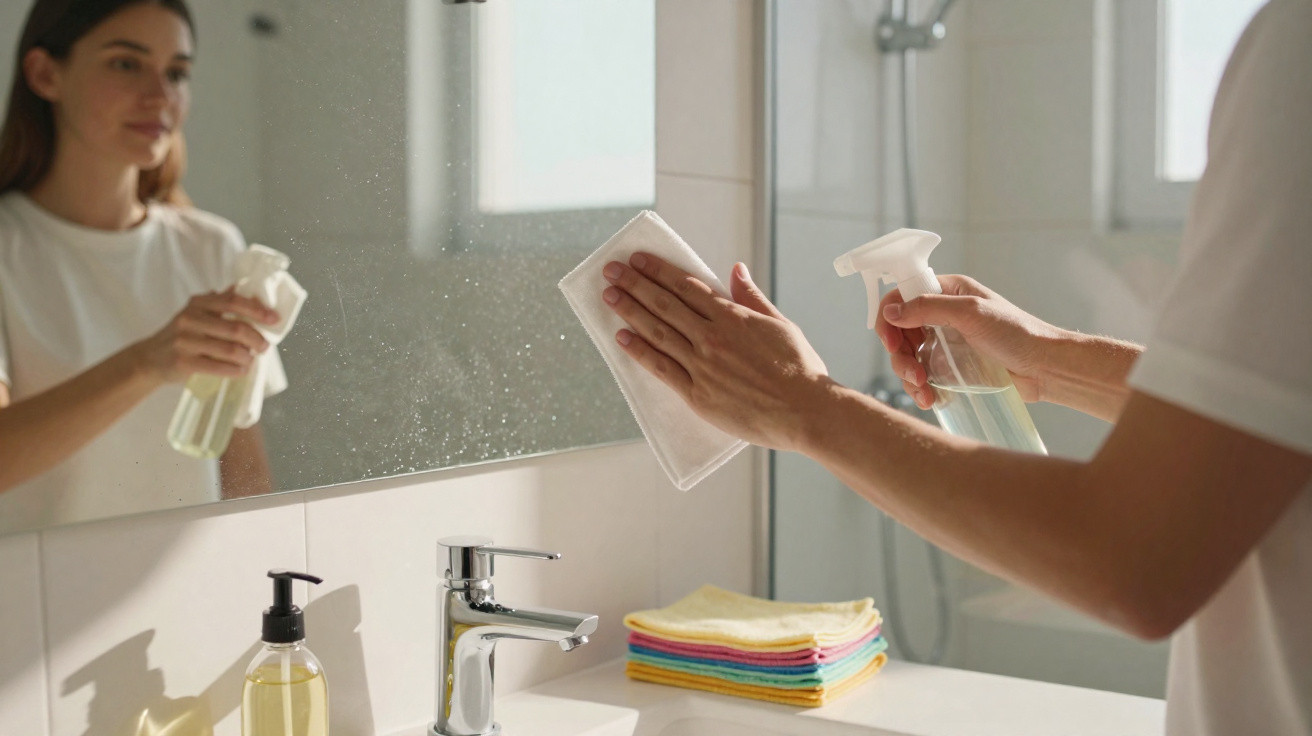
After a hot shower, it is common to find the bathroom mirror covered with tiny marks, droplets and residue that make the surface look dull. Rather than repeatedly rubbing it, a simple diluted vinegar solution and the right cloth can help lift some of the grime, provided it is used carefully and the mirror’s edges are not soaked.
Why does the mirror become marked after a shower?
Steam and fine water droplets can settle on the mirror while you shower. As the water dries, minerals in it, together with residue from bathroom products, may be left behind on the glass.
Over time, these particles create marks that a dry cloth alone will not always remove. Cleaning the mirror regularly helps stop residue from building up and becoming harder to shift.
How can diluted vinegar help with cleaning?
White vinegar contains acetic acid, which may help loosen certain mineral deposits and surface residue. For straightforward cleaning, dilute it with water and put the mixture into a spray bottle.
Instead of drenching the mirror, apply a small amount of the solution to a microfibre cloth. Dampening the cloth rather than soaking the surface helps minimise the chance of liquid running into the edges and reaching areas that should not get wet.
What is the best way to wipe the mirror?
Use a clean, soft microfibre cloth and wipe the surface with gentle movements. Where marks are more stubborn, go over the area again without applying too much pressure.
Once it has been cleaned, use a dry section of the cloth to remove any remaining moisture. A dry finish helps prevent fresh marks caused by droplets left behind during the cleaning process.
Can vinegar be used on every mirror?
Particular care is needed around the edges and rear of the mirror. Liquid that runs into these areas can cause issues with some models, especially if moisture can penetrate between the glass and its backing.
For this reason, do not pour or spray large amounts directly onto the mirror. Test it first on a small area and follow the manufacturer’s guidance if it provides specific cleaning instructions for the product.





Comments
No comments yet. Be the first to comment!
Leave a Comment