
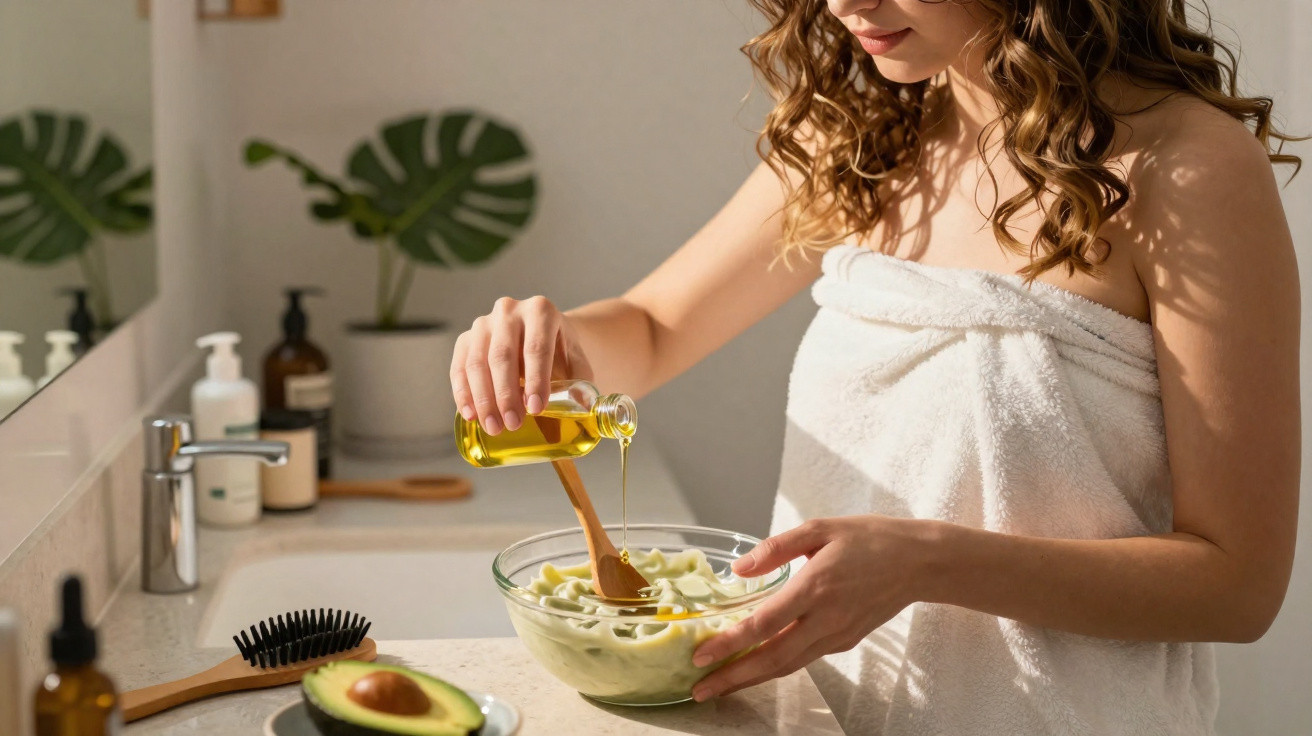
Hair can suddenly feel rough and look dull, particularly after exposure to sun, wind, hot water or frequent blow-drying. One straightforward way to improve how it feels is to boost your usual conditioning treatment with a few drops of vegetable oil, making an easy at-home blend.
Why add vegetable oil to a hair mask?
A hair mask helps replenish moisture and conditioning ingredients, while vegetable oil may help lessen roughness and improve the appearance of the lengths. Together, they provide an extra care step for hair lacking movement, with dry ends or that is difficult to detangle.
Vegetable oils such as coconut, argan, avocado and jojoba are well-known choices for this type of treatment. The key is the amount used: just a few drops are usually enough. Using too much can weigh hair down, leave it greasy or make it appear flat, especially if the strands are fine.
How to make this homemade hair treatment
Only prepare the amount you intend to use straight away. Put a portion of your regular hair mask into a clean container, then add around two to four drops of vegetable oil. Stir thoroughly until the mixture has an even consistency before applying it to your hair.
- Wash your hair as usual, then use a towel to remove excess water.
- Combine one portion of hair mask with a few drops of your chosen vegetable oil.
- Apply the blend through the lengths and ends, keeping it away from the roots.
- Rinse thoroughly after the stated processing time to avoid leaving residue behind.
Do not add the oil directly to the full tub of mask, as this changes its original formula and makes it harder to manage the amount used each time. Mixing it separately also lets you alter the number of drops according to your hair’s length, thickness and needs.
How long should the mixture stay on the hair?
The safest approach is to follow the instructions on the hair mask packaging, as the recommended time will usually vary according to its formula. Leaving the product on for much longer does not mean it will provide better hydration; it may simply make the routine take longer or increase the feeling of weighed-down hair.
As you apply it, smooth the cream section by section through the lengths, concentrating slightly more on dry ends. Once the recommended time has passed, rinse carefully with water to ensure no excess product remains between the strands.
Watch the video shared by the YouTube channel RODRIGO CINTRA, which offers tips for natural at-home hair hydration.
Which hair types may benefit most from this tip?
This combination may be particularly useful for dry, dehydrated, curly, coily or rough-ended hair, as well as strands frequently exposed to heat from a hairdryer and straighteners. Bleached or chemically treated hair may also appreciate the softening effect delivered by this treatment.
Those with very fine, straight or naturally oily hair should begin with the smallest possible amount of oil and assess the result. If your hair loses volume or looks greasy after washing, reduce the number of drops or use only your regular hair mask for the next few applications.
What should you look for after hydration?
The most noticeable changes are generally in the feel and finish: hair that responds well to the mixture may become easier to comb, appear less rough and have visibly smoother-looking ends. However, this homemade hydration treatment is not a replacement for targeted care when there is severe breakage or scalp changes.
If your hair has woken up crying out for help, test the blend in moderation and pay close attention to how your hair responds. Do not wait for dryness to become even more obvious: adapting your routine now may help maintain softness and prevent the ends from taking on an increasingly rough appearance.





Comments
No comments yet. Be the first to comment!
Leave a Comment