
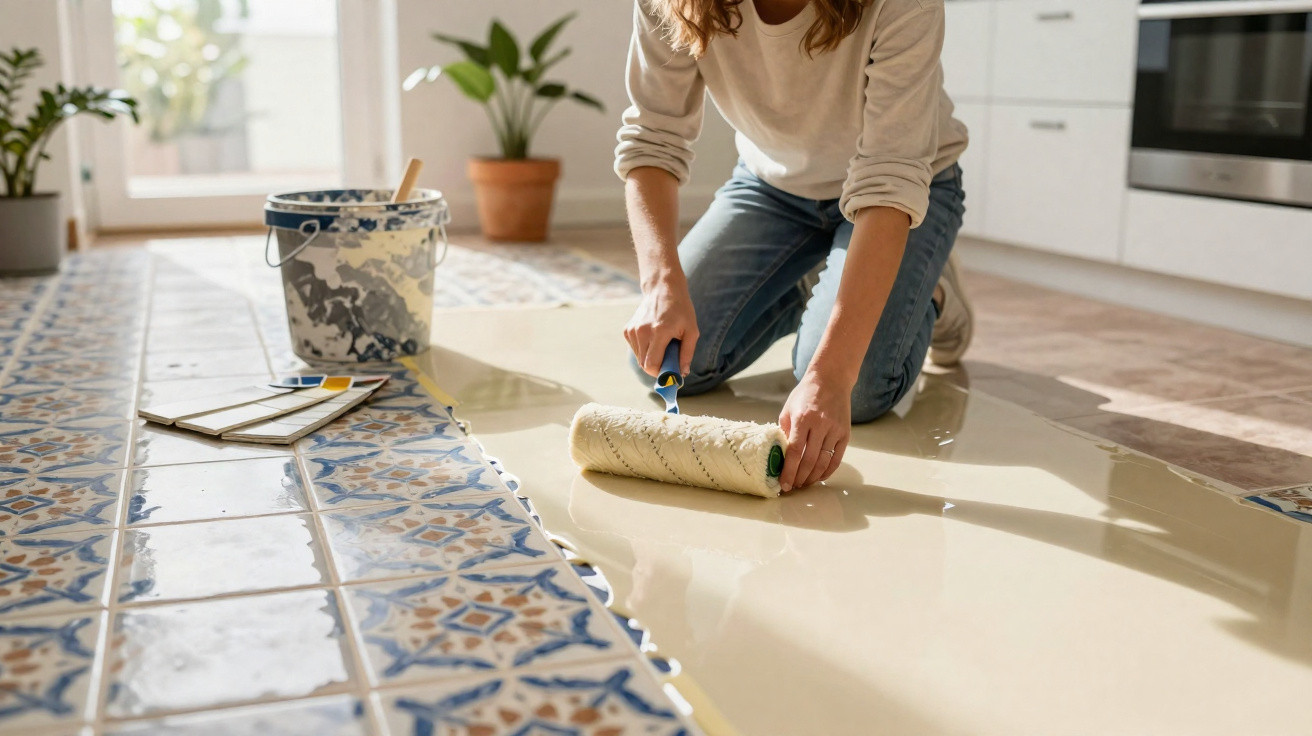
Your tiles are still in excellent condition, yet they look as though they came straight from a 1994 furniture catalogue?
There is a way to transform them completely – without any demolition work.
Many homeowners and tenants face the same issue: floor tiles that are technically sound but unmistakably dated. Beige, small-format tiles with dark grout can instantly make a home feel older than it really is. Faced with the prospect of pneumatic drills, clouds of dust and days of building work at home, people often abandon the renovation altogether. This is exactly where a floor covering laid directly over the existing tiled surface can create an entirely fresh look.
Why a new floor without demolition is so appealing
Replacing conventional tiles usually means removing the existing ones, disposing of the rubble, rebuilding the subfloor and only then installing a new finish. It takes time, costs money and causes stress – while making the kitchen, bathroom or hallway unusable for several days.
“A coating system applied directly to an existing tiled floor saves noise, dust and often several thousand euros.”
Rather than taking out the complete floor system, the existing surface becomes the foundation. A new covering is installed over the tiles, concealing the individual slabs, grout lines and colour variation. The result is a continuous, grout-free surface that looks more contemporary and is easier to keep clean.
The key benefit is that this new finish is waterproof, scratch-resistant and available in a vast choice of colours and surface finishes, from minimalist matt to high gloss. It is a decorative resin-based floor coating, commonly made with epoxy or polyurethane resin.
Resin flooring over old tiles: how the transformation works
The resin coating is poured onto the existing tiled floor as a liquid material, or applied using a roller and trowel. It settles into a sealed, level surface and visually covers the old grout lines completely. The room immediately appears calmer, more spacious and more up to date.
Modern formulations offer numerous design options, including warm sand shades, cool concrete-effect finishes, classic white and bold accent colours. This makes the floor suitable for a family kitchen, a stylish bathroom or an open-plan living and dining space alike.
Once cured, it forms a hard, highly durable layer. This type of floor is especially effective in heavily used areas such as hallways, kitchens and home offices: it can withstand office chairs on castors, heeled shoes, children’s ride-on toys and frequent mopping.
Requirements: when a resin coating is worthwhile
For the coating to remain durable, the subfloor must meet certain conditions:
- The tiled floor must be securely fixed, with no tile sounding hollow or moving.
- The surface needs to be dry, clean and free from grease or wax residue.
- Severely damaged areas must be repaired beforehand.
- Wide grout lines should be levelled so that no indentations show through later.
With very smooth, glossy tiles, a specialist primer is advisable to ensure reliable adhesion. Professional installers use bonding agents formulated specifically for ceramic and natural stone.
Everyday benefits: fewer grout lines, less cleaning effort
Many people underestimate how much grout affects cleaning. Old grout is often rough, yellowed and prone to collecting dirt. A surface with little or no grout provides noticeable relief when it comes to household cleaning.
“The fewer visible grout lines there are, the more easily a mop glides across the floor – a genuine comfort benefit, especially in kitchens and bathrooms.”
Typical advantages of a resin coating over tiles include:
- An almost seamless appearance where very little dirt can build up
- Mopping with a mild cleaner is usually sufficient
- Suitable for damp rooms such as bathrooms, WCs and utility rooms
- A choice of sheen levels: matt, satin-matt or glossy
- Faster installation than removing an entire tiled floor
- Long-lasting and hard-wearing when properly prepared
The sealed surface is particularly valued by allergy sufferers and pet owners. Hair, dust and crumbs do not become trapped in grout lines, but can be removed easily with a broom or vacuum cleaner.
Preparation is essential for a successful new floor
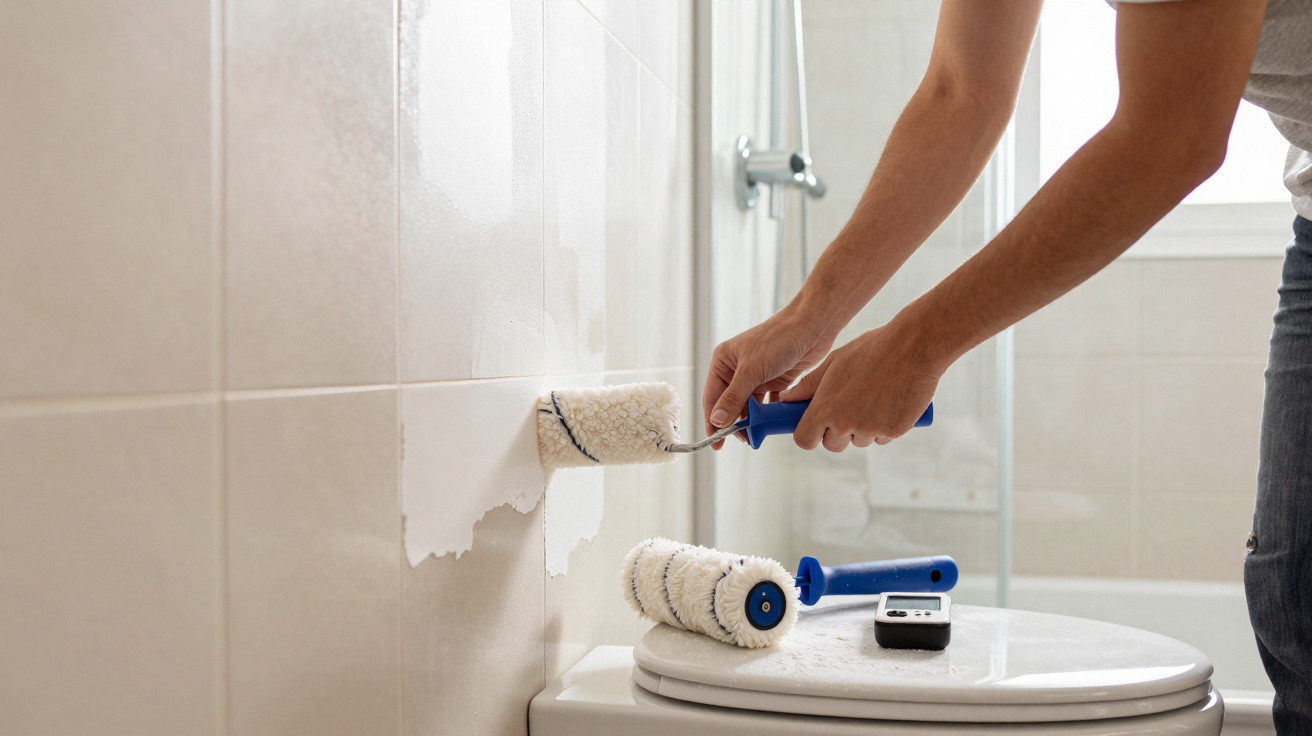
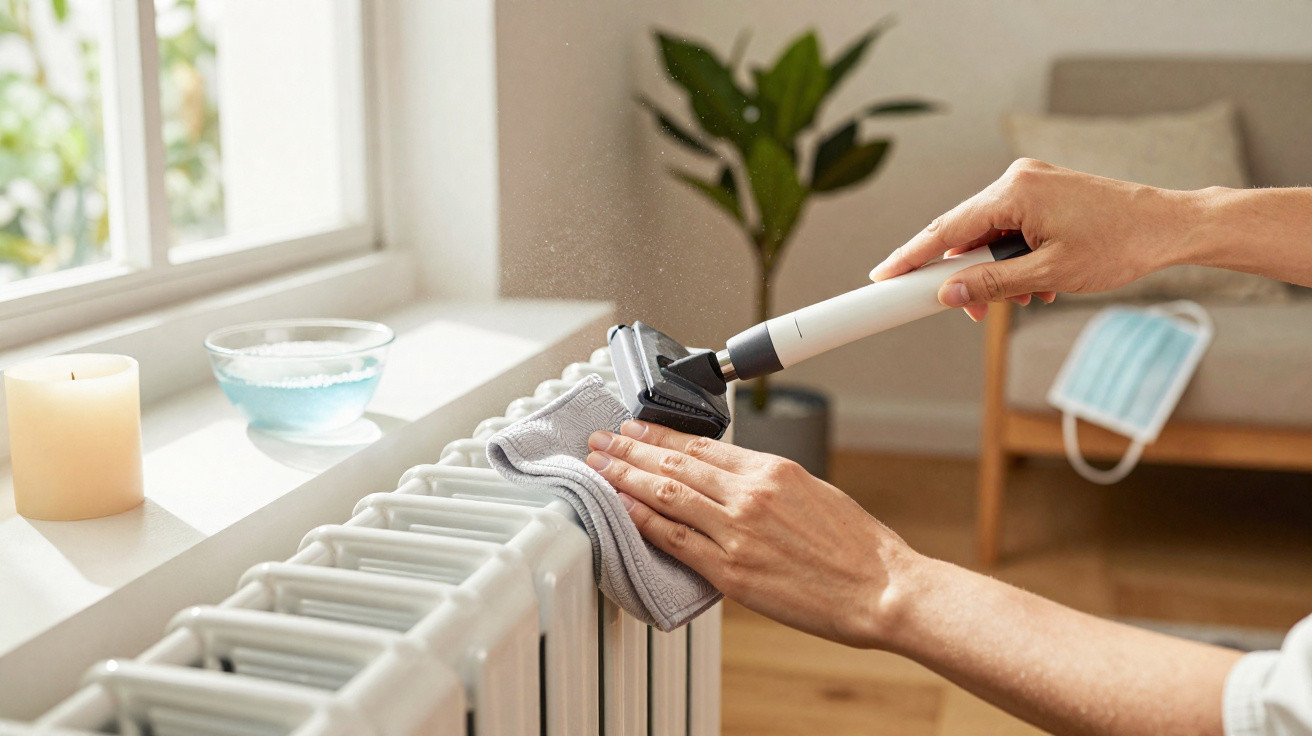
Even the most attractive designer floor will fail if the base has been prepared carelessly. The work should always begin with thorough cleaning: remove dust, degrease the floor and allow it to dry fully. Loose tiles must either be replaced or securely re-bonded.
Grout lines, cracks and shallow dips can be levelled with suitable filling compounds. The aim is to create as flat a surface as possible, without sharp edges. In many cases, a primer is then applied to give the following resin layer better adhesion.
Only after this stage is the coating itself applied. Depending on the system, rollers, trowels or a pouring method are used. There are waiting periods between layers while the material cures. In a typical living space, it can quickly take two to three days before the floor can once again take full use.
Do it yourself or hire a professional?
Many DIY enthusiasts are confident tackling smaller, relatively straightforward areas, such as a guest WC or a compact hallway. DIY shops and specialist retailers sell kits designed specifically for tiled floors, with prices starting at around 18 euros per square metre.
The situation is different for:
- Large, open rooms with several doorways and connections
- Complete bathrooms, including showers and alcoves
- High-end design requirements involving special effects or colour gradients
In these cases, using a specialist contractor is worthwhile. Depending on the system, colour choice and surface texture, professionals often charge 100 to 150 euros per square metre. In return, they understand the precise layer thicknesses, minimise tool marks and can advise on slip-resistant or especially easy-care options.
Where resin flooring over tiles makes the most sense
Resin coatings are particularly useful where old tiles are visually disruptive but remain structurally sound. Typical applications include:
- A kitchen with small-format tiles from the 1990s
- A bathroom with dark grout and slippery tiles
- A hallway with mismatched floor finishes that needs a unified appearance
- A cellar, hobby room or laundry room where practicality matters more than a natural-stone look
In rented homes, it is worth checking the tenancy agreement. Some landlords welcome a high-quality modernisation, while others want the original condition retained. In that case, a coating should be selected that could theoretically be removed again – which is why agreeing this in advance is helpful.
What to consider when choosing colour and surface finish
Light shades make rooms feel larger and brighter, but are less forgiving where outdoor shoes are frequently worn indoors. Mid-grey with a concrete effect is regarded as a classic because it works equally well with white kitchen fronts and wood, while showing dirt less clearly.
It is worth considering the sheen level carefully:
- Matt: gives a modern look, reduces reflections and is ideal for living areas
- Satin-matt: offers a subtle sheen and is easier to clean than very matt surfaces
- Glossy: brings light into the room, but shows scratches and streaks more quickly
For shower zones and bathrooms, a slip-resistant texture is recommended. This is achieved using special additives or a lightly textured topcoat. In living rooms and dining rooms, many people prefer a smoother satin-matt finish that feels pleasant under bare feet.
Risks, maintenance and lifespan
Cutting costs on materials or failing to prepare the substrate carefully can lead to chips, cracks or dull patches. The wrong cleaning products can also cause difficulties: strongly alkaline or solvent-based products may damage some coatings.
“The floor generally lasts for many years if the base is stable, the layers have been applied professionally and mild cleaners are used.”
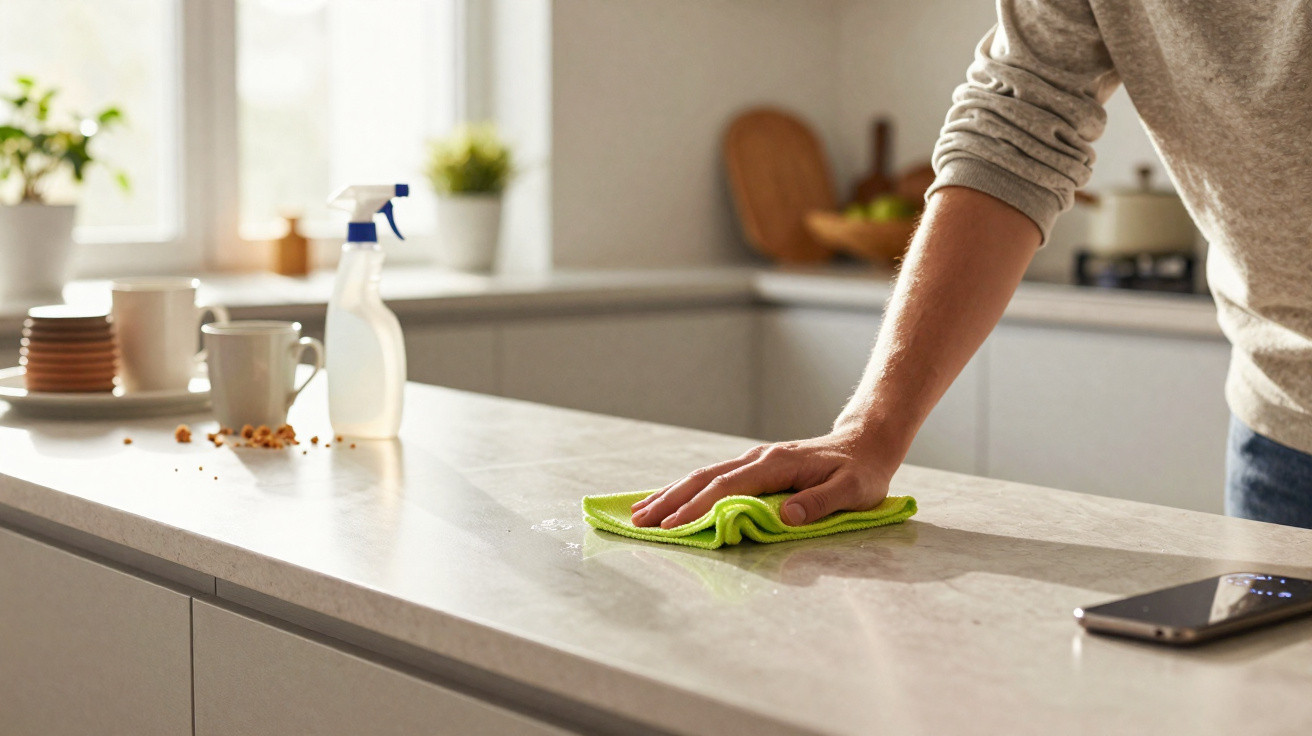
Maintaining a resin floor is similar to looking after high-quality vinyl or designer flooring: vacuum or sweep regularly, then mop with a well-wrung, slightly damp mop. Neutral household cleaners are generally enough for stubborn marks.
Anyone who is unsure can make a test sample first, for example on an old tile in the cellar. This provides a realistic impression of the colour, sheen and feel before transforming the entire kitchen.


Comments
No comments yet. Be the first to comment!
Leave a Comment