
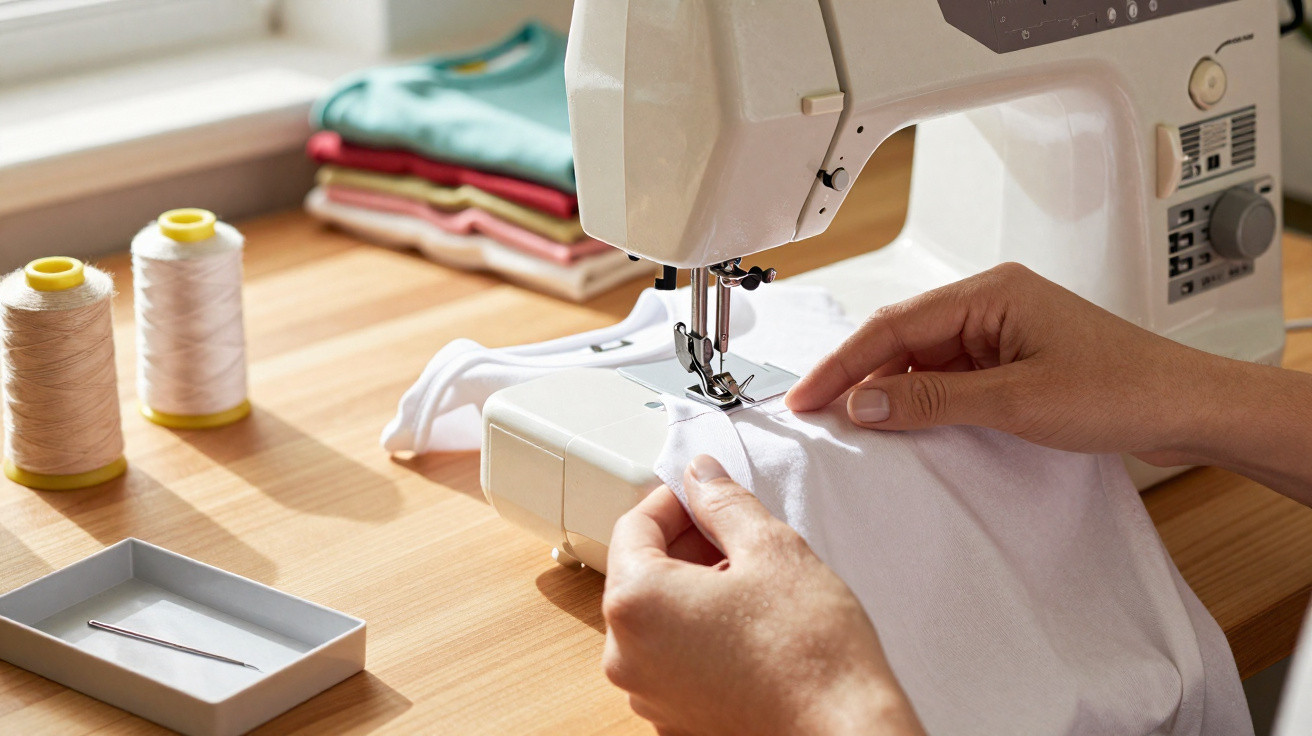
If you shorten jersey or stretch T-shirts, you will know the problem: the finish looks neat straight after sewing, but once tried on, the hem ripples or the thread snaps the first time the garment is pulled over your head. The gap between this result and shop-bought clothing is rarely about sewing ability; instead, it usually comes down to an overlooked feature that is already built into almost every standard domestic sewing machine.
Why T-shirt hems so often go wrong at home
A quick look through the wardrobe is enough to spot it: retail T-shirts nearly always have the same finish along the bottom edge. On the outside, there are two tidy parallel rows of stitching; on the inside, a soft, slightly stretchy join. This finish withstands hundreds of washes without the hem breaking or becoming misshapen.
At home, the outcome is often rather different. Most people sew with a standard straight stitch:
- The hem feels rigid and has little stretch.
- When putting the shirt on, the thread audibly cracks or breaks completely.
- The jersey fabric ripples, while the edge curls untidily outwards.
This does not mean someone “sews badly”; it is a matter of technique. A single straight stitch has very little give, whereas stretch fabrics such as jersey need flexibility in the seam.
The key is less about talent than using the right machine feature: a second needle, which almost all domestic machines already accommodate.
The overlooked feature: sewing with a twin needle
What is often handled by a dedicated coverstitch machine in industry can be recreated remarkably well at home with a twin needle. This capability is included from the outset on many machines from brands such as Singer, Brother and Pfaff, yet many owners never make use of it.
How the twin needle works inside the machine
When sewing with a twin needle, two upper threads run through the machine, while only one bobbin thread is used underneath. On the outside, this produces two parallel lines of stitching roughly 2 to 4 millimetres apart. On the reverse, the bobbin thread links both lines in a zigzag pattern.
This offers several benefits at once:
- The seam stretches with the fabric instead of tearing.
- The hem stays flatter and is less likely to curl.
- The appearance closely resembles that of shop-bought T-shirts.
On cotton jersey, the stretch in a hem seam can easily increase by a third or more compared with a basic straight stitch. This is especially noticeable on close-fitting shirts, as the seam moves with every movement.
Where the accessory may be hiding
Many people assume their machine is “too basic” for this kind of technique. That is a misconception. The second spool pin is often hidden:
- in the machine’s accessory compartment;
- beneath the upper-thread cover; or
- as a separate plug-in rod in the packaging.
If the instruction manual disappeared long ago, it is worth searching through the accessory compartment. A slim, short plastic or metal rod that slots into the top of the machine is usually the second spool holder. It can turn an “ordinary” machine into a highly effective hemming tool.
Step by step: a perfect T-shirt hem with a twin needle
Once the spool holder has been found, all that remains is to choose the right needle and settings. With a little preparation, the finished hem can look surprisingly professional.
Choosing the right needles and settings
For jersey T-shirts, a size 80 or 90 twin needle is suitable. Depending on the finish you want, the needle spacing should be 2.5 or 4 millimetres.
- Fit the twin needle: Remove the standard needle, insert the twin needle with its flat side facing backwards, then tighten it securely.
- Mount two thread spools: Use the main holder and the additional holder.
- Thread the upper threads: Guide both threads together through the usual threading path; separate them only at the end and pass each one through its own needle eye.
- Select the stitch: Set the machine to a straight stitch, not a zigzag or decorative stitch.
- Reduce the upper-thread tension slightly: Rather than using approximately setting 4, move closer to 3 to prevent a “tunnelling” effect between the two stitch lines.
A brief test on a fabric offcut is essential. Do not pull the fabric while sewing; let the machine feed it through. This quickly reveals whether the tension and stitch length are correct.
Only when the test run on the scrap piece works without rippling, cracking or broken thread should the actual T-shirt go under the presser foot.
A common issue: a stretchy cotton shirt
It is a familiar situation: a close-fitting cotton shirt with elastane only needs shortening slightly. With an ordinary straight stitch, the hem barely holds. The first time it is worn, individual threads snap and the edge sticks out.
A twin needle changes this. Two clean lines appear on the outside, while an elastic zigzag connects the two rows on the inside. The seam stretches with the fabric without an audible crack. This technique is particularly worthwhile for sportier cuts and children’s clothing.
For very fine or extremely stretchy fabrics, one useful approach is to replace the bobbin thread with bulk or mousse thread. This creates a softer fill in the inside zigzag and further reduces the risk of rippling. The principle has been standard in the sportswear industry for years.
When an invisible hem is the better option
Alongside the twin-needle option, sewing machines often offer another specialist for producing neat edges: the blind hem stitch. In the stitch menu, it is commonly shown by symbols resembling “B” or “V”: a line of straight stitches with occasional small stitches extending to one side.
This usually calls for a special presser foot with a centre guide. The fabric is folded so that the needle catches only the very edge of the outer fabric. Very little is visible on the outside afterwards-just tiny vertical points that are barely noticeable from a short distance.
| Situation | Recommended technique |
|---|---|
| Stretchy jersey, T-shirts, sports tops | Twin needle for an elastic, visible double seam |
| Smart fabric trousers, skirts, suits | Blind hem stitch for an almost invisible edge |
| Thick denim or very stiff fabrics | Traditional straight stitch, reinforced if necessary |
For jersey, the twin needle remains the clear first choice. Fabrics without elastane, such as cotton-linen or traditional suiting fabrics, benefit more from a blind hem, as the external appearance matters more than elasticity.
Practical tips to prevent common mistakes
Preparation before the first stitch already determines how the finished hem will look:
- Neaten the hem edge before folding it up.
- Press the hem without stretching the fabric.
- Match the needle to the fabric weight: needles that are too thick leave puncture marks, while needles that are too fine bend more quickly.
- For jersey, use a jersey needle or stretch twin needle to prevent ladders in the fabric.
If rippling is a recurring issue, reduce the presser-foot pressure slightly as well, if the machine allows it. A marginally longer stitch-for example, 3 instead of 2.5-also helps the fabric lie flatter.
Why it is worth looking beneath the machine cover
Many domestic sewing machines can do far more than they first appear to offer. An inconspicuous little rod in the accessory compartment becomes the key to neat T-shirt hems. With one twin needle and slightly adjusted thread tension, the difference between home sewing and industrial production can be reduced considerably.
Once you have mastered this technique, you can confidently shorten not only shirts but also sleeve hems, sports tops and children’s leggings. At a time of rising prices and greater awareness of sustainability, this becomes increasingly appealing: rather than buying new shirts, old favourites can be professionally altered or repaired.
Terms such as twin needle, bulk thread and blind hem may initially sound technical to beginners. In practice, however, they are simply small aids that make everyday sewing easier. Anyone who tries this hidden feature for stretchy hems once will be surprised by how quickly they begin reaching for it automatically-and wonder why the accessory sat unused in the compartment for so long.


Comments
No comments yet. Be the first to comment!
Leave a Comment